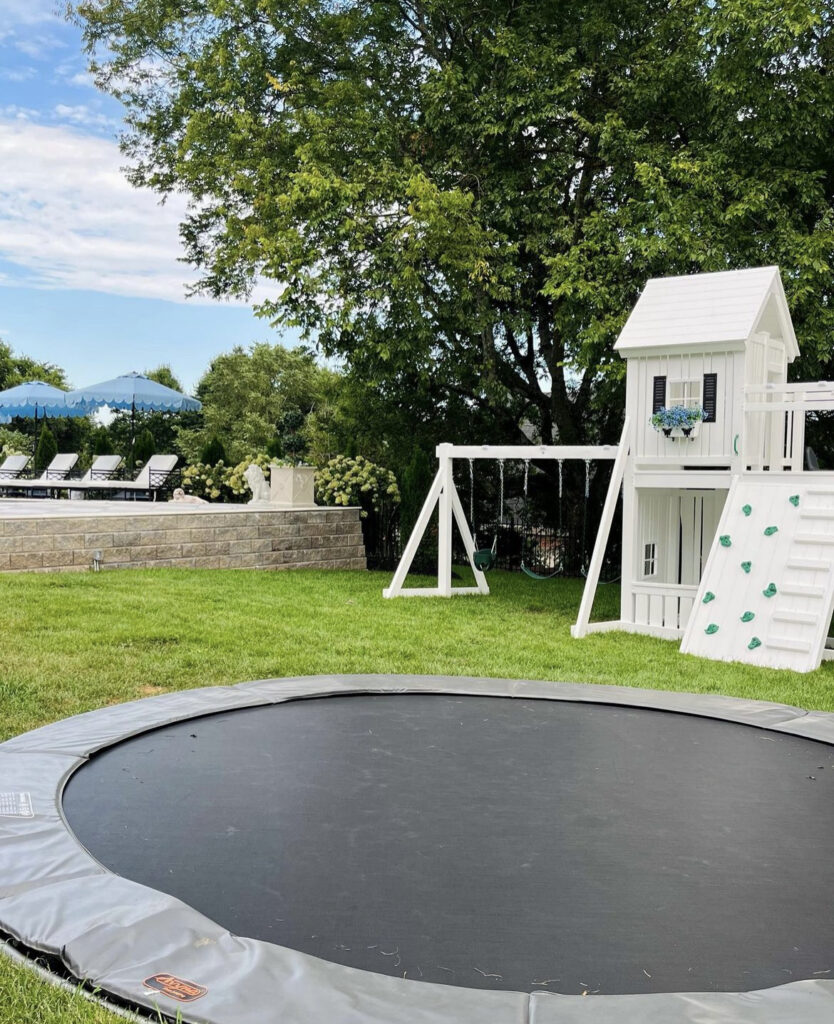
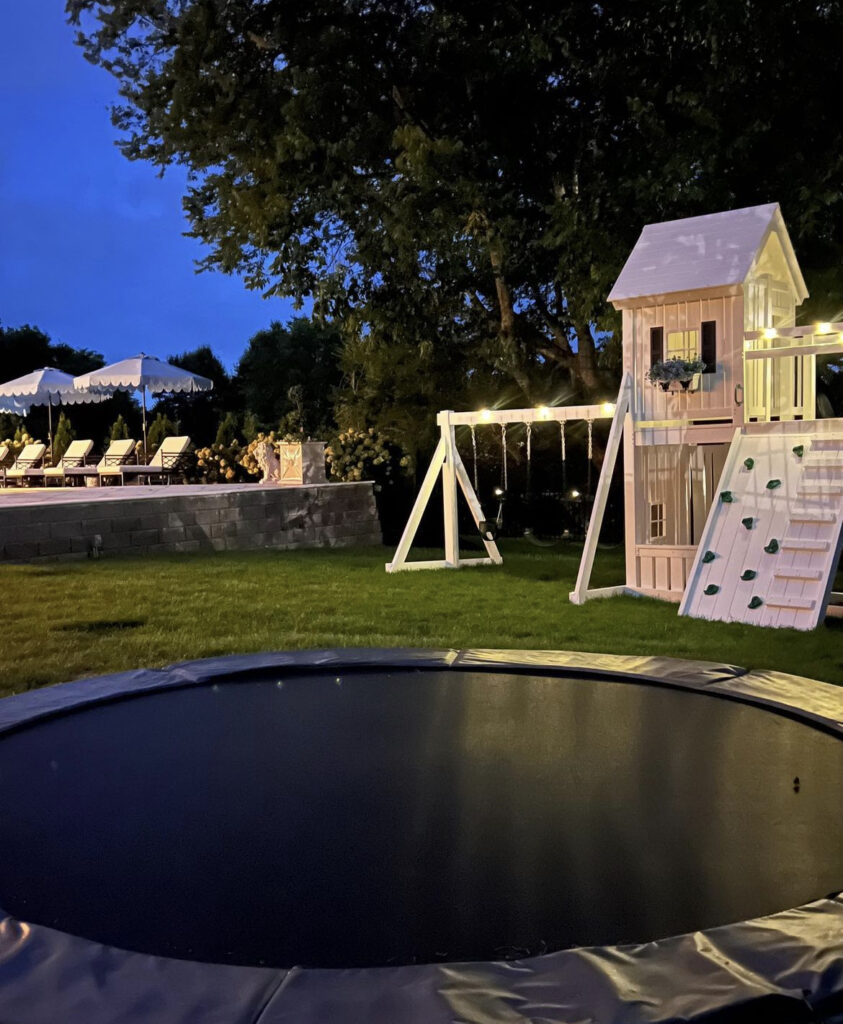
This is a long overdue update I cannot wait to share with you! One of the biggest projects in our Monarch Revival Backyard Remodel is complete and spoiler alert..
The whole family (our boys and their friends especially) have been loving it.
Not caught up with the latest reveals? Here’s a master list of all the backyard projects:
- The Hoop Is IN! | Basketball Court Stencil DIY
- Our Vinyl Play Set from RuffHouse | Vinyl vs Wood & Pricing Details!
- Exterior French Doors Reveal + What To Know Before Installing
- How Long Does It Take To Build A Pool? | The Monarch Revival Pool Reveal!
- Diamond Pavers: The Perfect Exterior Flooring Option
- Pool House Design: Our DIY Pool House Reveal!
Today on the blog, I’ll be chatting all about our in-ground trampoline and the install process. We’ve had such a fun summer outdoors, so I’m thrilled to share the latest reveal that’s been bringing so much joy to our family.
Why An In-Ground Trampoline?
We’ve had an in-ground trampoline before and there are so many reasons why I chose it again. Above all, the safety of it is much better than a traditional trampoline. With no height to fall from, the risk of accidents is much smaller- especially for my youngest. Nothing makes me more nervous than seeing him try to keep up with his older brothers haha.

Another big reason I chose an in-ground trampoline is its aesthetic appeal. It seamlessly blends into the landscape, leaving the section of the backyard for the boys a bit more elevated. Let’s be honest, above-ground trampolines can be a bit of an eyesore. They’re often massive, and their metal frames are not exactly my style. Our in-ground trampoline, on the other hand, is discreet and unobtrusive, enhancing our backyard’s overall charm.
Trampoline Install Process
The in-ground trampoline install process is a bit more complicated than I initially remembered. While I made sure to factor in the cost for the trampoline itself, what I didn’t expect was the cost to dig a hole! Yes you read that right. A hole in any backyard is actually quite expensive because of the width and depth needed.
We outsourced this part and it ended up being $500 to dig the hole.
Once the hole was dug, the trampoline was installed within one day! I waited for the grass to grow a bit more around the trampoline before sharing it with you all, but my boys have been loving it for weeks.
In-Ground Trampoline Review
I can’t express how excited my boys were when I first told them we were looking into a trampoline. After a lot of research, we decided to order the trampoline from trampolines.com in the 15 foot circular option. They’ve been jumping on it nonstop, so this review comes after a lot of wear. Here are my thoughts:
- Safety: As I mentioned earlier, safety was a top concern for us, and the in-ground trampoline has delivered. The kids can jump to their hearts’ content without us worrying about them falling off.
- Aesthetic Appeal: I can’t stress enough how much we adore the way the trampoline looks in our backyard. It’s like it was always meant to be there. It doesn’t disrupt the landscape, but enhances it.
- Easier Access: My youngest can easily climb onto the trampoline, and I must admit, I’ve had my fair share of bouncing fun too (did you know I used to be a gymnast?! I still have some tricks up my sleeve 🙂
Overall, we could not be happier with our in-ground trampoline! Although the project itself was one of the priciest in the entire backyard, we are all having so much fun using it. If you’re looking to invest in more backyard fun for the whole family, I totally recommend looking into a trampoline.

What backyard games or activities does your family do together for fun? Please let me know in the comments!
Leave a Reply