Hey friends! Today I’m super pumped to share with you the story of our backyard basketball hoop makeover, which is officially one of the coolest transformation at The Monarch Revival. It’s one of the backyard details that feels so perfectly…us! I’m so glad we did it!
DIY Basketball Court Project Sources:
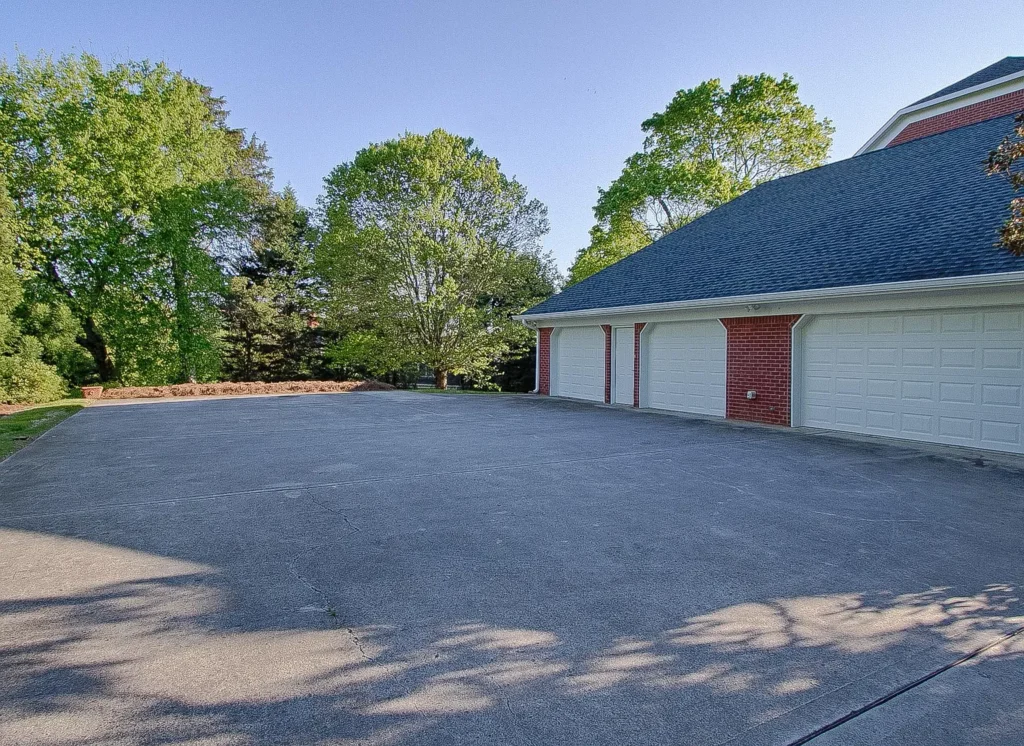
It started with a $5,000 quote…
First things first—our backyard concrete pad was a bit of an eyesore. We thought about hiring a professional power-washing service to clean it up. Then the quote came back—$5,000! I have been really busy behind the scenes with the launch of Monarch Home just around the corner, so the help with this project was tempting!
Craig and I decided that this was one of those “time-intensive but not skill-intensive” tasks. So, we took matters into our own hands. Even the boys chipped in for this big job.
Tip: Prior to painting anything – it’s so important to make sure the surface is clean. Any dust or dirt can prevent the paint from adhering properly. So this step was extra necessary in this case!
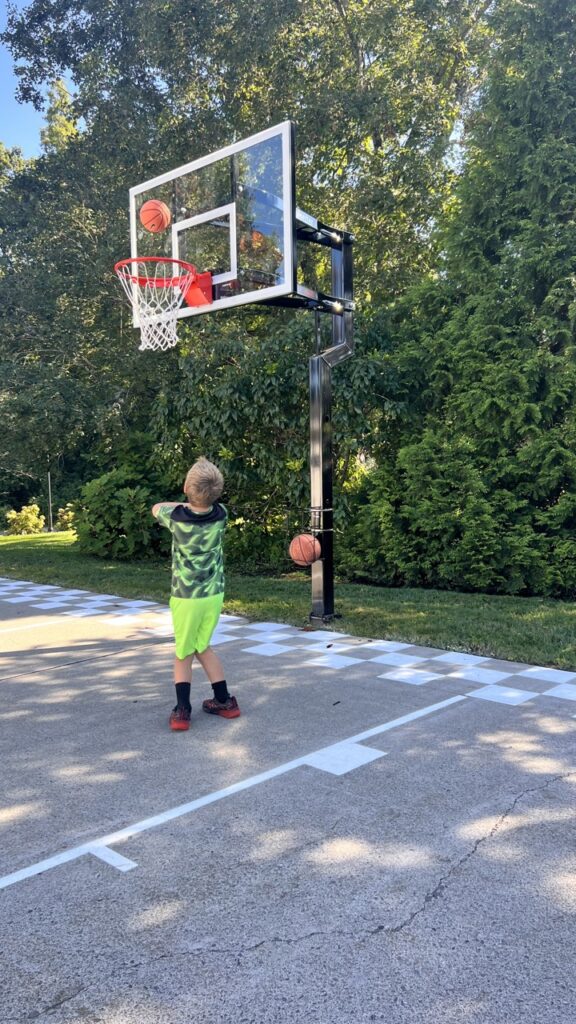
Installing the Adjustable Basketball Hoop
Our home came with a ready-to-go plate installed in the ground for a basketball hoop. We’d been talking about it for 2.5 years and have been waiting for the right time. We opted for a fully adjustable basketball hoop so that it could “grow” with our boys. It’s a beauty!


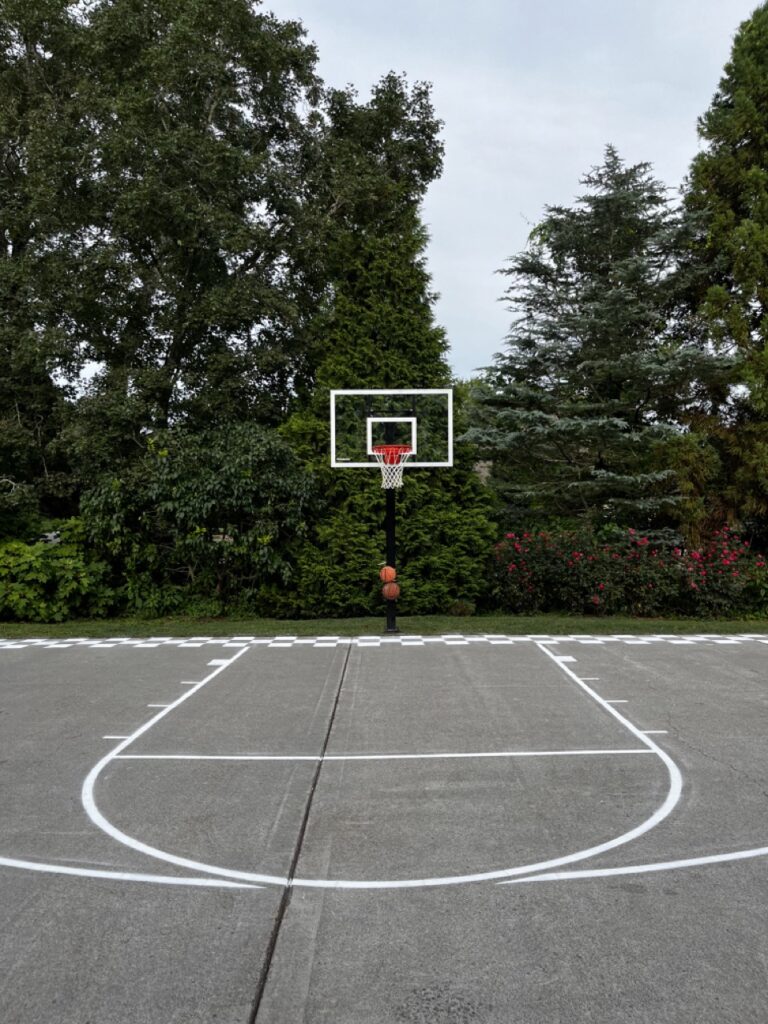
From Blank Canvas to Art: Creating Our Own Court
Now, installing the hoop was just the tip of the iceberg. We wanted a court, baby! After power-washing the court clean, we used a template from Amazon to spray paint court lines. It felt a little nerve-wracking spray-painting our backyard, but the template was really effective. The lines came out sharp and professional-looking – exactly what we were going for.
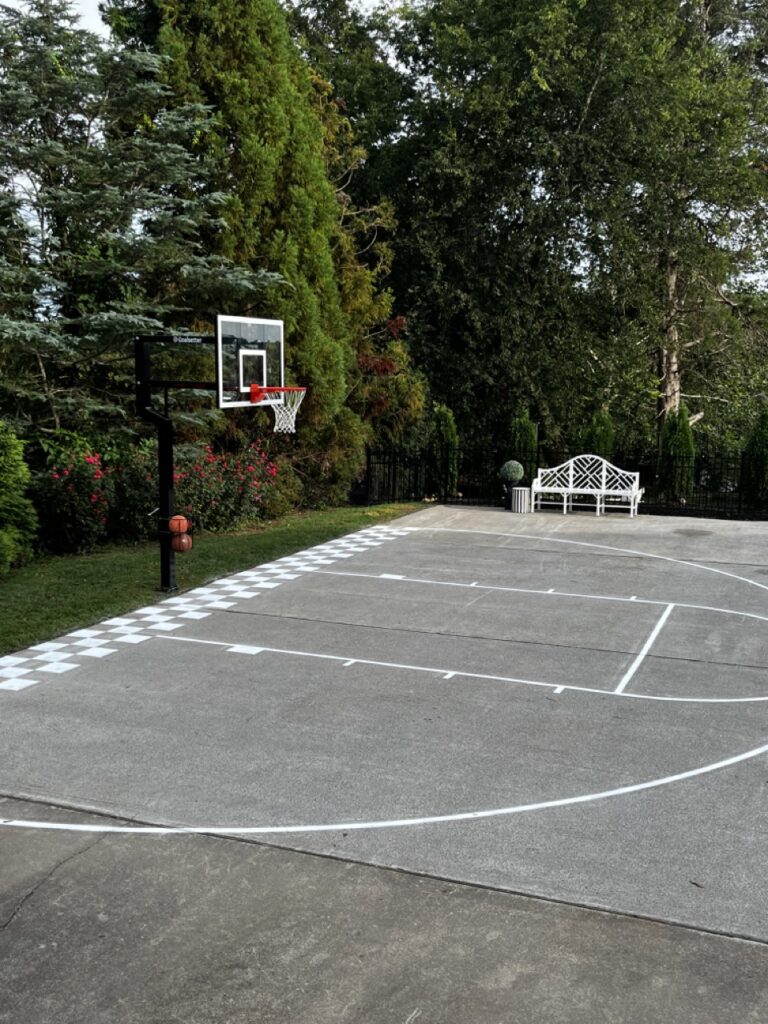
A Touch of Tennessee 🧡
You know that checkers have my heart. We stenciled the court markings with a little nod to our love for Tennessee with some charming checkers. It turned out so cute!
This was a project the whole family got to participate in. It felt like our own summer camp activity, but way cooler! We spent about a week creating this court, and the result is something everyone in the family loves and can enjoy for years.
Rounding Out Our Summer of OUTDOOR Renovations
This project feels like the cherry on top of our summer of transformations. Remember the new trees we planted? Oh, and the pool and pool house that are now the summer hangout spots? Let’s not forget the cozy fire pit where we’re planning to spend chilly autumn evenings. Now add to that list our brand new, completely fabulous basketball court!
The Verdict: Love All Around!
We couldn’t be happier with how it turned out. Our backyard has officially become the ultimate family-friendly space, and this basketball court is just another way we’re making beautiful memories together.
So, what about you? Do you have any backyard projects in the pipeline? Or maybe you’ve already turned your backyard into your dream space? Either way, I’d love to hear about it!
Leave a Reply