As summer is coming to a close, we are soaking up every ounce of backyard fun we can. Our family has transformed into outdoor people after our finished remodel, so it’s important to still use all this space during the cooler months. The best way I wanted to do this is through creating our outdoor DIY fire pit!
Today on the blog, I’ll be chatting about how we made our temporary DIY fire pit and giving a review of the Solo Stove! It’s been amazing having such a fun backyard set up to ring at the end of summer and start of fall.
We’ve Loved Fire Pits For Years!
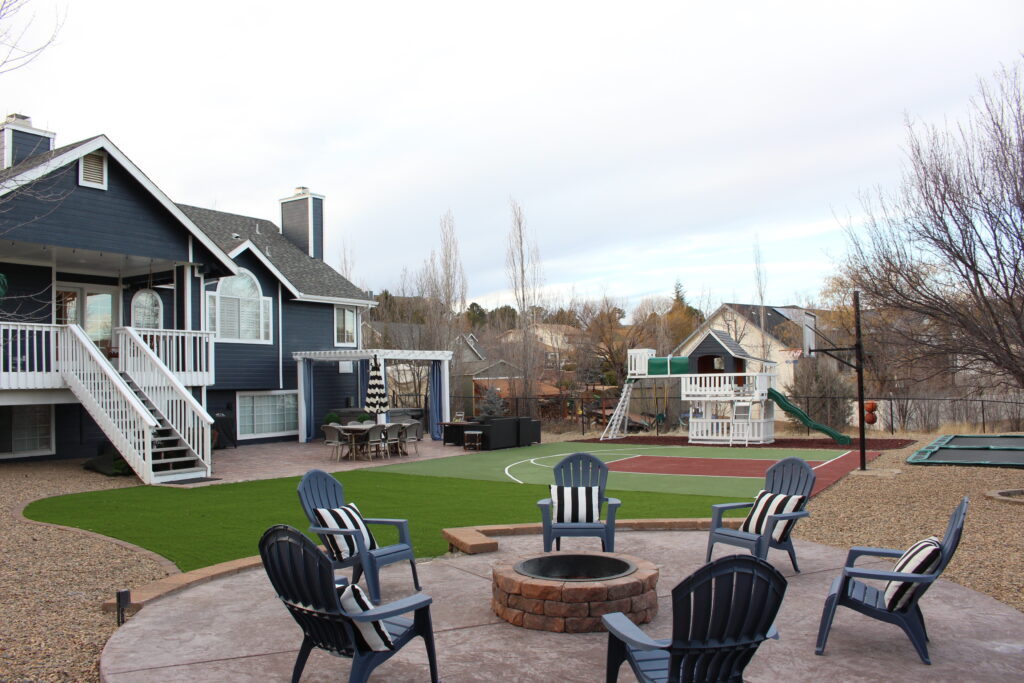
Seriously, I cannot imagine all the fun in our backyard without one. Although it may seem like an outdoor fire pit in Arizona isn’t the best idea, we used it more than I thought! Living in Prescott, Craig and I took advantage of spending time out in the four seasons with our boys. The photo below is from our backyard years ago- I still miss that view from time to time.

As our Monarch Revival Backyard Remodel is getting all the final bells and whistles put on, I wanted to be able to transition all this space into the fall and winter months. Just a few weeks out from having guests, the idea popped into my head to make a fire pit once again. Although it’s not the 100% permanent version, we love the set up for the meantime.
Making Our DIY Fire Pit
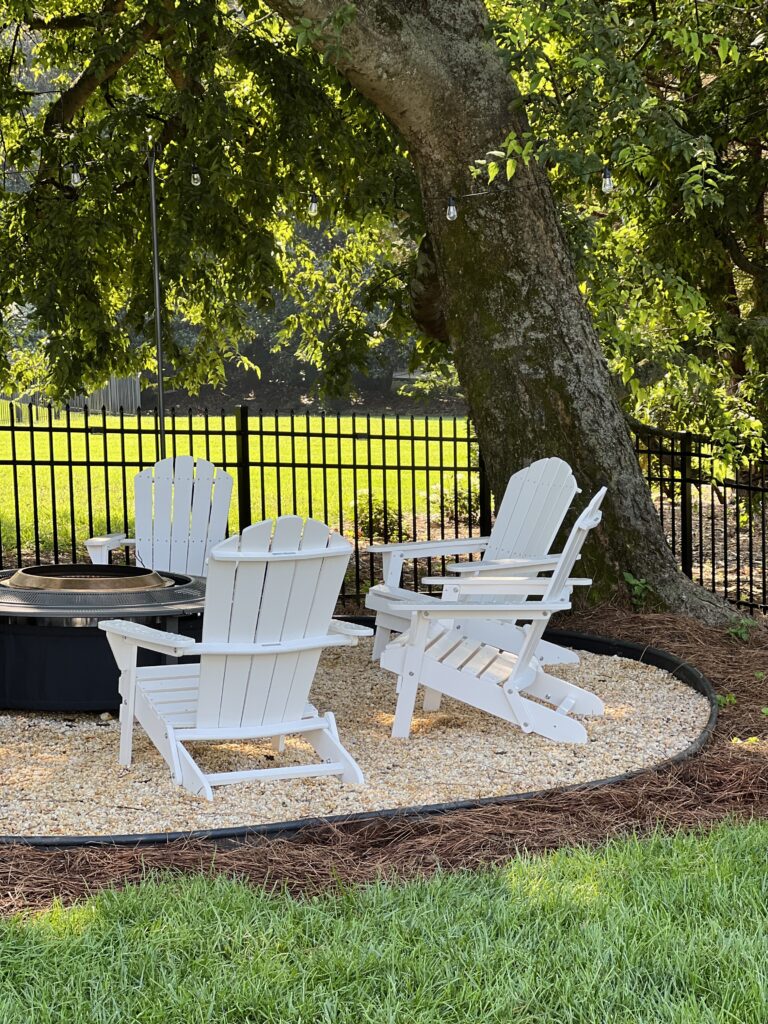
Although the set up is more on the simple side for now, I still love how it looks! I wanted to use more of the open area we had in the backyard, but not cut off a space in the grass. Instead, I chose to have it sit closer to the property line, underneath one of the most stunning trees you’ve ever seen.


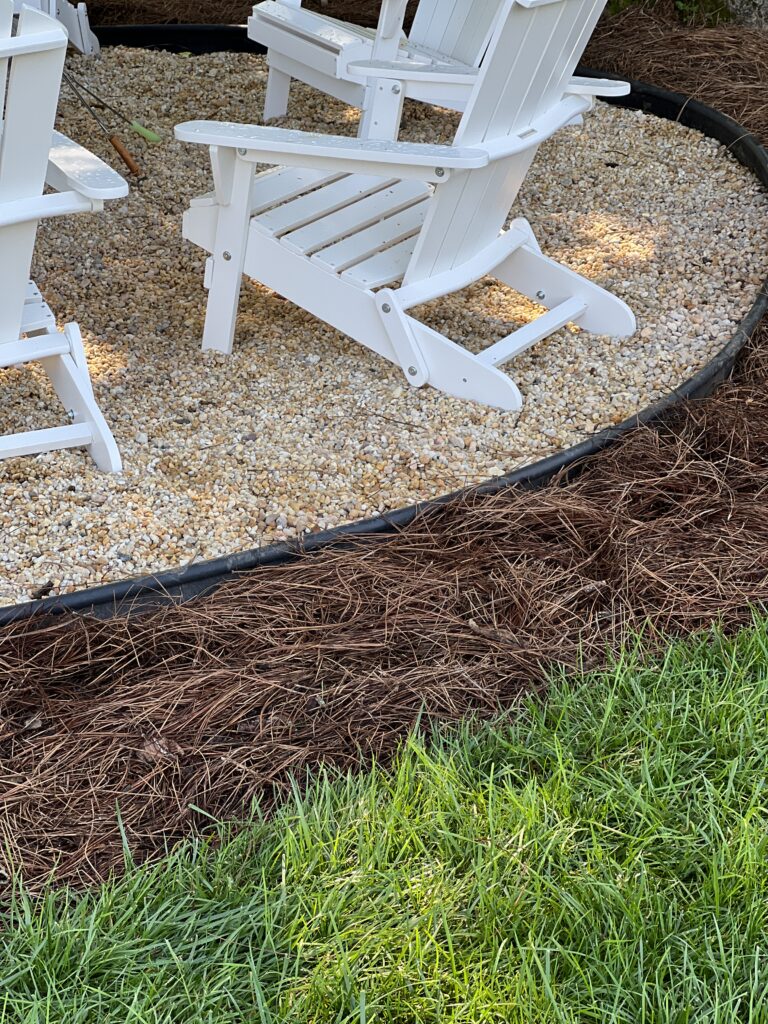
For the floor of the fire pit, I dug a shallow hole, bordered it, then filled it with light toned pebbles. Then, I moved out our Solo Stove and put out our chairs- that’s it! I love it for now, but I do think when I find space on the home improvement to-do list, it will be elevated a bit more. For now, this is it and we love it!
Solo Stove Review: Do I Recommend?
Since I wasn’t actually building our fire pit, I did a lot of research into options to purchase that weren’t crazy expensive. Solo Stove immediately popped up and had a ton of great reviews. The look of it (of course) first drew me in, but it seemed like the perfect fit for what I was looking for.
Here are my pros and cons after using our Solo Stove for a while:
Pros: What I Like
- Price is on the more affordable side
- Stainless steel is super durable and absolutely gorgeous
- Easy to light
- Little to no smoke
- Not much ash
Cons: What I Would Change
- Firewood burns really fast!
- It’s not the easiest to clean
- Has to be covered when not in use
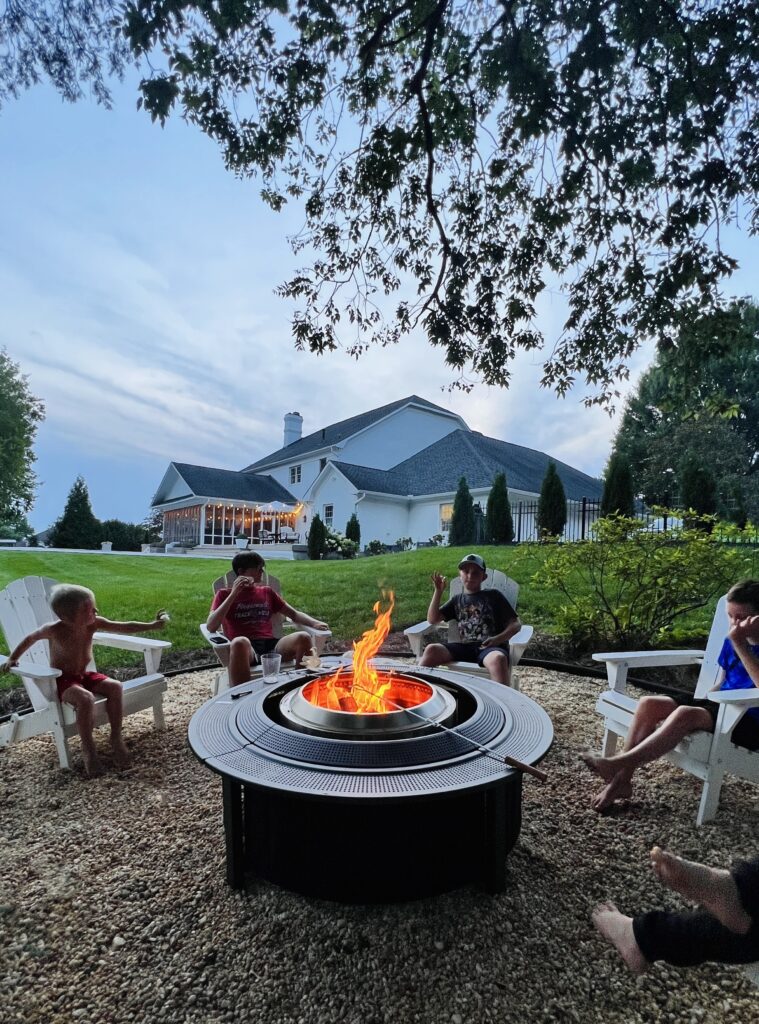
Overall, for the price and experience I really enjoy our Solo Stove. We’ve really put it to the test with our family and friends and it held up perfectly. My favorite part of all is the almost smoke-free experience. I always feel like the smell of a campfire lingers on me for days, but this has not happened yet. Little things like this make it much easier to casually go out and turn it on with my family. These are the memories I love!

Does your backyard have a fire pit? Let me know in the comments! And to keep up with all things on the blog, check out my latest posts:

What does your solo stove set in? The surround?
It is the Solo Stove Fire Put Surround!