Maybe you’ve noticed this and maybe you haven’t, but I like to break up each room into several smaller projects. I don’t think about each room as one effort, it’s the combination of all of the details and projects together that make a room feel like “me”.
The last two weeks I have been working endlessly on the wall trim in this space. It’s about 100 repetitive steps that in the end create the most stunning effect. Each time I look at detailed trim work, I see something new that I didn’t notice before. It has become one of my signature looks, so much so that I get photos of amazing trim in my DMs everyday. It makes my heart so happy that when you see trim or wall moulding, you think of me.
Here are the projects that ultimately created my room!
And don’t forget, a few months ago I created a complete step by step to add trim in your home! It’s not too hard – promise!
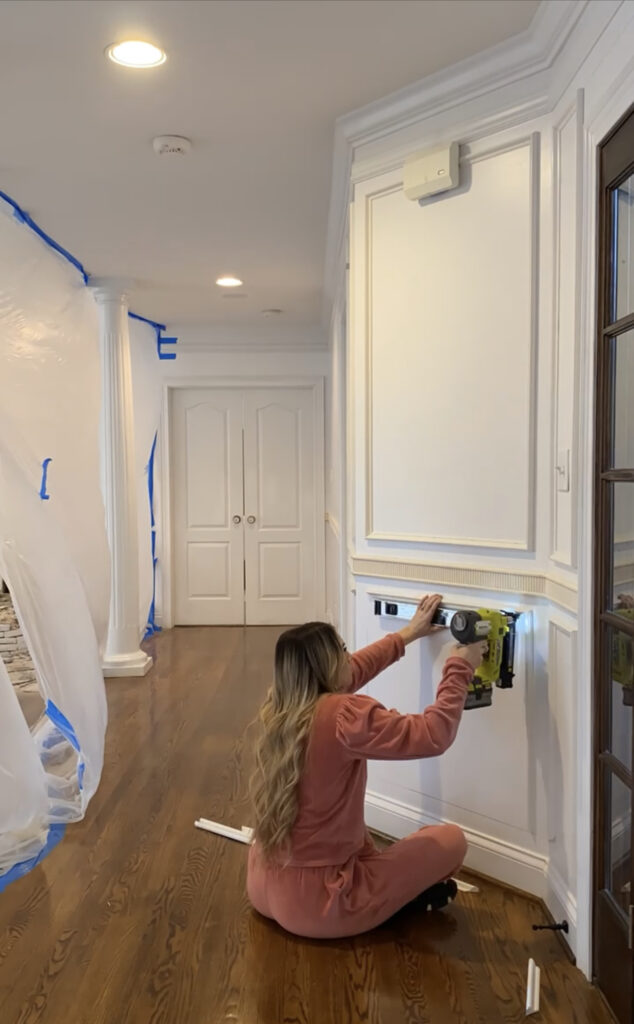
With that said, the wall moulding was the one of the last projects to create the primary bedroom of my dreams! Craig loves it too, which means the world to me. He’s my biggest cheerleader and doesn’t mind my feminine taste. We have a couple more projects to do in here but we’re getting close and I love it already!
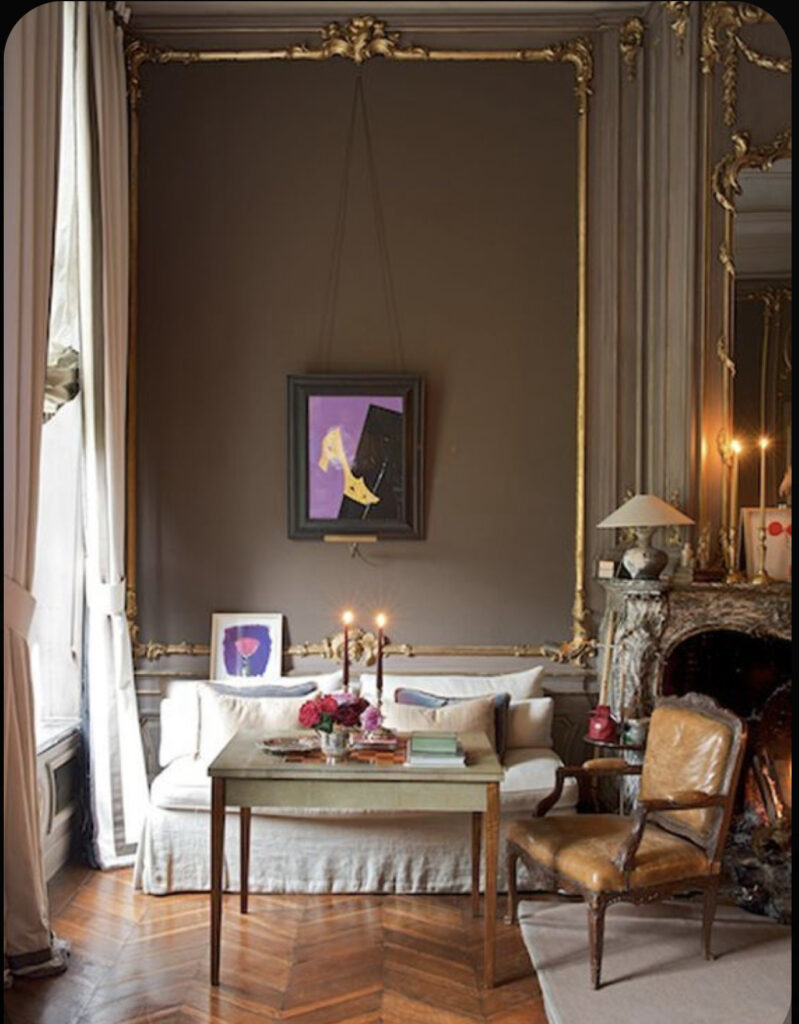
Here was the inspiration photo I could not get out of my head!
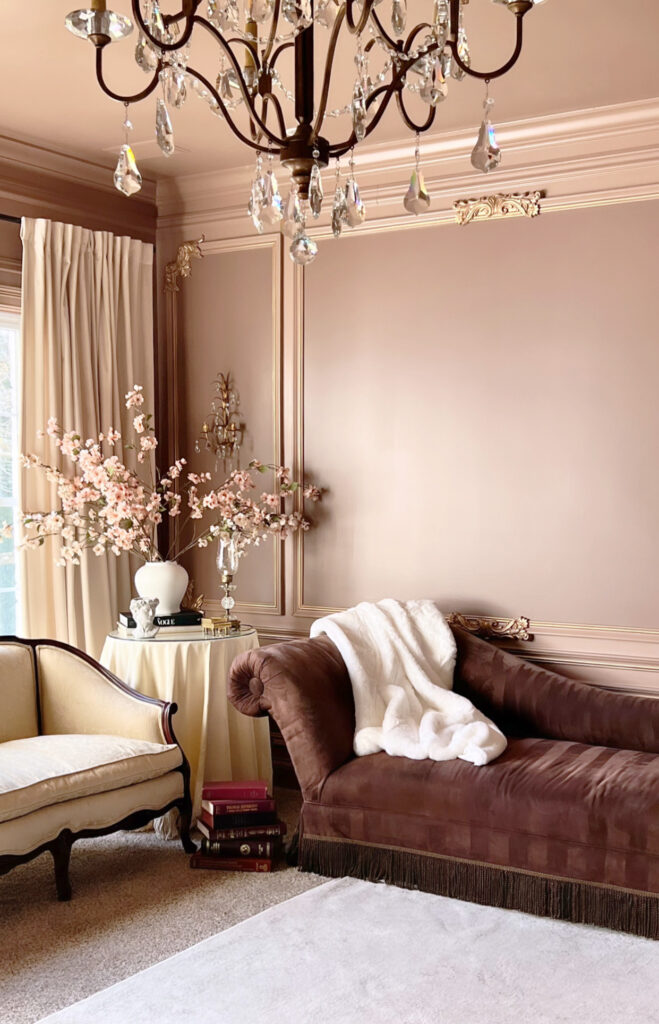
Ready for the TRIM reveal?
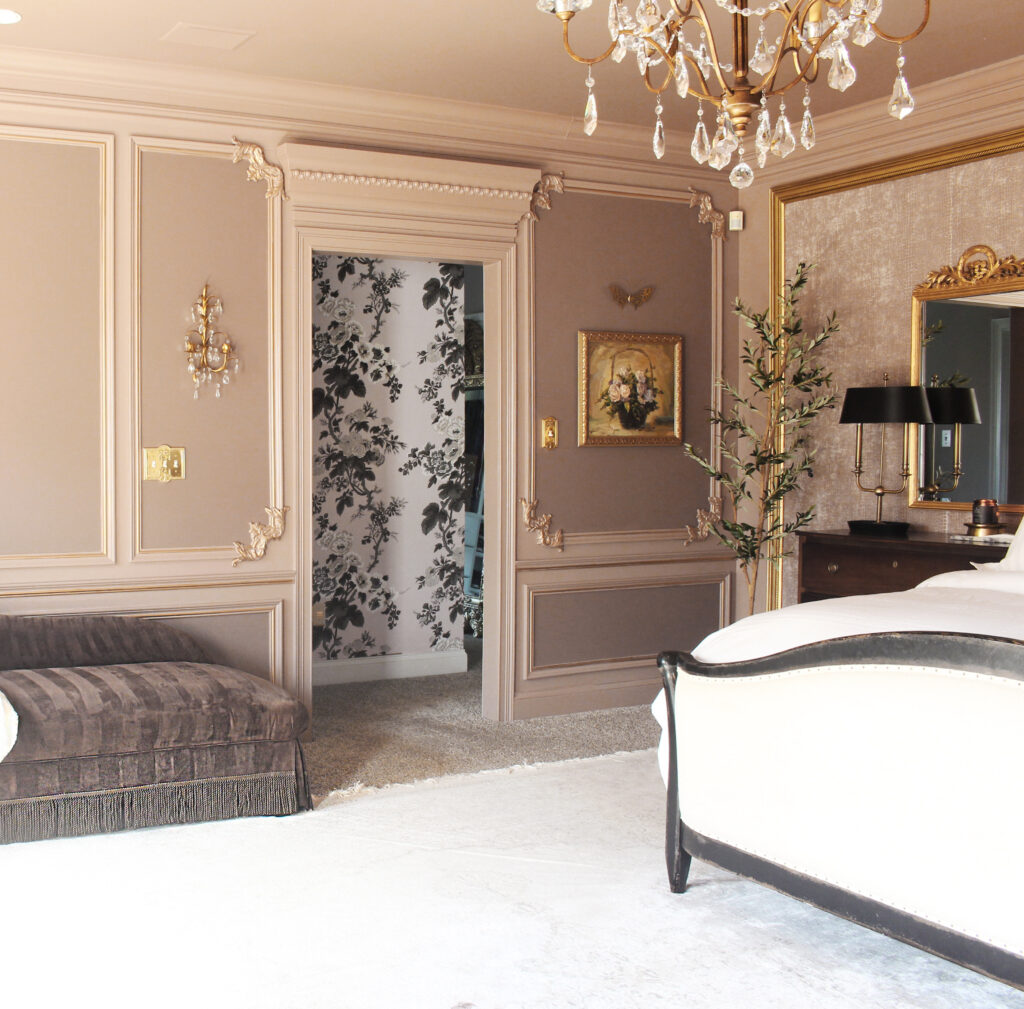
Primary Bedroom Sources:
- Bed
- Curtains and curtain rod
- Light fixture
- End table
- Nightstands
- Mirrors above nightstands
- Floor length mirror – moved into my dressing room for now!
- Lamps
- Olive tree
- Rug
- Ceiling medallion
- Frame TV and Wood frame
- Paint color: SW Velvety Chestnut & Behr Elkhound (darker interior color)
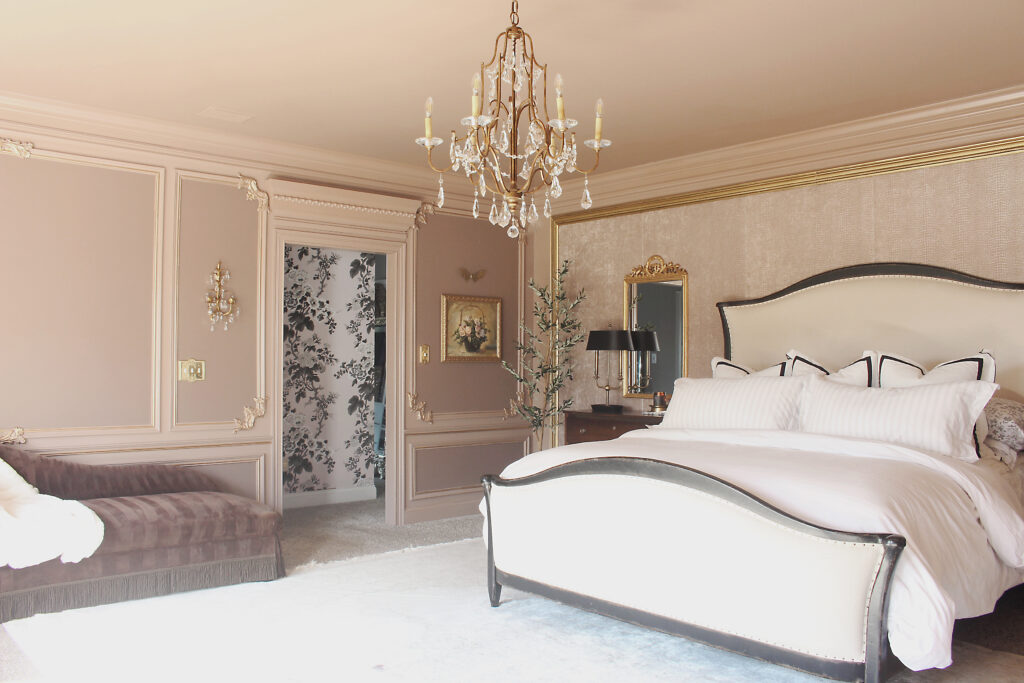
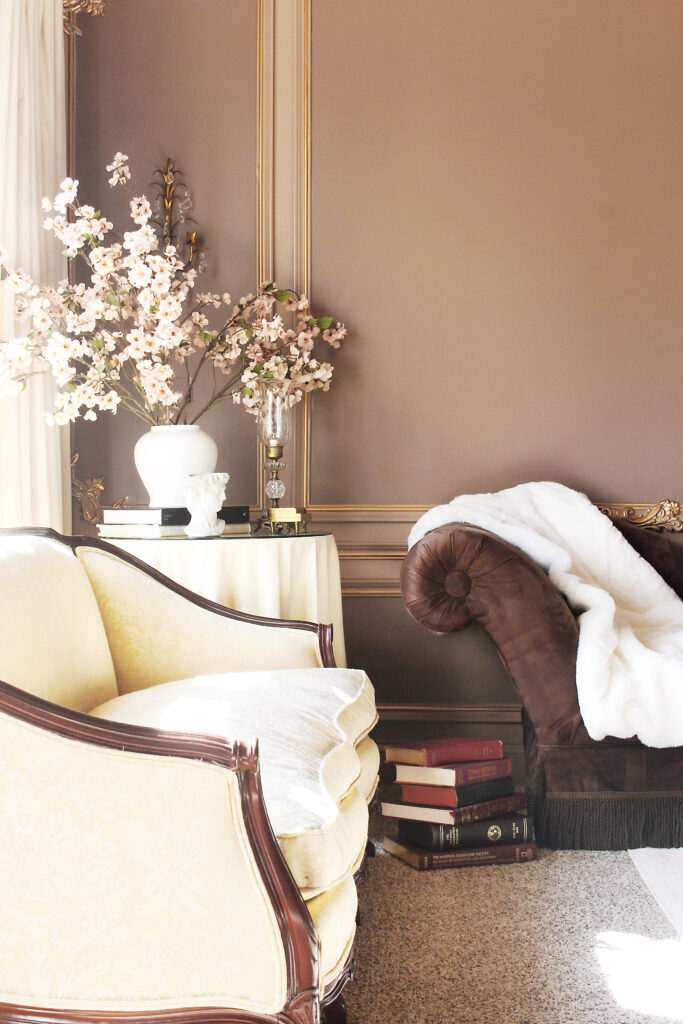
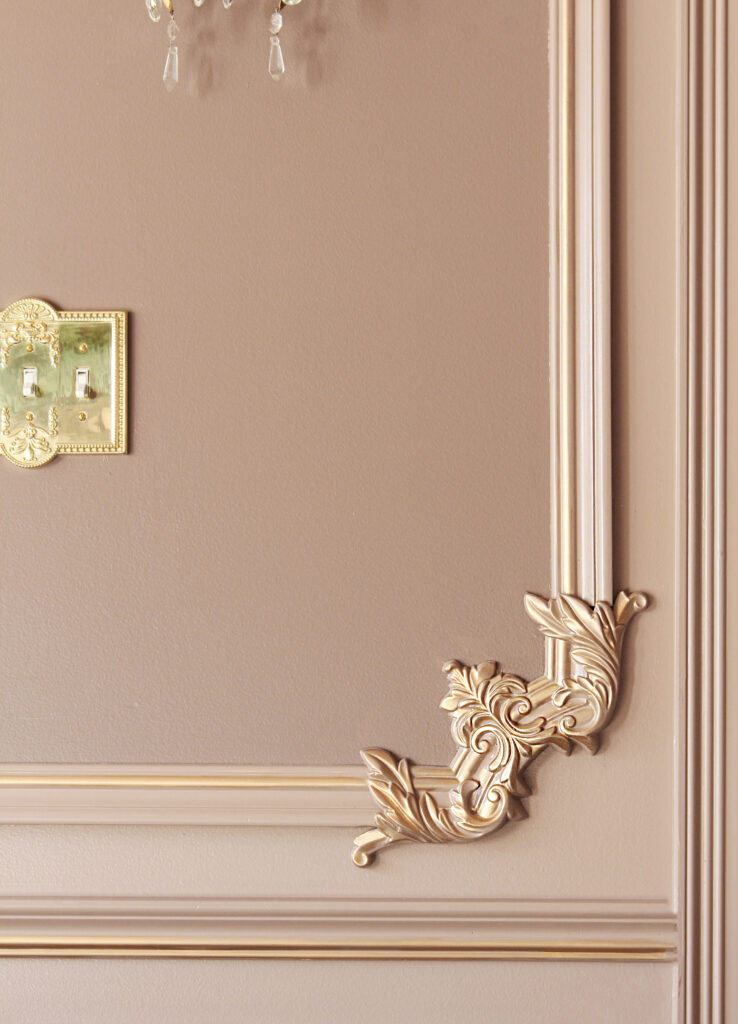
I know many of you are hesitant about taking on wall moulding in your own home so I wanted to address a few frequently asked questions:
Do I need to have smooth walls?
I think trim looks best on smooth or semi-smooth walls. If you have highly textured walls like I did when I lived in Arizona, I would first add a skim coat to the wall to smooth it out. Skim coating is a big project itself, but it looks beautiful when finished.
Another option is to add a thin layer of backing to your wall, then paint, then add trim over it.
However, there are no rules in interior design! You can add trim to any wall you’d like as long as you love it!
Is adding trim a beginner level project?
I think so! Especially because you don’t need any power tools other than a nail gun! A nail gun definitely makes it easier, but technically you could hammer it in. I also love that you can go at your own pace, box by box.
Is it expensive?
Any home project of this scale has a large cost associated with it, but it depends on how much trim you’re purchasing and the quality. The detailed trim from Home Depot is more expensive than basic trim. Make a trip to home depot and price out the trim you like best! Remember, you can always layer pieces on top of each other for a completely custom look.

I love your beautiful master bed room. I am amazed at your skills and talents.
Thank you so much, Sally!!
Wow, thank you so much!!
Wow, Mallory. This too, is STUNNING and looks straight out of a luxury Parisian apartment. I was sad when you said you were changing the color of your front room, but it’s great to see it come alive in this room. It is the most beautiful color.
Thank you sooo much friend!! xo
You’re the sweetest – thank you so much!! xo
You are amazing and so inspirational! I have watched so many of your projects and have tried a few of my own because of your videos. Thank you for that. I am looking to do the boards on the walls in my entryway!! The only problem is that I have 17 inch ceilings and I cannot get a ladder up to the part above the stairs. How did you do the trim above your stairs?
Thank you soooo much! I used a ladder but yes, it’s very tall! I would definitely have someone helping. Stay safe!
That makes me soo happy to hear!! I use either my extra tall ladder or I have also rented scaffolding if needed!
Please tell me the color of your bedroom walls. I thought I had written it down…..ugh. I love it.
It is SW Velvety Chestnut!
I’d love to know which moulding pieces you used to create this look. Specifically the decorative scrolls in the corners.
Thank you so much! I grabbed them all from my local Home Depot!