Panel moulding and wall trim has become a staple in my design style – and I wouldn’t have it any other way! I love that you can spot my home and my designs because of wall trim. is. everywhere! I get asked all of the time for tips about installing trim. I know, panel moulding can be intimidating, but I promise, with practice, it gets so much easier!
Friends, if you want to achieve this panel moulding and wall trim look in your home, you CAN absolutely do this! Not only is it possible, it’s pretty easy once you know how! Today on the blog, I’m sharing how I achieve professional looking panel moulding using materials you can find at your local home improvement store. I plan to do this in several rooms in my home. I just need to take the time to build it!
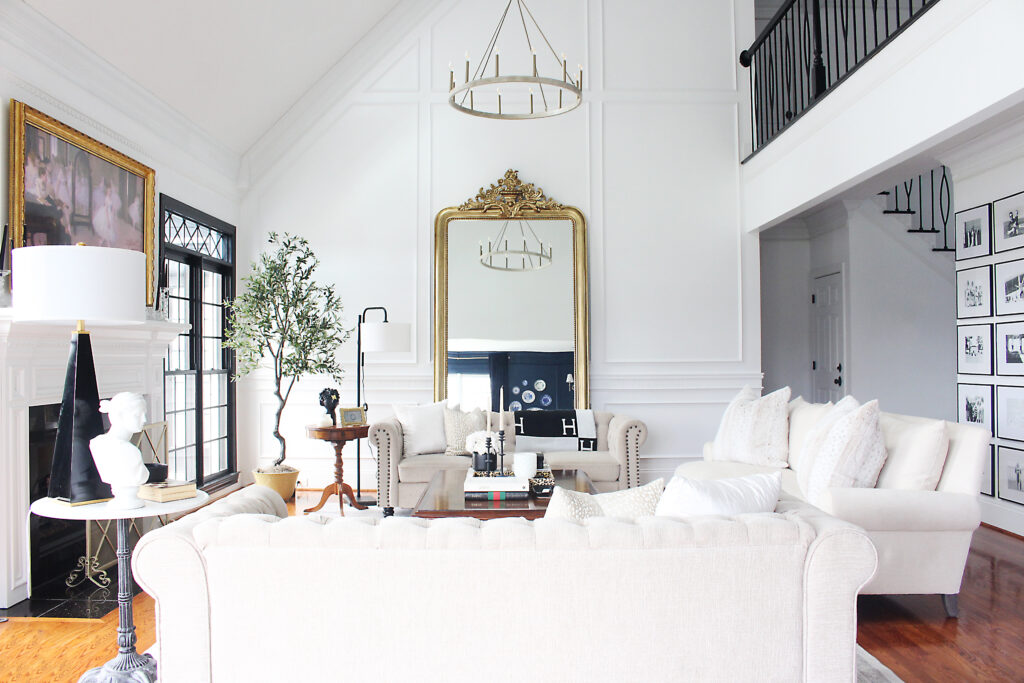
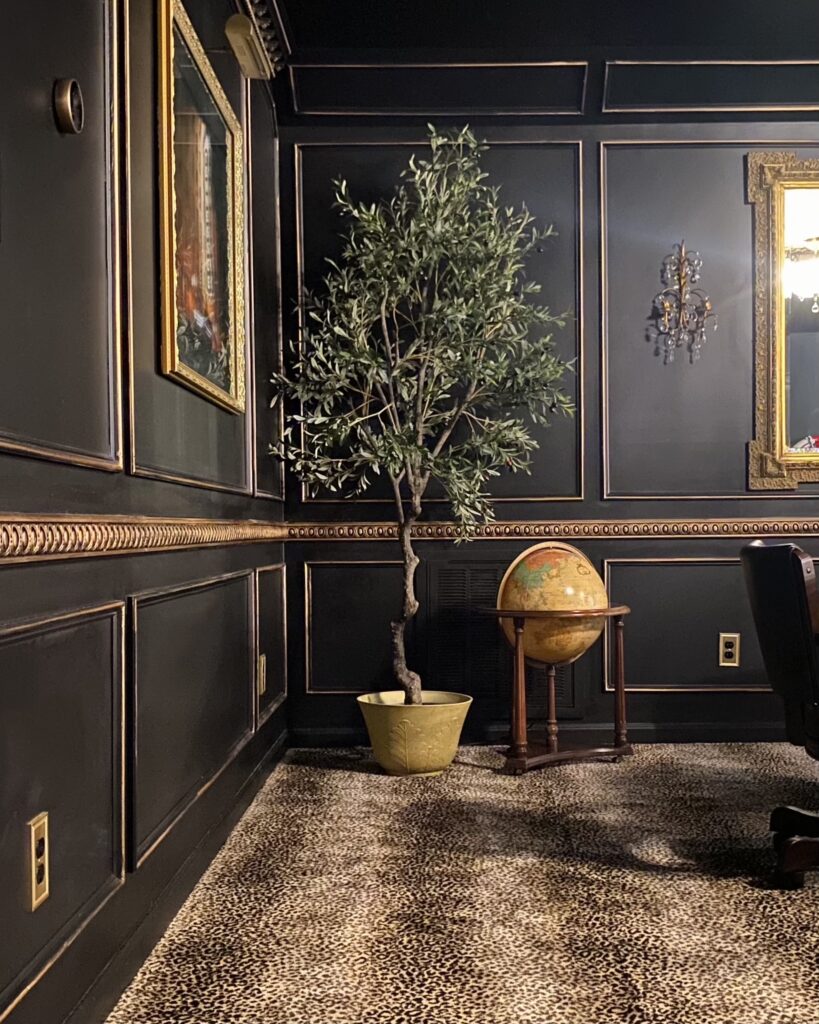
Let’s dive in to the wall trim tutorial! But first, here are a few ideas on different layouts I’ve done in the past!
Monarch Manor : Great Room
Monarch Revival: My Home Theatre Room Reveal
Have you ever been scrolling Pinterest when an image stops you in your tracks? When inspiration strikes, my heart skips a beat and I get SO excited! It’s an interesting exercise to pin a bunch of images you like, then go back and evaluate what they have in common. Hint: It’s not always what you think! My inspiration boards typically have one thing in common – panel moulding!
What I love about panel moulding (also called trim, or box trim, or wall trim) is the way it elevates any room. Furniture, rugs, and styling items look so much more elegant against trim.
Monarch Revival: My Main Hallway Reveal
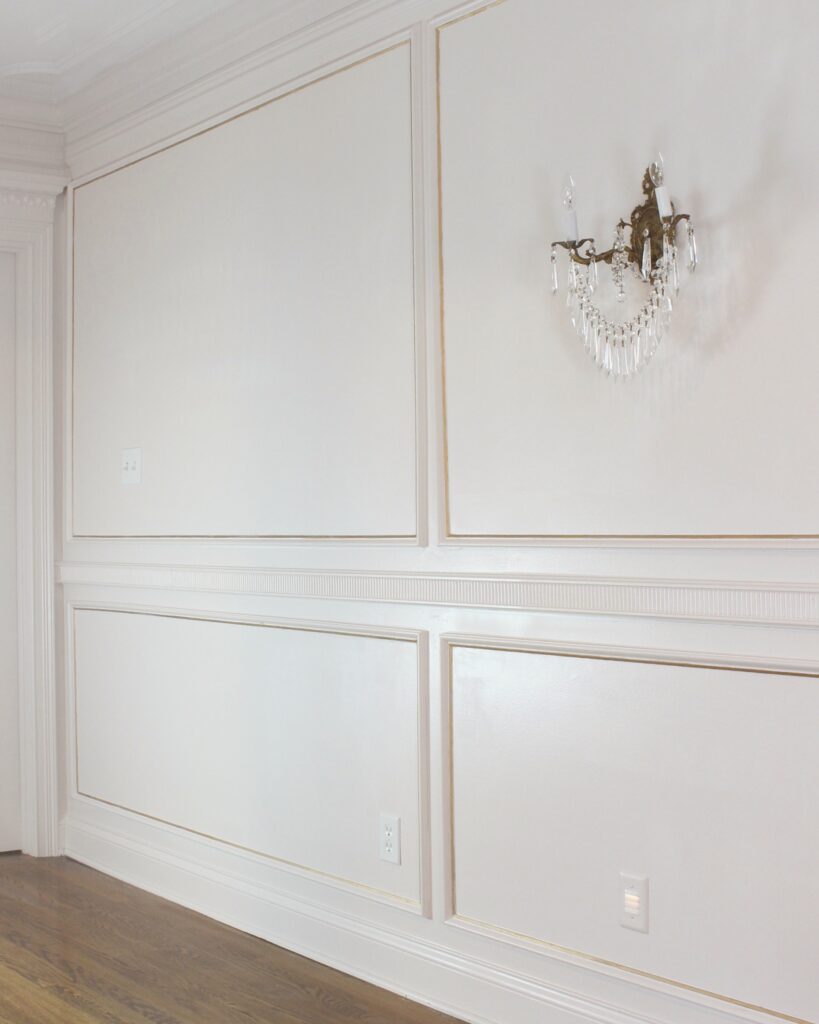
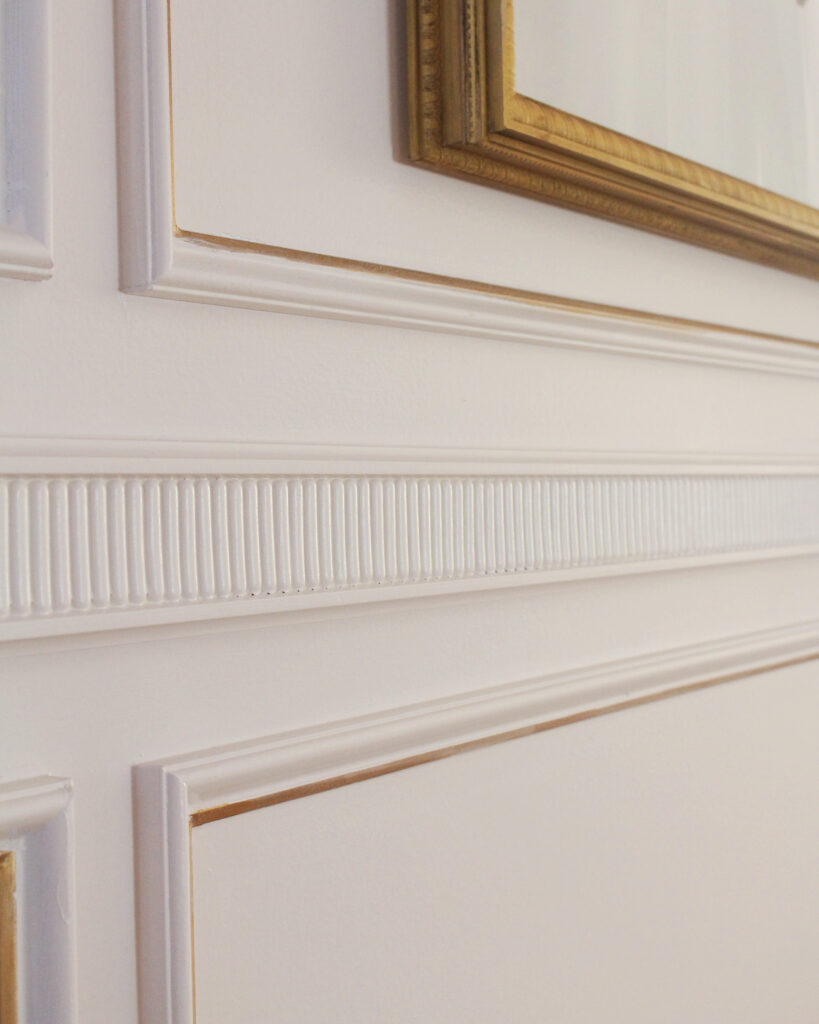
Supplies For Panel Moulding and wall trim
- Trim of your choice from The Home Depot (listed some of my faves below!)
- Miter Saw OR Miter Box, Saw and Shears (great for beginners!)
- Caulk and caulk gun
- Wood Filler
- Nail gun
- Level
- Pencils
- Tape Measure
- Safety Glasses
DIY Panel Moulding and Wall Trim Tutorial
Time needed: 2 hours
- Choose Your Box Layout
Choosing a layout is arguably the hardest part of this project. Take some time to envision what would look best in your space. I always aim for a balanced look.

- Install Your Chair Rail
Chair rail is going to separate the top from the bottom. I do mine at 36″ from the floor, but you can put it anywhere you’d like that makes sense for your room. Use a level to make sure it is straight when you nail it in. I use a pin nailer or a brad nailer.

- Draw Your Boxes With A Level
Now that you have chosen your layout and installed your chair rail, it’s time to draw your boxes on the wall. Drawing them in pencil (and level!) will help you confirm your layout and get the measurements you need to make cuts.

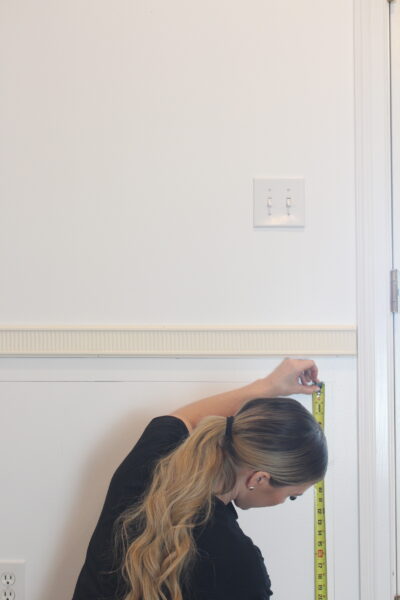
- Measure Your Boxes
Once you have your level boxes drawn on the wall, measure them with a tape measure.
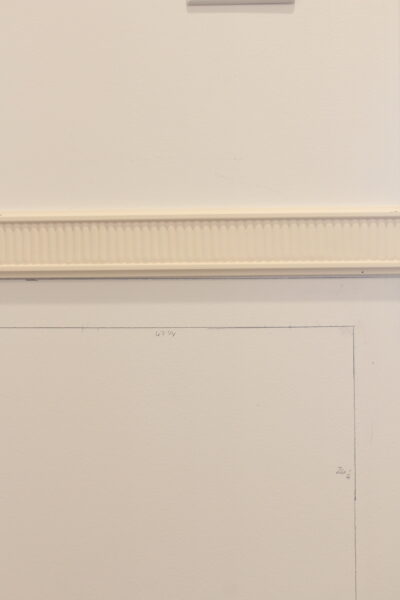
- Write Down Your Measurements
I like to write them right on the wall so I don’t forget.
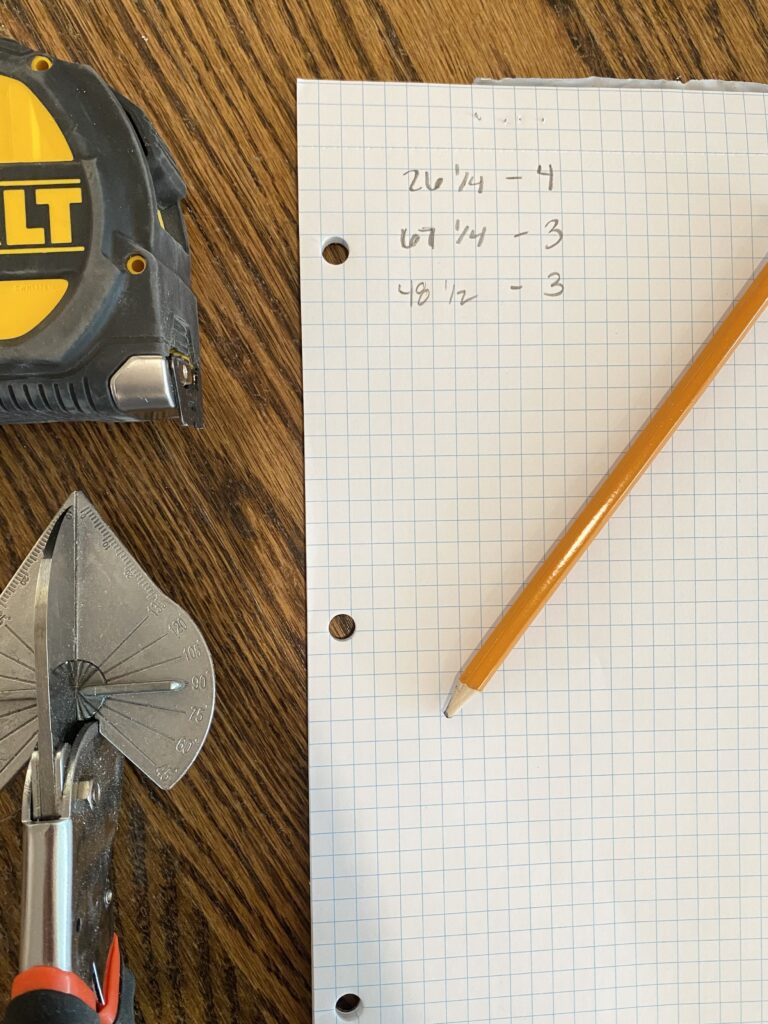
- Make A Cut List
Couldn’t do it without my cut list! Write down all of the measurements you have on the wall and organize them into a list.
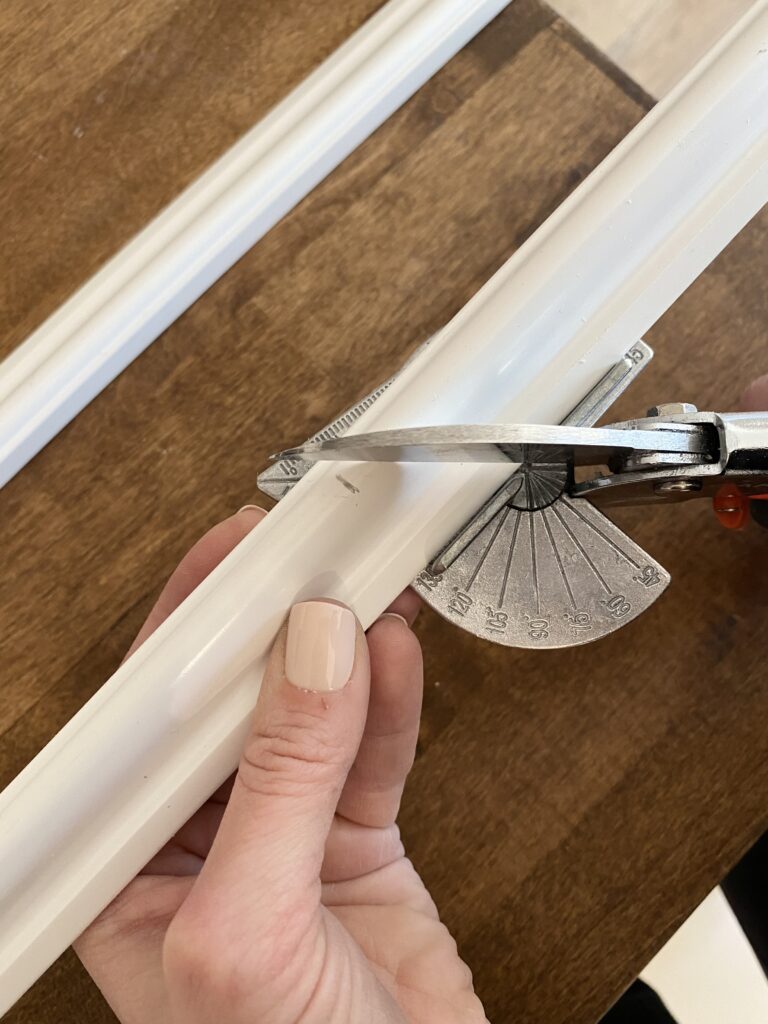
- Make Your Cuts At 45 Degrees
Using shears or a saw, make all of the cuts based from the measurements on your cut list! If you don’t cut at 45 degrees, your wall trim won’t make a perfect corner.
- Organize Your Boxes With Your Cut Wall Trim
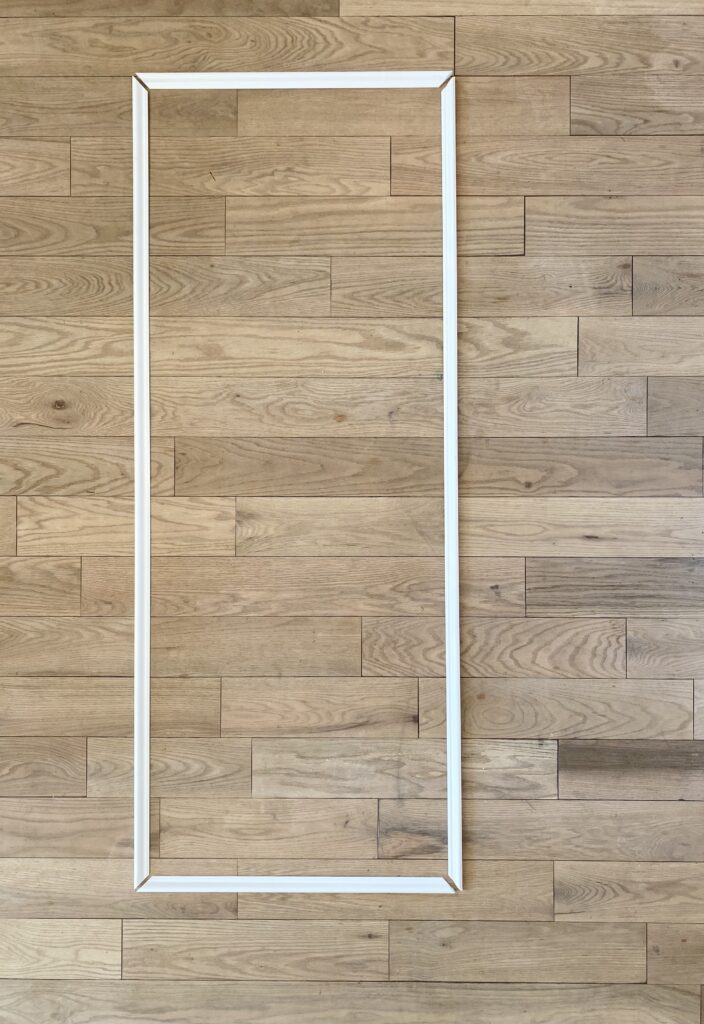
- Nail Your Trim To The Wall With A Nail Gun and Level
Naill them right inside your drawings! I use my level as a spacer so when I nail it on the trim pieces it can act as a support to give me something to push against with the nailer.

- Time For Caulk and Wood Filler!
Caulk is going to make sure the trim doesn’t have any gaps against the wall. I run a thin bead of caulk along the trim, dip my finger in water, then run my finger along the bead of caulk. This part is kind of fun! I also fill in any nail holes with wood filler.
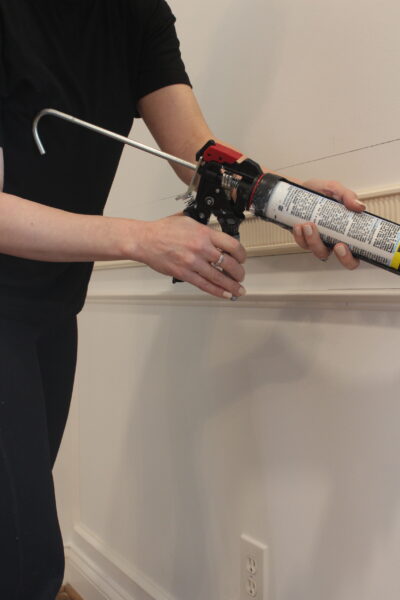
- Once The Caulk Dries, It Is Ready For Paint!

I spend a lot of my project time on panel moulding and wall trim projects these days. I’ve figured out so many tips along the way and shared them all in this post! Don’t be afraid to dive in – I know you can do it!

Tha k you so much for taking the time to put this tutorial together! I can’t wait to try it in my home. This has been my favorite style for years!
I love this and so grateful you shared all your tips and instructions!! Quick question— will this look suitable in a smaller bedroom or would it be too much? It’s a 13 x 13 – really want to try this and thought this would be a forgivable, easy place to start.
Pretty! What finish of paint do you use for the trim? Different from crown finish or baseboards?
I just LOVE this!! Thank you so much for putting so much detail in this tutorial! One question (and probably pretty important)…..I have heard horror stories of people nailing into pipes. How do you avoid this? Is there a way to check for pipes within the walls like you would for studs? I have walls that back up to bathrooms and would love to add trim but am terrified of hitting pipes. Thank you!!
Thank you, you are so talented!
Your paneling is beautiful! Any tips on nail length and how to ensure you don’t hit any pipes, drains, vents or electrical? Thanks!
Thanks for all the tips. I’m going to try doing it in my study — lol, start small.
Love this! I am wanting to start doing this is my house starting with my master. One question- are your walls textured or 100% smooth? I’m worried that it won’t look ok with my orange feel textured walls so I want to skim coat them first
Thank you for this tutorial! How would I end a chair rail on a wall that doesn’t have trim for it to butt up to? And, is the chair rail also cut at 45 degree for the corner match up pieces? I really want to do this or some trim work in my dining room. My taste is more transitional.
Thank you,
Amanda
Thanks so much for this tutorial, Mallory! You have given me the courage to take this on. I absolutely love your style, and it has allowed me to not feel the pressure to fall into the farmhouse trend that I just don’t like much. Love love love following you!
Thank you for sharing this ‘Ollie’s Mom’ 🙂 I’ve wanted to add moldings to pretty much every room in our house. I love how you’ve shared the process in stories and here, to break it all down! I think I can do this!!! XO Susan
What kind of paint do we need to use after panel is done ?
Just regular wall paint in the right sheen.
I will totally be referencing this as my bible when I attempt to do this again in my house! Thank you!
Hello loving this wall what paint color did you use its beautiful!