If you’re anything like me, when it’s time to try something new, sometimes I turn away at first. I’m excited during the planning process, but when it’s time to put pen to paper (or Rit dye into my spray gun, I should say!), I can get really nervous. Let’s be honest, it’s not fun to fail! I’m trying this for the first time and sharing my wins and lessons along the way. If this works out, I’m going to be SO excited and have lots of Rit dye tips to share. I was nervous at first but when I really thought about it, I have literally nothing to lose! If all else fails, I’ll reupholster the chaise so let’s do this!
Before we dive in, in case you’re new here, hi! I’m Mallory Nikolaus. I am the owner of the blog and business Mallory Nikolaus Home. My husband and I are renovating our home, #TheMonarchRevival, in Knoxville, Tenneessee while raising our five boys. You’ll find all of the behind the scenes and final reveals of our home on Instagram @mallorynikolaushome. Stop by and say hi!
Some of my most popular projects:
- Our DIY kitchen reveal
- Living room reveal
- Our boys’ Star Wars room
- Guest room reveal (and essentials for hosting!)

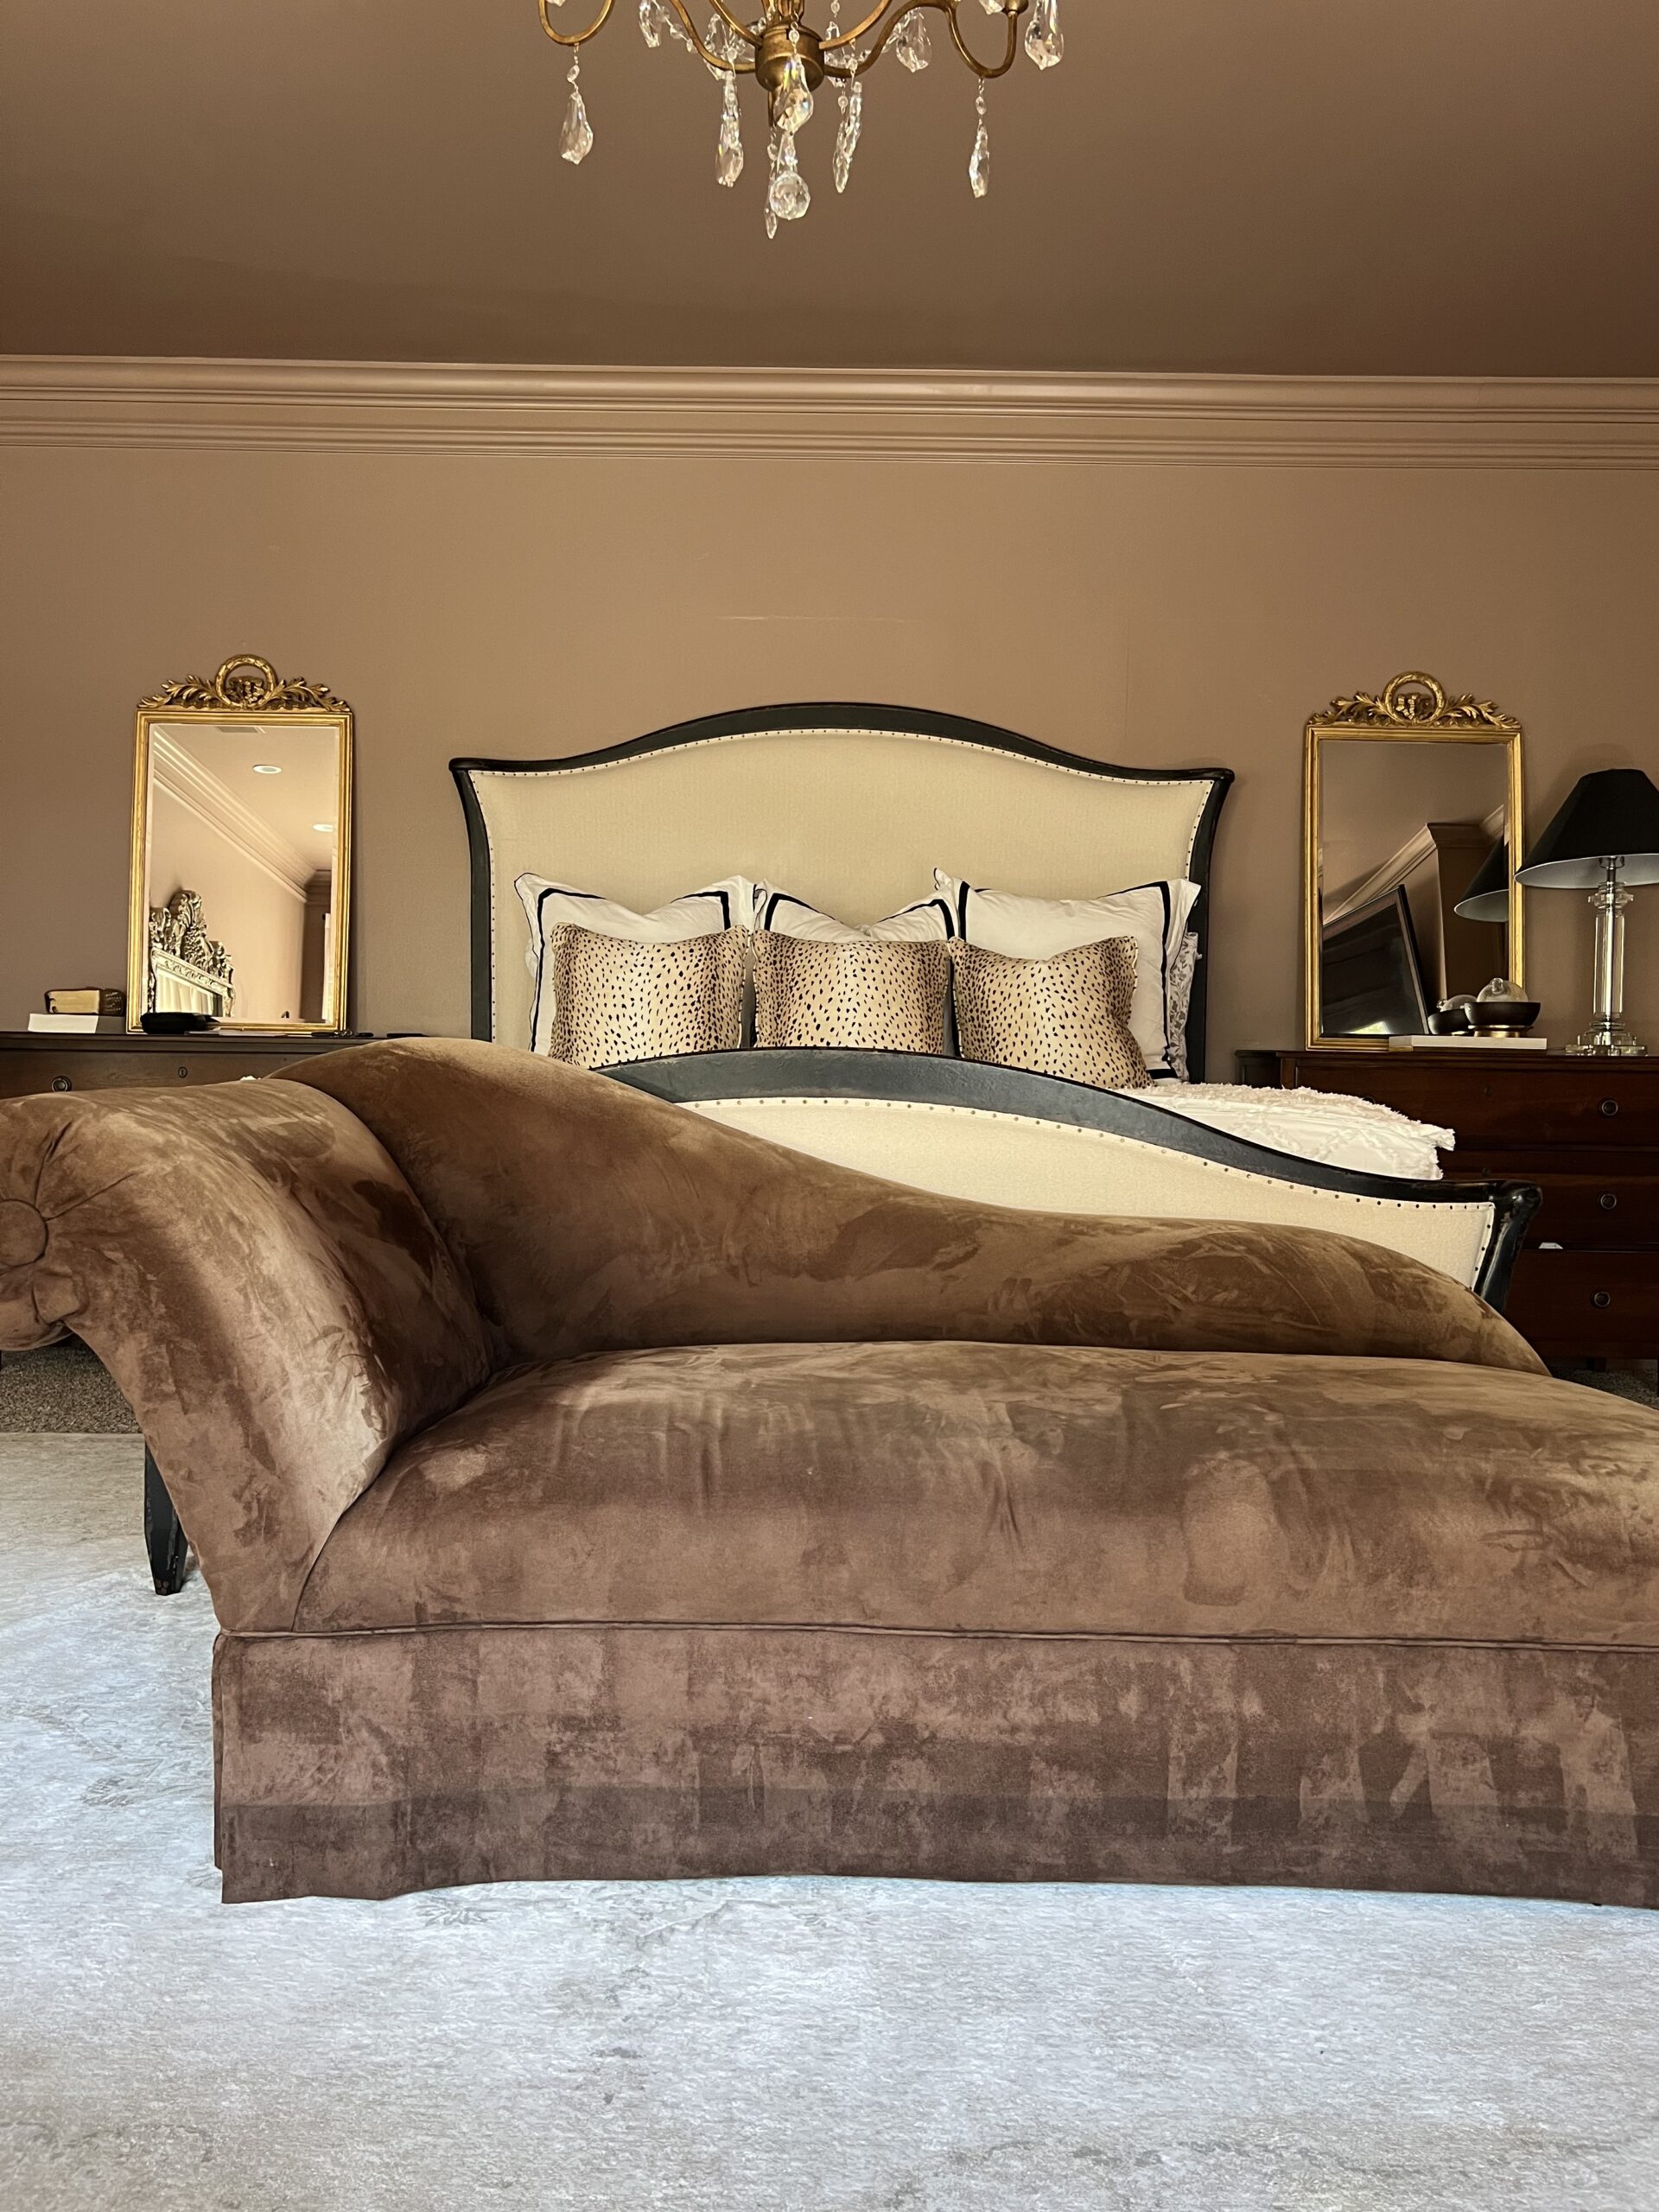
I’ve had this stunning chaise on hand for over a year now hoping to find a new solution for the fabric. The color isn’t exactly my style, but the shape is everything! I could buy a new chaise with a color I’m crazy about or find a professional to reupholster this one…but what if I could just dye the fabric using Rit dye?

Looking for a similar piece? Here are a few that looks very similar in shape and don’t require any DIY dyeing with Rit dye.
Why dye the fabric?!
I love the fabric itself. The color WAS beautiful but had significant fading from being in front of. a window for may years.. It’s a velvet material that is original to the chaise. If only it were a few shades darker to flow with the rest of my decor, it would be perfect as-is.
Plus, this is not something I’ve ever done before and I’m excited to give it a try. I love to find or thrift vintage pieces and because this chaise was affordable, I feel comfortable dyeing the fabric on this piece. I mean, worst case scenario, I can reupholster it if this doesn’t work!
What dye are you using?
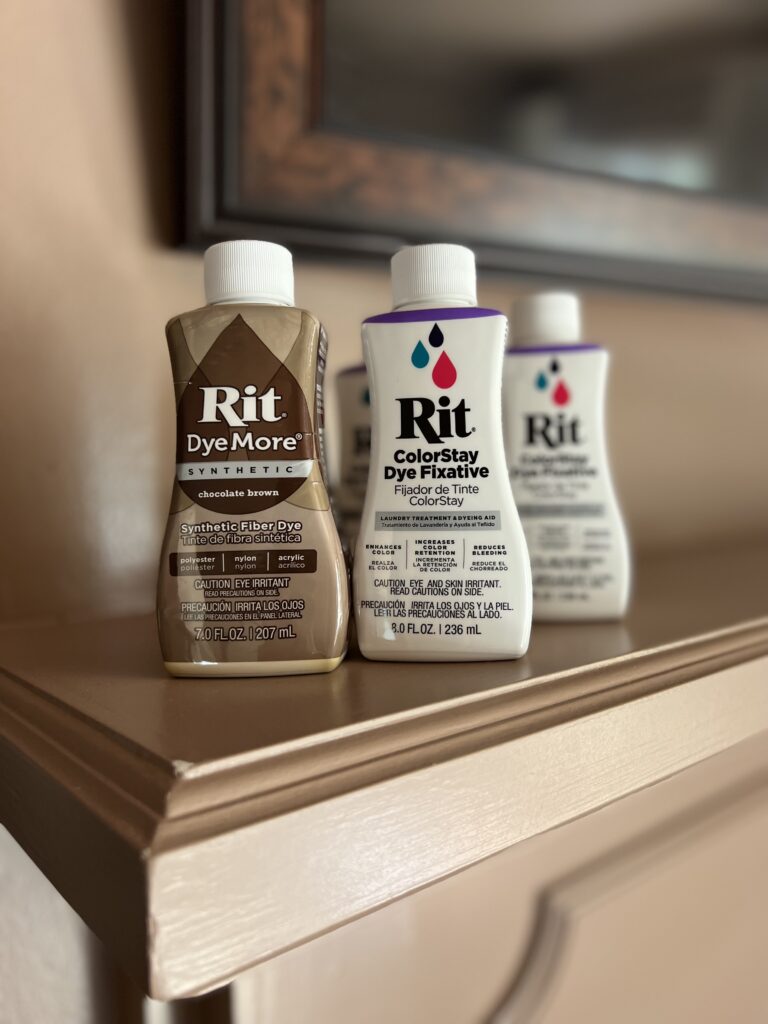
I am using Rit dye for this project, but definitely do your research before dyeing any fabric. Rit has an all-purpose line that can be used for most items such as clothing, denim and standard fabric. However, they also have a synthetic line if your fabric has more than 35% synthetic fibers. Rit carries both types of dye so that you can get exactly what you need for your project. In this case, I’m definitely using the synthetic line!
Rit’s website says:
This dye is for synthetic fibers, which include polyester, acrylic, acetate and nylon. If you have a blended garment that contains more than 35% synthetic fibers, this is the dye you will need to use. If you are dyeing a garment with less than 35% synthetic fibers, use Rit All-Purpose Dye instead.
Rit Dye Tips
No matter what piece you’re dyeing, the most important thing you can do is to read and follow the Rit dye instructions carefully. There are three ways Rit recommends to use their standard line – bucket method, stove top method, or washing machine method.
I used the stove top method.
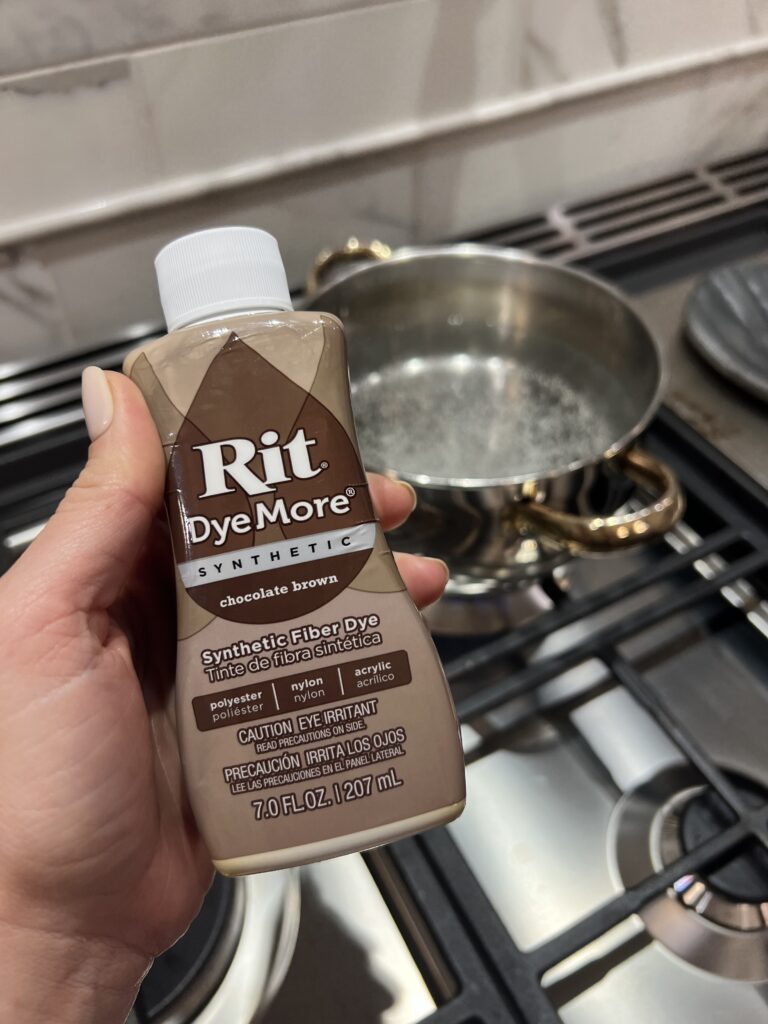
Since the fabric is not removable, I did the stove top method to allow me to pour the dye in my sprayer to saturate the fabric. I want to keep the foam and framing as dry as possible during this process.
Once you mix your Rit dye into the water, use something like a paper towel or old white t-shirt to test the color. In my case, I am dyeing a chase that is already saturated with color so this didn’t apply to my project in the same way. I did test the color, but I didn’t know exactly how it appear on top of the chaise.
How I Applied Rit Dye To My Sofa
I also wasn’t able to submerge my fabric like if I was dyeing clothing. Instead, I poured the dye into my favorite paint sprayer to get the most evenly applied stain to my chaise. I tested a small piece first – and then I went for it!
PS: We recently had this piece professionally cleaned but I highly suggest vacuuming the piece thoroughly and shampooing it with an upholstery cleaner (linked my favorite one below!) if its been a while since the piece was last cleaned and especially if its a second hand find.
I applied an even, thin coat of Rit dye and let it dry completely. The fabric was still moveable and soft to the touch!
The good news – the color was definitely taking to the chaise! Yay! The bad part? It still wasn’t dark enough.
Rit Dye Materials List:
- Rit dye
- Rit ColorStay Dye Fixative Enhances
- Drop Cloth
- Paint Sprayer
- Shop Vac
- Upholstery Cleaner
- Fringe (I added this to the chaise!)

What Happens Next?
My next step is to create a custom color by combining brown with black to achieve a darker finish. After two coats of brown that weren’t quite dark enough, I sprayed the fabric with one coat of 2:3 brown + 1:3 black which is drying now!
As it has started to dry, I think we are finally close to that rich, deep chocolate brown color I was dreaming of! It made need one final coat of dye but I think we’re close.
Finally, I’ll spray it 2-3 coats of fixative, a product that essentially locks the Rit dye into the fibers of the fabric so it won’t rub off on other surfaces like clothing or my bed (that it’s going to be be up against).
I am writing this post in real time, so I’ll give another update as soon as I can!
Cool idea but I’m confused. When you showed the spraying videos, the sofa did not have tone-on-tone stripes. It doesn’t in the pictures above either. But the finished product definitely has those stripes. I’m sorry – seems trivial but it’s bugging me…lol. Beautiful end product non the less!
Those are vacuum lines 🙂
Yeaaahhhhhhhhh. Thank you for this. I will be working on my son’s room next and I need to dye his storage ottoman from green to black.
I also started renovating my home in February but my Father passed in August & I think that has drained me.
I hope to be back on it. By the way, I love your bed.
Any updates?
No wear and tear or changes! Worked great!
Hi- looks great.
Do you need a paint sprayer for application. Would a sponge or something else work?
How colorfast is your end result? I am doing a similar project but cannot seem to get to a point where I would feel comfortable sitting on my couch with light colored clothing. I used several products, including RIT fixative.
Update coming soon! It’s definitely nerve-racking but fun to try new things!