One of the scariest (and exciting!) parts about DIY renovations is trying something new. It can be a big investment in both time and money without a guarantee that it’s going to work out. That is exactly how I felt about tile work before I got my hands dirty and gave it a try several years ago. I’m SO glad I did because it’s paying off big time during this kitchen reno!
Today on the blog, I’ll be discussing everything related to my favorite tile adhesive: Mussel bound! If I would have known about this sooner, it would have saved me so much time and mess. I truly can’t believe I missed out on this for so long.
What Is Mussel bound?
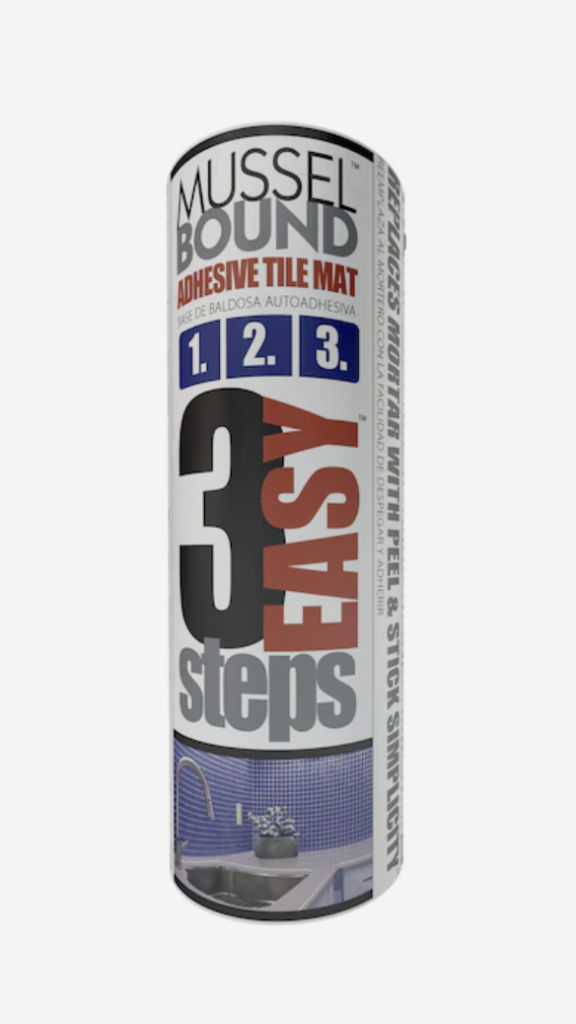
I’m so glad you asked! Mussel bound is one of my new favorite products that completely replaces traditional mortar. You can skip the mess and hassle of thinset for Mussel bound – making your tile project easier than ever to finish in an afternoon.
Essentially, Mussel bound is a sheet of industrial adhesive that’s placed directly onto your wall. Then, you simply set your chosen tile to the top and finish the project off with grout. It really is that simple! I like to hold the tile to the adhesive for a few seconds to make sure it sets. After that – it’s not budging.
Over the years, I’ve tried almost every type of tile adhesive on the market, but nothing has provided the quick and effective installation I wanted. I stumbled upon Mussel bound and decided to give it a try when we did a quick kitchen makeover last year. I wanted to try it on a low-budget and low-risk project to make sure it would hold up. I couldn’t believe how fast we installed the backsplash with Musclebound. I have been waiting for the opportunity to use it again!
How Does It Compare To Mortar?
This was the very question I asked myself before trying out Mussel bound for the first time. Although mortar is incredibly time consuming, this traditional way of installing tile has been around for years.
Now I know every DIY’er has products they tend to stick to, but I promise you will not regret giving Mussel bound a try.
Here are a few of the reasons why I believe it’s better than Mortar:
- The install process is so simple! Just measure out the amount needed and stick it to the wall.
- There is no mess. You won’t have to worry about traces of mortar on literally everything you own for weeks to come! haha
- Your tile will actually stick to the wall. I know it seems silly to say a product does what it’s intended to, but I’ve tried another brand of tile adhesive that didn’t work nearly as well.
- It will last the test of time. When I say Mussel bound is heavy-duty, I mean it. This tile isn’t going anywhere.
If you can’t already tell, I will never go back to traditional mortar again except for special circumstances! Mussel bound now has a permanent place in my DIY kit (and I think it needs a home in yours too).
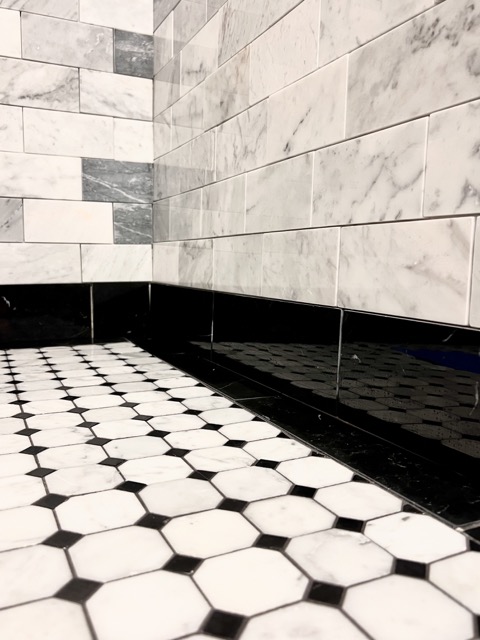
Is it waterproof?
Mussel bound is designed to work in bathrooms. The only place you shouldn’t use it on shower floors or any area that is going to be submerged in water. I am currently renovating our bathroom (see more on that, here!) and I’m using Mussel Bound on the wall tile and the shower tile! I prefer using it on vertical surfaces.
It’s been working so well and I’m extremely happy to be using it over traditional mortar!
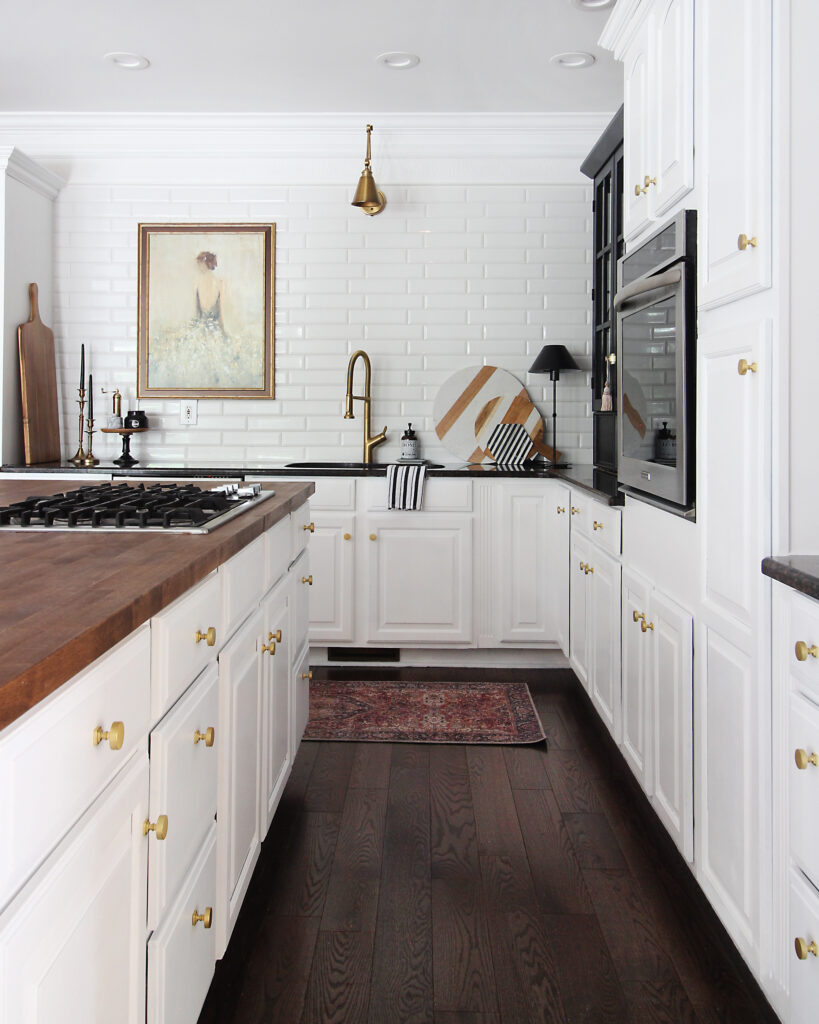
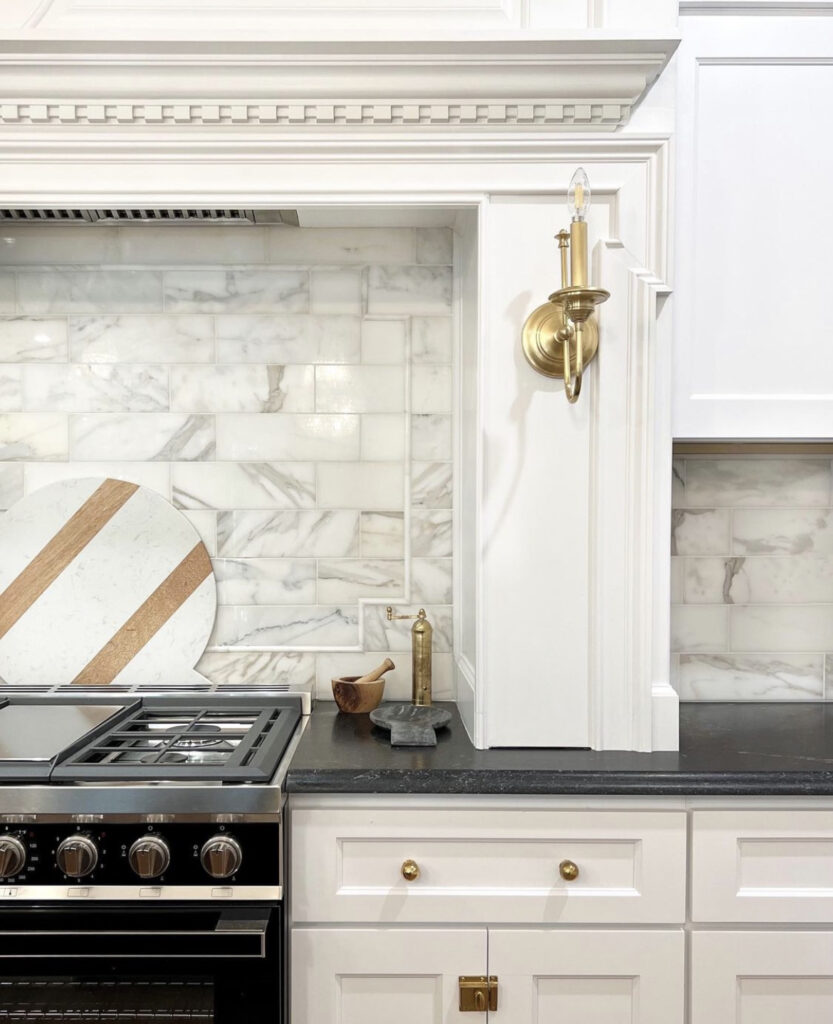
Our Kitchen Backsplash Using Mussel bound
I cannot believe I actually get to share this finished tile install with you all! It felt at times like we would never get to this part of the renovation, so I’m thrilled to see it come all together. If you’re new to the Monarch Revival kitchen remodel, I’ll share a bit of my vision for how I wanted the space to look.
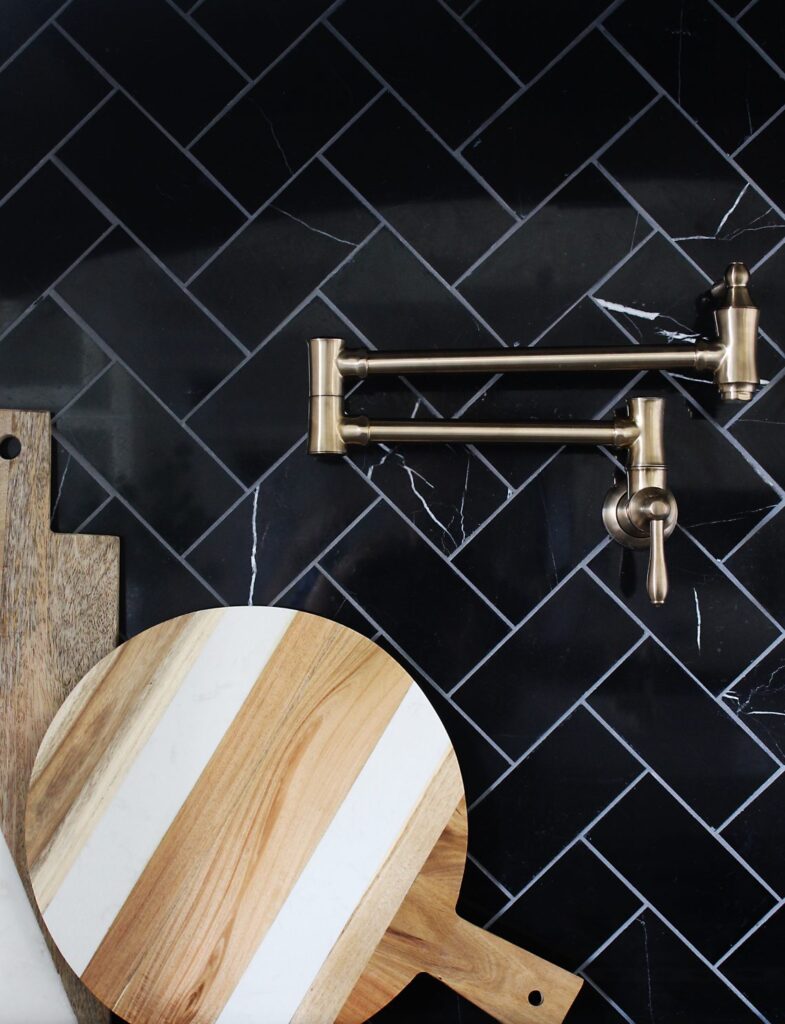
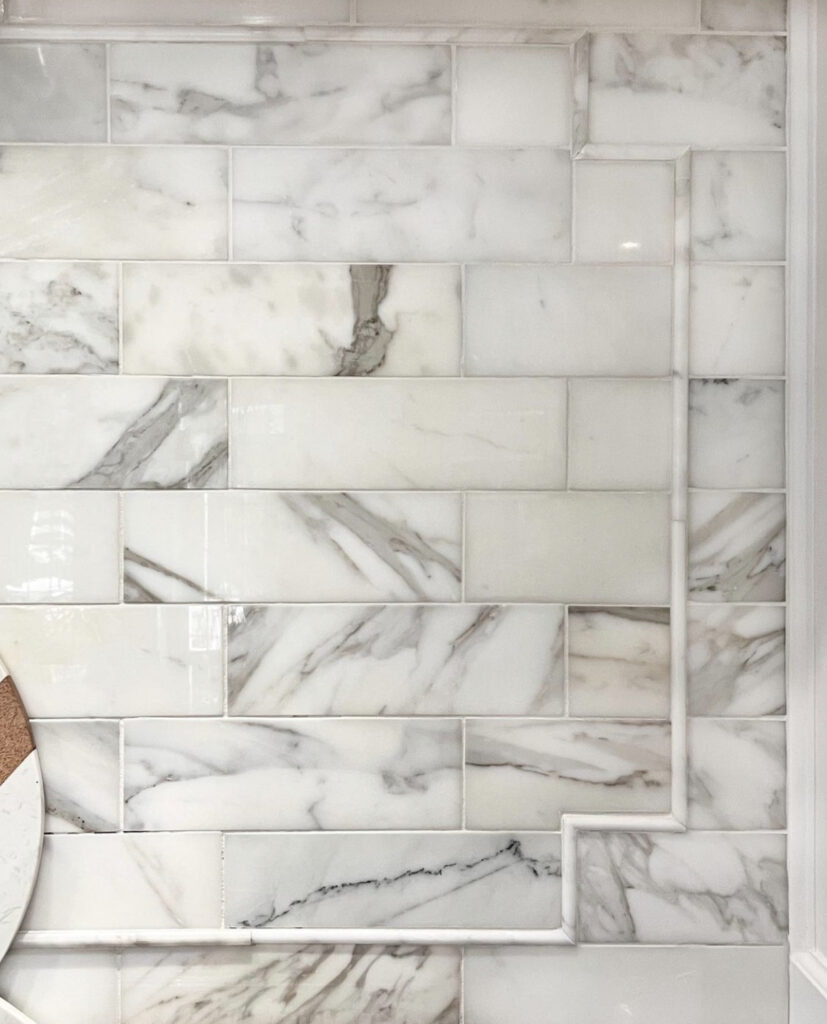
After remodeling many kitchens over the years, my heart always seems to go back to a clean neutral design with elevated finishes. While I’ve done many different variations of backsplash before, a marble pattern is a new touch I wanted to try. To read all about the complete kitchen mood board, check out this post!
The backsplash we chose blends perfectly with our darker countertop selection, giving a luxury I have been trying to cultivate. With this dream of stunning finishes in mind, I knew the install process for the marble tile had to be perfect.
Just like every other step in this remodel process, our boys helped DIY the backsplash. It was one of the smoothest projects we’ve tackled in months! Using Mussel bound made the prep work quick, leaving us to tackle the fun part of placing the tile.
My Final Thoughts
I’ll say this again and again, but I cannot believe how easy it is to install tile using Mussel bound. Looking back at all my frustrating DIY fails when it came to tile adhesive, I wish I had known about this product sooner. It makes our backsplash look professionally done!
If you end up trying Mussel bound for any of your DIY projects, please let me know in the comments! And to keep up with all of our previous Monarch Revival kitchen remodel projects, check out these posts:
We’re moving, and I did honed Carrara marble on my countertops in the house we’re leaving. I thought I could live with the “patina.” I can’t. All of the stone places warned me, I just didn’t listen. I juice lemons at the kitchen table, so that the spray doesn’t etch the countertops. It’s the same story with vinegar and canned tomatoes and orange juice. And as careful as I am, we have etch marks and a small chip. I had black galaxy before we remodeled, and I’ve been so stressed, I was wishing I had kept it. We’re remodeling the kitchen in the new house, right away. I need something that is durable, doesn’t etch or chip easily. And I want it to look gorgeous too. I just don’t love quartz. Have you had any problems with your honed negresco, etching, staining or chipping?
Mussel bound is the best! So thankful you shared this, as I was fearful of tackling my first tile project because of the thin-set process itself. Kitchen backsplash done and ready to tackle the next tile project! 🙂
My husband use the product on our kitchen backsplash one of our walls have wait to buy longer counter top. Let’s say it stayed well when we accidentally got the wrong grout which was for professionals had to go back get the right stuff. It definitely held on. If your cutting on a wet saw definitely use a hair dryer or sit it outside to dry before sticking it to the wall. DIY is always a trial and error.
For sure! So glad it worked for you!
I’m terrified to try and do the backsplash tile myself. Can you tell me if there is any forgiveness when you put the tile on the mussel bound so if I placed it wrong and had to take it up would it work? Thanks
You’ll probably have a few seconds, but after that it’s not budging.