For the past few months, I’ve been working hard to completely revamp our primary bedroom! While it’s been a long process, the end result truly is a reflection of the design style I love.
Missed out on some of the primary bedroom updates? Here are my latest updates:
- Primary Bedroom Design | Wall Trim Reveal!
- My Take On The Upholstered Headboard | Upholstered Headboard DIY
- Painting Built-In Cabinets | A Primary Bedroom Update!
As the primary bedroom projects begin to wind down, I get to work on the finishing touches to create a space I look forward to tucking into each night. One of my main goals for this year is to continue organizing areas in my home with a purpose- this includes my nightstand.
Today on the blog, I’ll be chatting all about my nightstand organization and the tips I’ve picked up to create (and keep) a beautiful and clean nightstand!
Nightstand Organization Tips

Nightstand organization does not have to be complicated! With mini projects like these, it’s so easy for me to put them off until I’ve collected piles and piles of things I do not need. My biggest piece of advice: organize your nightstand as an act of self care. My morning and nightime routine is drastically different now that I have everything I reach for in a designated spot.
Take Everything Out!
I believe this is the perfect time to purge all of the extra knick knacks that get collected in a nightstand. When I was taking things out of my nightstand drawer, I realized it had become a catch all for items I didn’t know what to do with – like extra chargers!
I made two piles: to trash and to keep. The keep pile was way bigger than the trash pile in this case, but after clearing everything out I felt refreshed.
Give Everything A Good Clean
Once my nightstand was completely empty, it was time to give everything a good clean. I wiped down every inch of the nightstand, plus every product going back in it.
I cannot believe how quickly things get dusty! It made me so excited to start putting the organization tools in and truly appreciate the space I’ve been working so hard to curate.
I used this handheld vacuum to clean out the drawers!
Purchase Specific Organization Tools
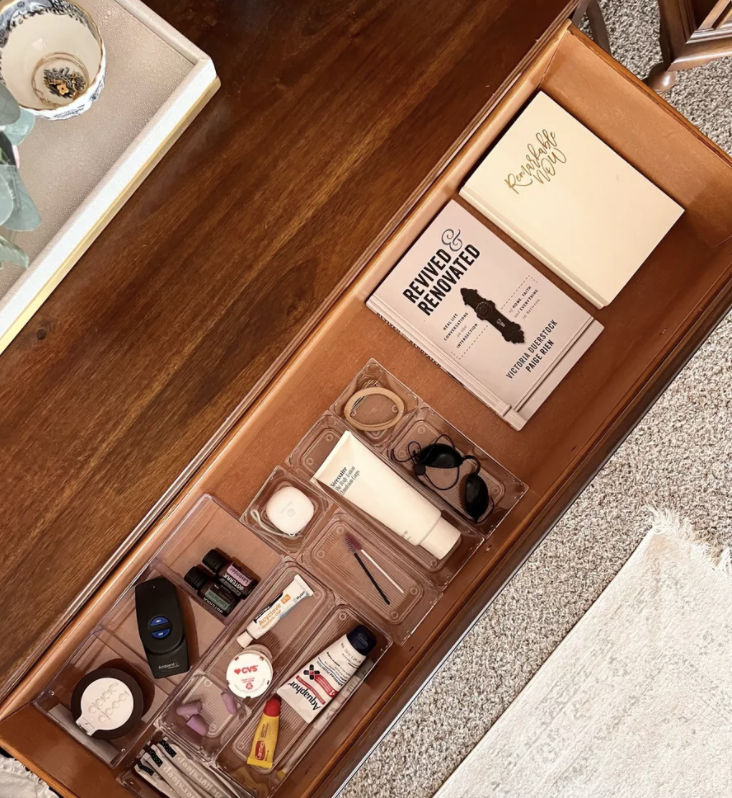
I ordered what I think is the perfect drawer organization set from Amazon. The sizes of containers are different for various needs, plus there are silicone pads at the bottom so nothing slides around when I open my drawer.
When trying to figure out what organization tools I wanted, I was very picky in order to create a system I’ll actually stick to. So far, so good! I’ve loved these organizers and everything has a place.
To shop the exact organization containers I used, click here.
Create Different Purposes For The Top And Drawer
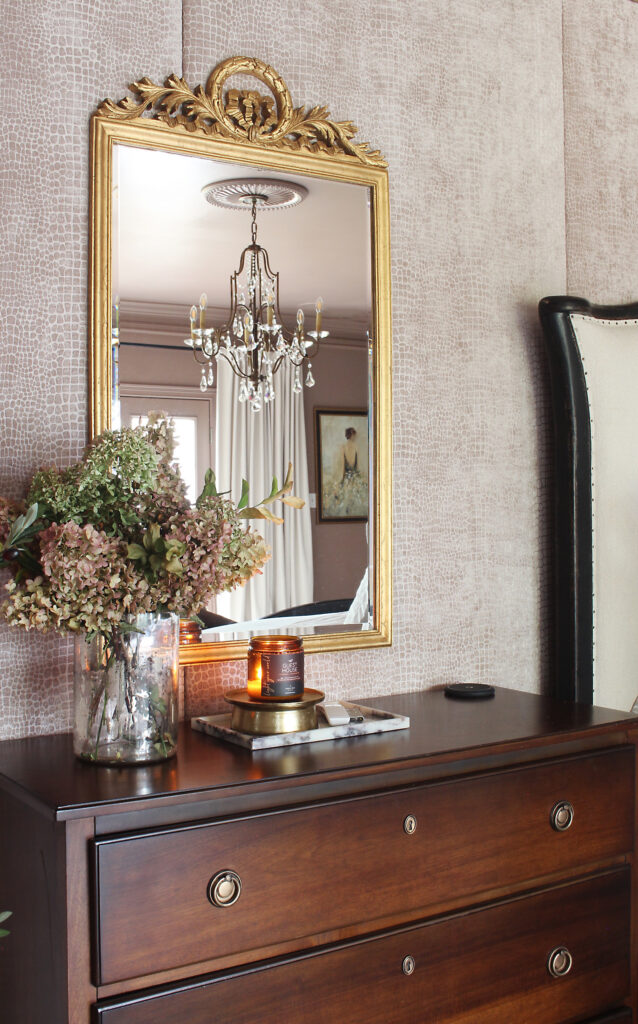
For the top of the nightstand, I wanted to choose a few decor pieces to display, but still leave ample space for my glass of water at night. Keeping this space clean has actually been easier than I thought because of all the drawer organization I used.
As for the drawers, I wanted the bulk of my items to hide away in there since I don’t use every single item each night. I’ve learned when it comes to nightstands that less is more!
Refill With Items You Love
My drawer clear out was a huge sign I needed to narrow down the necessities I keep right by my bedside. I’ve moved a ton of things around, but here is exactly what I keep in my nightstand that I absolutely love:
- Current book
- Gratitude journal (I’ve been using one for years!)
- Raycon earbuds
- Better sleep supplements (They are incredible! To read my complete thoughts, click here)
- Lip care
- Essential oils
- Remotes
- Sleep masks
- Clean eyelash brushes for my lash extensions
I have given myself the freedom to stray from this list if needed, but I do my absolute best to keep everything in my nightstand intentional.
How To Maintain Nightstand Organization

Maintaining nightstand organization is not as hard as you think! Setting yourself up with an organization system that works for you is key. After a few weeks of putting things in their places, it becomes a habit.
I’ve found through keeping the bedroom organized, I am able to take on each day with a clear mind. Although this project is super simple, the effect it made on my life is huge!
Do you have any nightstand organization tips? Please leave them below in the comments!

So, your nightstand items might be a little different from mine but here’s what I do with mine. I have a single standard size (not wide) nightstand that has two drawers. The top drawer is standard or shorter height and bottom drawer is a taller drawer. In my bottom drawer, I keep a journal to write in when feel the need, the most recent copy of the Upper Room devotional (free monthly from my church), and my Bible, when not being actively read or taken places. Also a small sized pop-up battery lantern.
In my top drawer, I keep a Remote for my TV, my eyeglasses cases & wipes for cleaning lenses, a pencil, yellow highlighter, black ink pen, blue ink pen, extra watch bands for my smart fitness watch, a small flashlight, and one of those ON/OFF battery light switches.
On top of my nightstand with my lamp I keep a jar candle, a coaster, my Sunday School book, and a charging station for my electronics to charge in overnight.
Note: If your nightstand has a solid back to it, you can get Cable Clip Set and attach the cable clips to back of nightstand and when you unplug your iPhone or other electronic devices, holds the cable so doesn’t fall down behind nightstand. If you wanted to you might also include the size and quantity of batteries your remotes or flashlights use and place new ones in bedside drawer so if find your batteries get low or need replacing you don’t have to go a long way to get new ones. Might also keep a small pad and pen too for writing down any thoughts that come to you either as your going to bed or when you wake up whether it’s reminders of things to do or things to buy or things to check on/follow up on, etc.
Note: If you like to Craft or DIY, you could also get an empty can (like from soup or vegetables. Can size depends on where it’s going to go ultimately and what all going in it. You can take modge podge and attach a pretty scrapbook paper or even a pretty paper napkin and modge podge it on outside of the cleaned and dried can. You take your empty can, clean and dry it well, then paint it once paint dry, then modge podge on outside of can and add your napkin etc. Then once fully dry after all that you can take your pens, pencils, highlighters, letter opener, scissors, etc and put inside it. You can put it either on a surface like a desk or bedside table or counter or inside a deep drawer. Also good to have near a grab and go space like as you come in door from your garage area (entrance/exit to home you use the most).