
Cabinet hardware is the perfect finishing touch to any space, whether it be newly renovated or needing a refresh. Although installing cabinet hardware seems relatively simple in theory, it’s harder than it looks!
For years, I had to hype myself up to pick up a drill and try my hand at a DIY install. After much trial and error, I’ve picked up a few tips along the way I can’t wait to share with you.
Today on the blog, I’ll be chatting all about my hardware placement guide! Hopefully, these tips turn this finishing design step into something you look forward to instead of being fearful of.
Choosing The Perfect Hardware
I could talk about my love for choosing the perfect hardware for ages! There is every size, shape, weight, style, and color imaginable out there, so get creative and see what speaks to you. I’ve always been in love with Rejuvenation’s hardware. They just seem to have the perfect options for every design style- all the photos included below are from their hardware lines!
Here are my absolute favorite hardware types:
Knobs
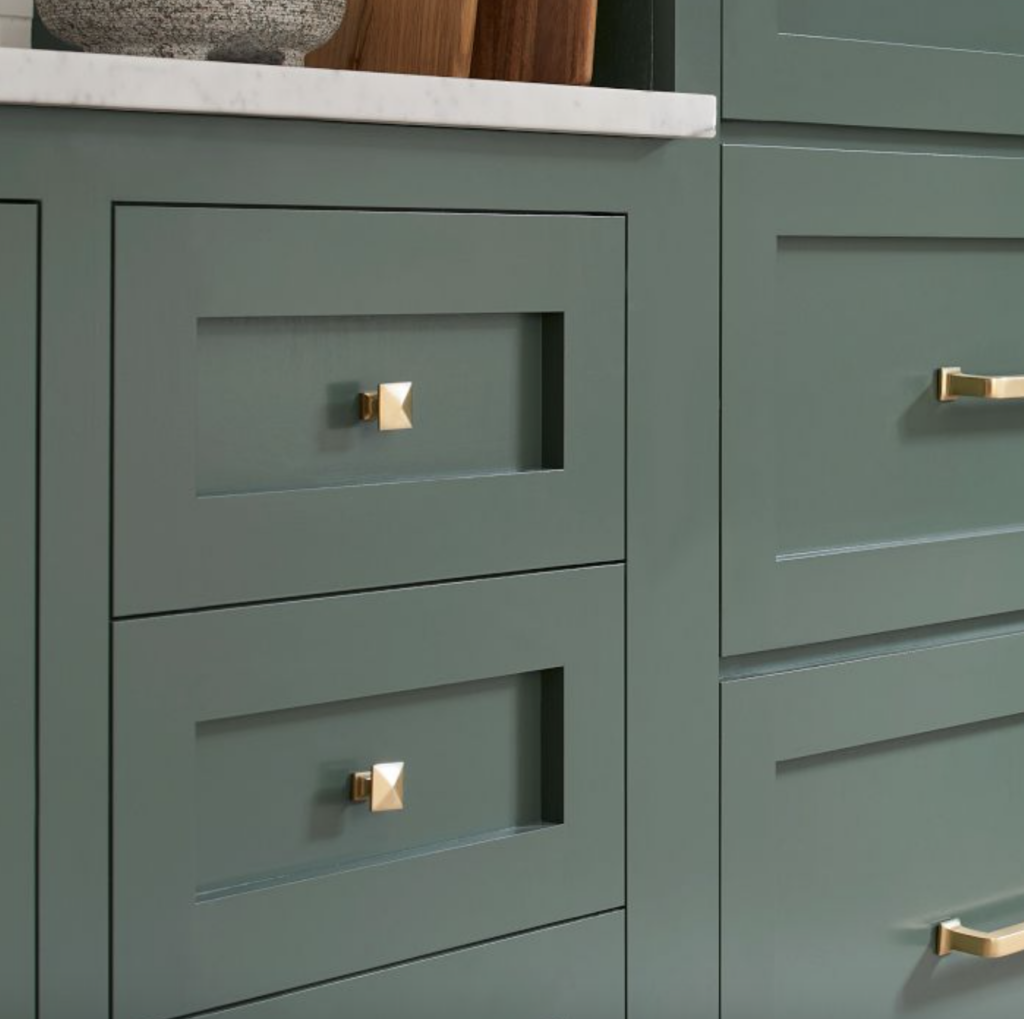
Knobs are the perfect starting hardware to install because of their circular base. Typically, knobs are centered both horizontally and vertically, so if you’re a beginner I recommend knobs on both drawers and cabinets.
Pulls
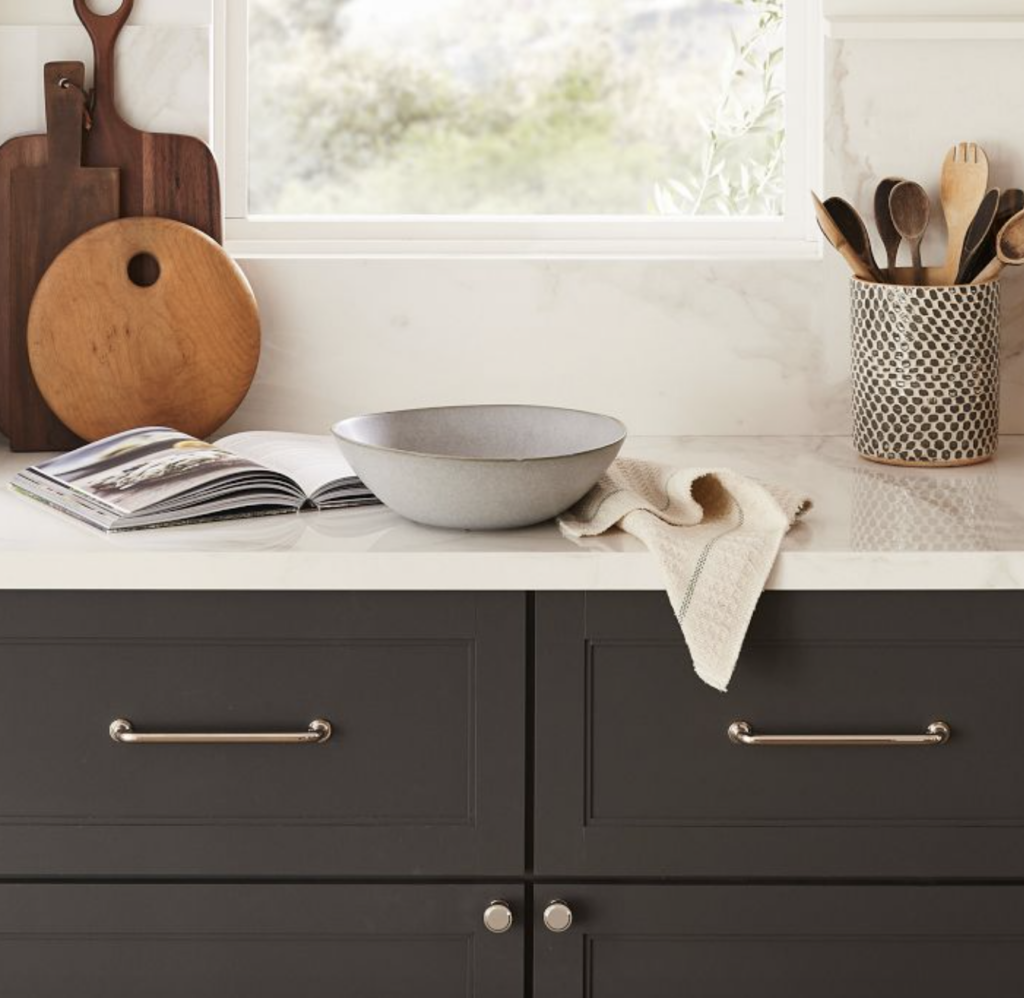
Pulls are a stunning addition to knobs, or the perfect hardware to install on its own for a modern look. The majority of the time, pulls are used for longer drawers, sometimes even needing two for functionality purposes. While this option requires a bit more measuring, pulls are still incredibly user-friendly to install.
Cup Pulls
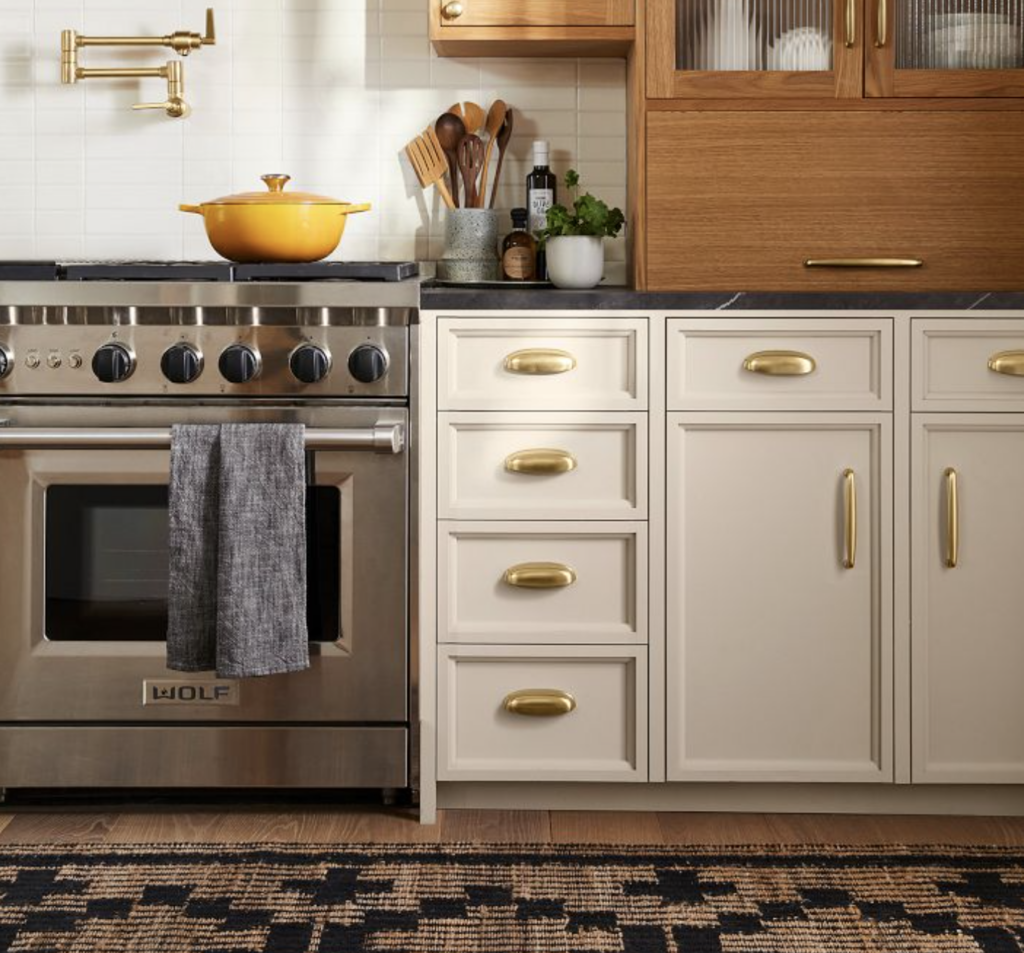
Cup pulls feels almost like a knob and pull hybrid, giving that circular shape yet still being super functional. These are very similar to traditional pulls in terms of install, but always advise triple-checking the measurements since they are typically more bulky.
Finger Pulls
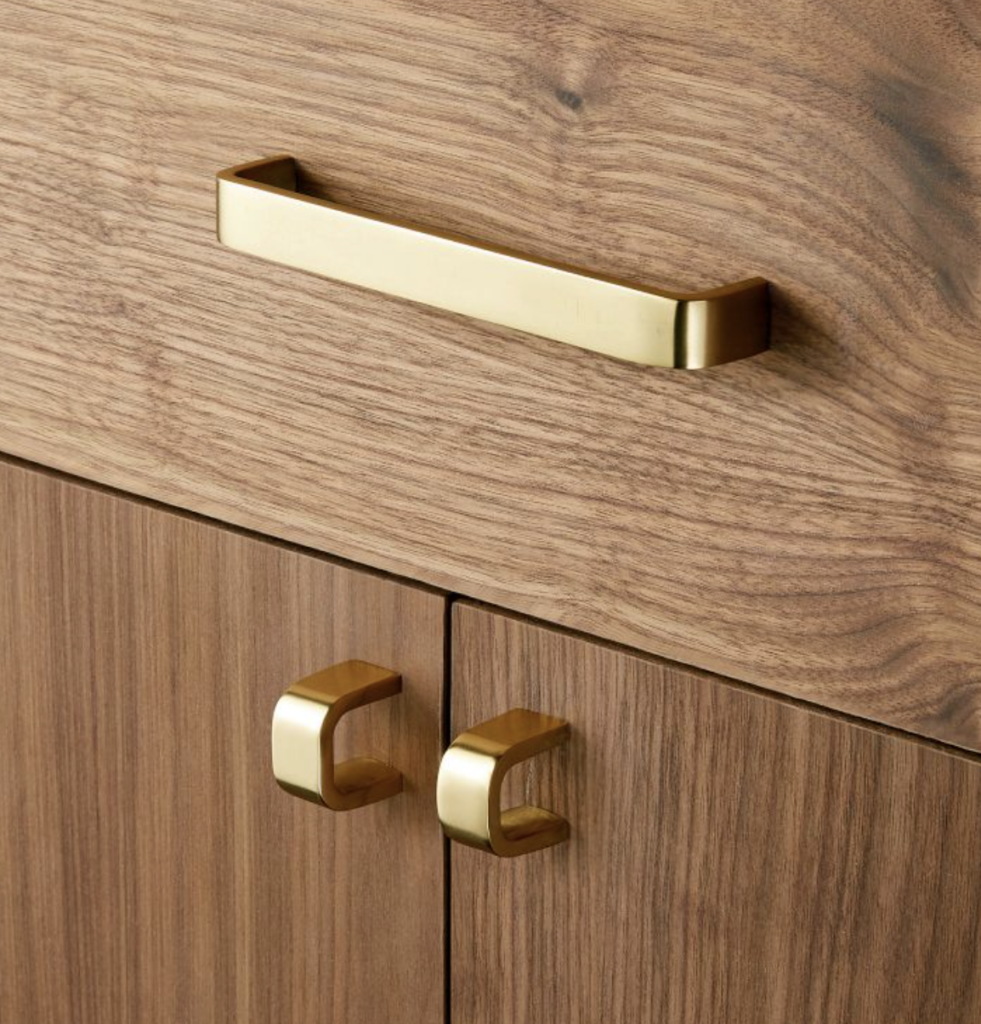
Last but not least are finger pulls! Finger pulls feel like a newer style of hardware, but the look of them is just so adorable. The install for these is great because the measurements are a smaller width apart then regular pulls, but still provide a different look to the typical knob.
Tape The Potential Placement First
Hardware placement depends all on your preference. While this may sound silly, start by going up to your cabinets and mimicking where your hand naturally goes to try and open it. Put a piece of tape where your hand reached for.
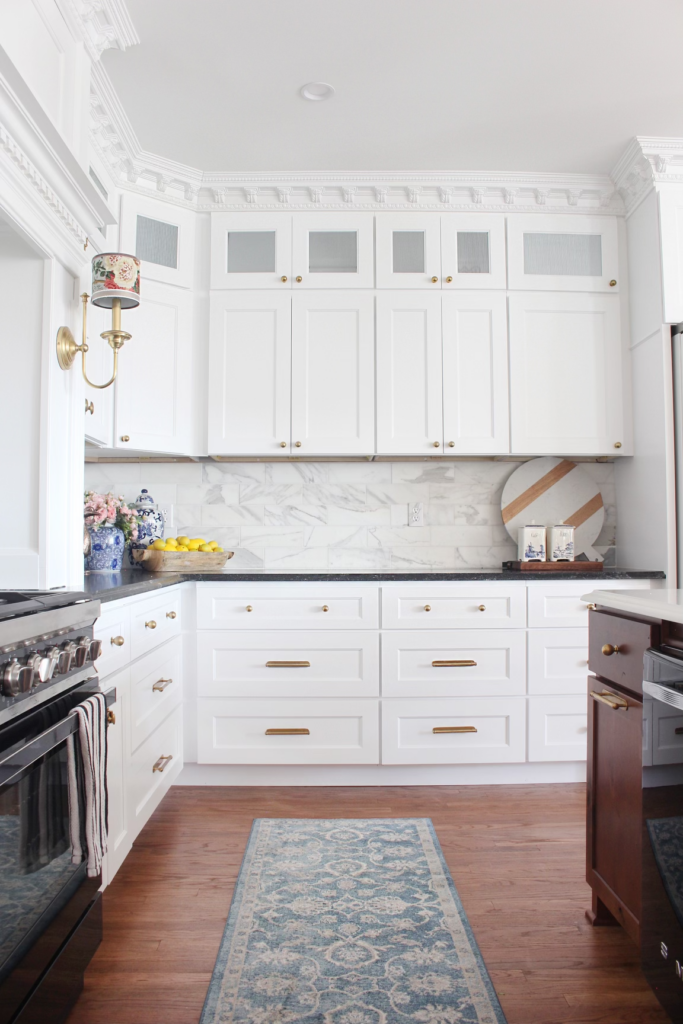
Once you’ve done that for all your cabinets, go back and take measurements to make sure each tape is placed evenly and create a better “rough draft” through taping. Then, take a step back. Do you like where the tape is sitting when you see it all together? From there make adjustments.
Now I know many of you want to skip this tip, but I urge you not too! I cannot count how many times I became too cocky, picked up the drill, and just went for it. I promise you, it never looks good.
Use A Hardware Placement Guide
For the longest time, I had no idea hardware placement guides existed! This little tool makes it so simple to use the measurements you’ve taken and quickly move from cabinet to cabinet. The best part, one guide is guaranteed to work for every cabinet and hardware you have! It’s one of my favorite tools in my box and while it only comes up once in a while, I’m always glad I have it.
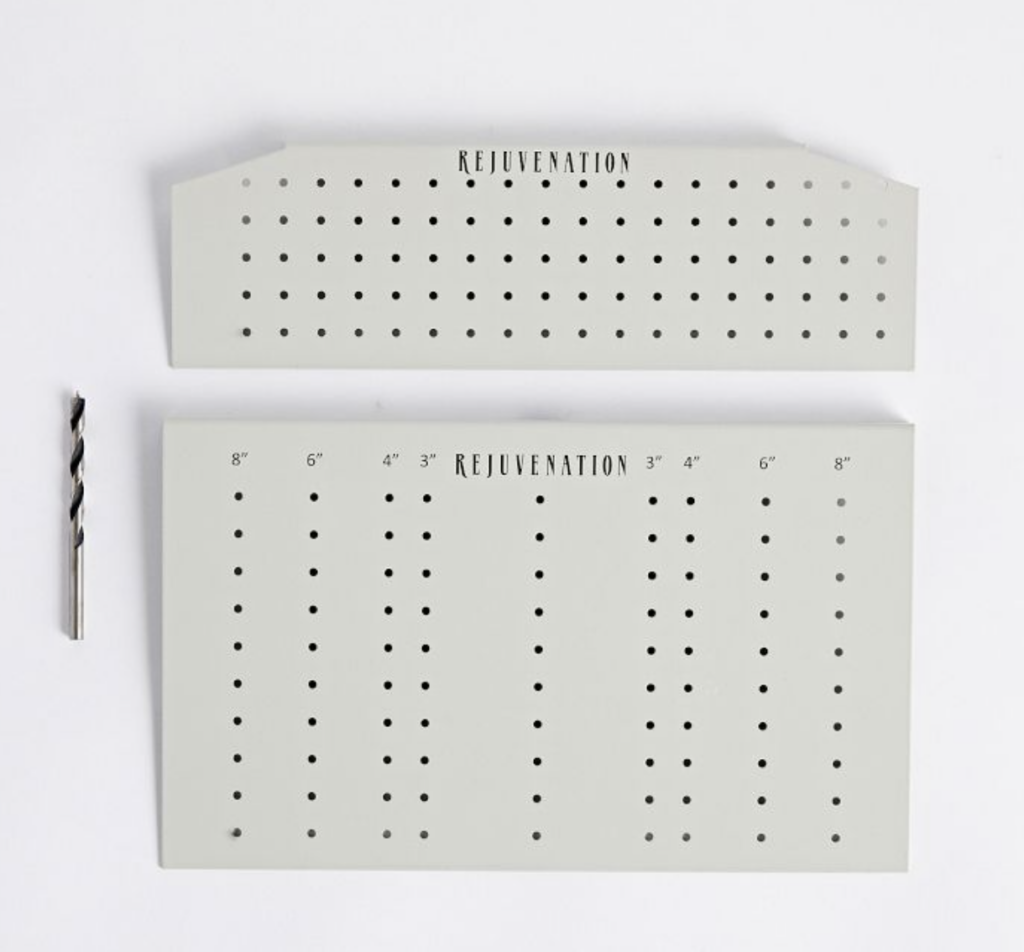
The one I love is from Rejuvenation and you can shop the hardware placement guide here! Since I use so much of their hardware, the guide pairs perfectly and I’ve always had a great install process.
Don’t Be Afraid To Switch It Up
This tip is for those of you out there who are just dying for a cabinet refresh. Don’t be afraid to switch up your older hardware or install new hardware to old cabinets! This is such an inexpensive and easy way to elevate your space without completely changing everything.
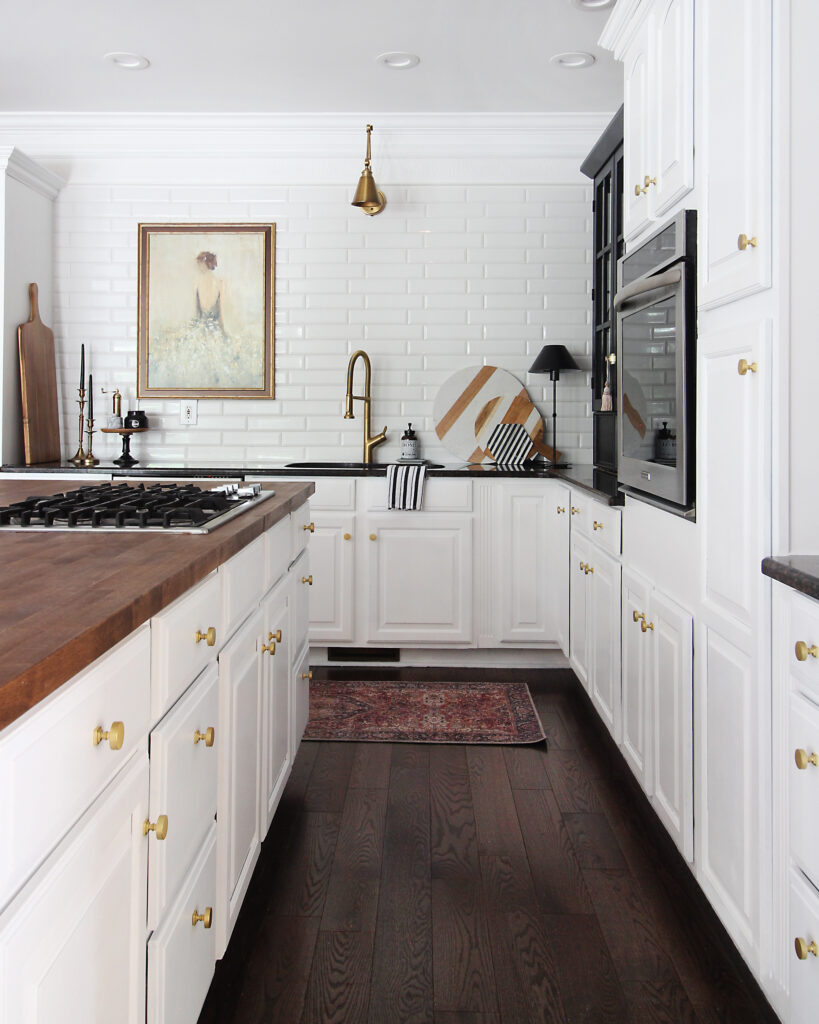
If you’re concerned about having to fill in holes from pre-existing hardware, I promise it’s really simple. Spackle in the old holes and either paint match or wood stain match. Since the holes are relatively small, the match does not have to be 100% perfect. I can assure you no one notices the cover ups in my home!
Hardware Placement Guide: My Final Thoughts
I hope my hardware placement guide tips have given you all a boost of confidence to get out that drill and install that hardware! While this isn’t DIYing an entire renovation, I promise you will feel a sense of power in taking home projects on yourself. Plus, your space will look great!
Do you have a personal favorite type of hardware? Please let me know in the comments- I’m always looking for something new! And to keep up with all things on the blog, check out my latest posts:

hi! looking for info (sources) for your unlacquered cremone bolts (surface bolts). I am only finding lacquered options in my hunt…