It seems like my days have been filled with building cabinets for our new closet! While it has taken me DAYS to finish setting everything up (I promise the reveal is coming soon), it really led me to think about how many RTA cabinets I’ve built over the years. Simply put, it’s been a lot and I can do it in my sleep, which makes me believe absolutely anyone can do it too.

Today on the blog, I’ll be giving a step-by-step RTA cabinet tutorial to help install them as easily as possible. It’s easy to shy away from this option, due to the size of the project, but these cabinets are designed for DIY installation. I promise, the end result is absolutely gorgeous.
RTA Cabinets vs. Traditional Cabinets: What’s The Difference?
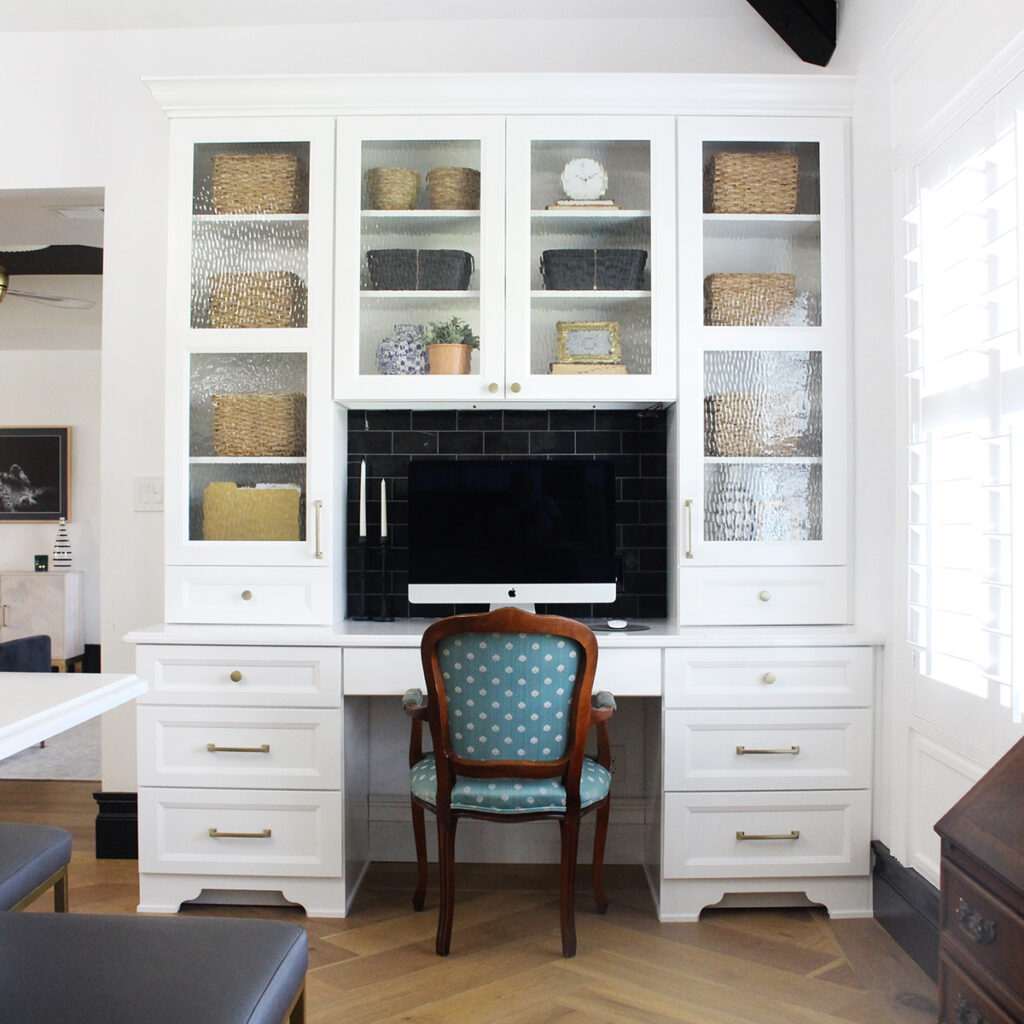
When it comes to upgrading any space in your home, cabinets can be both a beautiful and functional option to consider. For bathrooms and kitchens, the storage is crucial, but in less obvious spaces, cabinets are a really thoughtful addition.
If you’re looking into cabinet options, you’ve likely come across RTA (Ready-to-Assemble) cabinets and traditional cabinets. But what’s actually the difference?
Traditional Cabinets:
Traditional cabinets (as the name suggests) are typically custom-built or pre-assembled cabinets that are delivered to your home fully constructed and ready for installation. They are often made of solid wood and can be customized to fit your specific space and design preferences. However, they can be quite expensive and most often require professional installation.
RTA Cabinets:

RTA cabinets are designed to be assembled yourself (which is why I’m writing this RTA cabinet tutorial) which significantly reduces the overall cost. They do offer pre-assembled but I’ve never ordered those. These typically come flat-packed with all the necessary parts and hardware, along with instructions for assembly available on the app, BILT. While they may not offer the same level of customization as traditional cabinets, RTA cabinets come in a variety of styles, finishes, and sizes to suit different needs and preferences. They have SO many sizes available that I’ve never not been able to make them work in a space.
I really look at RTA cabinets for the foundation to my kitchen, bathroom, etc… and use finishes to make it look custom. This REALLY decreases the cost and you end up with the same overall look and exceptional quality in the end.
Why I Prefer RTA Cabinets
Choosing RTA cabinets has been a game-changer for me when it comes to remodeling spaces in our home. Custom cabinets are expensive and take forever to be delivered, which really slows down the creative and demo process. Even though putting them together takes a lot of time, the money I save is worth it and it’s still faster than ordering custom in most situations.
After using RTA cabinets in my home multiple times, I’ve realized that the cost savings far outweigh the time spent building them. Plus, I’ve picked up a few tricks along the way to make them look even more customized. To see a complete guide to How I Make RTA Cabinets Look Custom, read my post here.
RTA Cabinet Tutorial: Step-By-Step Guide
Step 1: Gather Tools and Materials
Before you begin assembling your RTA cabinets, make sure you have all the necessary tools and materials on hand. This typically includes a electric screwdriver/drill, measuring tape, pneumatic stapler and staples, pencil, and wood glue. Additionally, ensure that you have enough space to work and lay out all the cabinet parts. I love using an old work table with a moving blanket on top to protect the cabinet finish from getting dinged while working with the pieces.
Step 2: Read the Instructions Carefully + Prep
Each RTA cabinet kit comes with detailed assembly instructions via the BILT app. Take the time to read through the instructions thoroughly before you start assembling the cabinets, then lay everything out in piles you understand and can easily reach for.
Step 3: Assemble the Cabinet Box
The cabinet box is the basis for the cabinet itself, so it comes before anything else. This usually involves laying the face frame face down and attaching the sides, back, and bottom panels to the face frame and using screws and the staples. Make sure everything is aligned properly and tighten the screws securely, but not so tight it strips the wood.
Step 4: Install the Shelves and Drawer Glides
Once the cabinet box is assembled, it’s time to install the shelves and drawer glides. The instructions will guide you on how to attach the shelves at your desired height and install the drawer glides. This is typically the step I get the most impatient on, so you are not alone if you need to take a short break before continuing.
Step 5: Attach the Doors
Next, attach the cabinet doors to the hinges using the provided screws. Really take the time to adjust the doors to ensure they are level and close properly. I typically get them installed and make final tweaks once they’re installed.
Step 6: Secure the Cabinets to the Wall
Everything until this point has been fairly tedious, but this is really where your RTA cabinets come to life. It’s time to install the assembled cabinets in your desired location. Buckle yourself in, this is the hardest part unless your walls and floors are perfectly level. Spoiler alert: most aren’t. You’ll need cabinet screws, a level, a chalk line (optional), stud finder and lots of shims.
Use a level to ensure they are straight and secure them to the wall studs using screws. Double-check the alignment and make any necessary adjustments before tightening the screws completely. Above all, take your time. This is where your cabinets will be forever, so make sure it looks right. You’ll want to attach the cabinets to each other and to the studs in the wall, keeping everything level and plumb.
Step 7: Attach Hardware
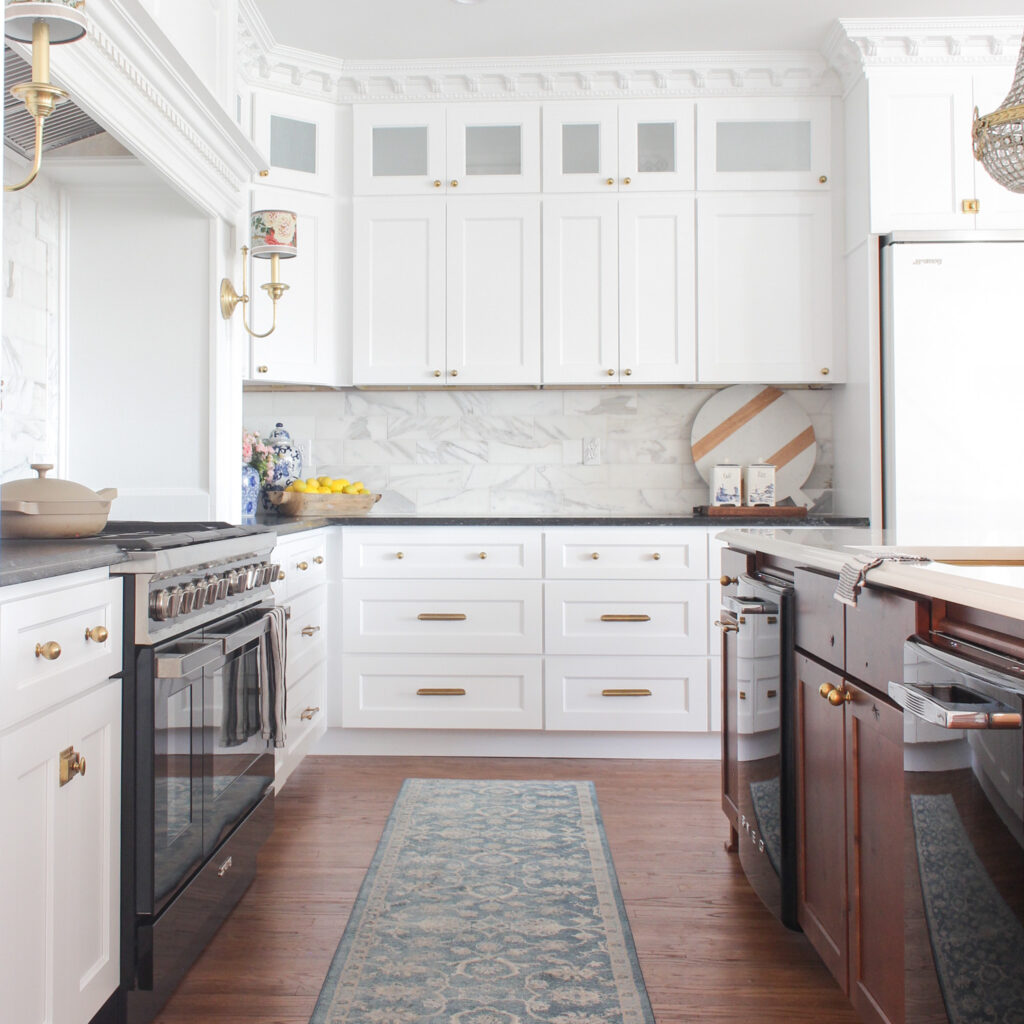
Hardware is one of the best ways to elevate your RTA cabinets to look more custom to your space and aesthetic. I’ve experimented with almost every pull, knob, and bolt possible, but these are my favorites (and what I used in my kitchen):
RTA Cabinet Tutorial: My Final Thoughts
While cabinets can feel like one of the peskiest tasks for any remodel, RTA cabinets can really help minimize costs and speed up the process. Although these definitely are not the most simple DIY, I’ll never go back to custom cabinets unless its a VERY specific space that requires a custom design. All in all, this is totally DIYable I promise, you can absolutely do it.

Have you ever built your own cabinets? Let me know in the comments! And to keep up with the latest on the blog, check out my recent posts:
Such a great tutorial. I’d love to know how you installed the tops on the cabinets in your closet. They look so good!!
Hello Mallory-
What style and color cabinet did you choose for your kitchen island?
Hi there! We used Florence White and Rustic Shaker on the island.