If kitchen is the heart of the home, does that make the pantry the…stomach? Forgive me for such a lame joke, but today on the blog, we are sharing The Monarch Revival PANTRY!
Yesterday on IG stories, someone asked to see a “before” photo, and it reminded me that I haven’t shared much about this space at all. Before this makeover, our family’s food storage was in here a bit haphazardly. I let it go during the renovation (you can see the photos here!) but having it functional and beautiful feels much more our style!

I have a thing for pantry Organization…
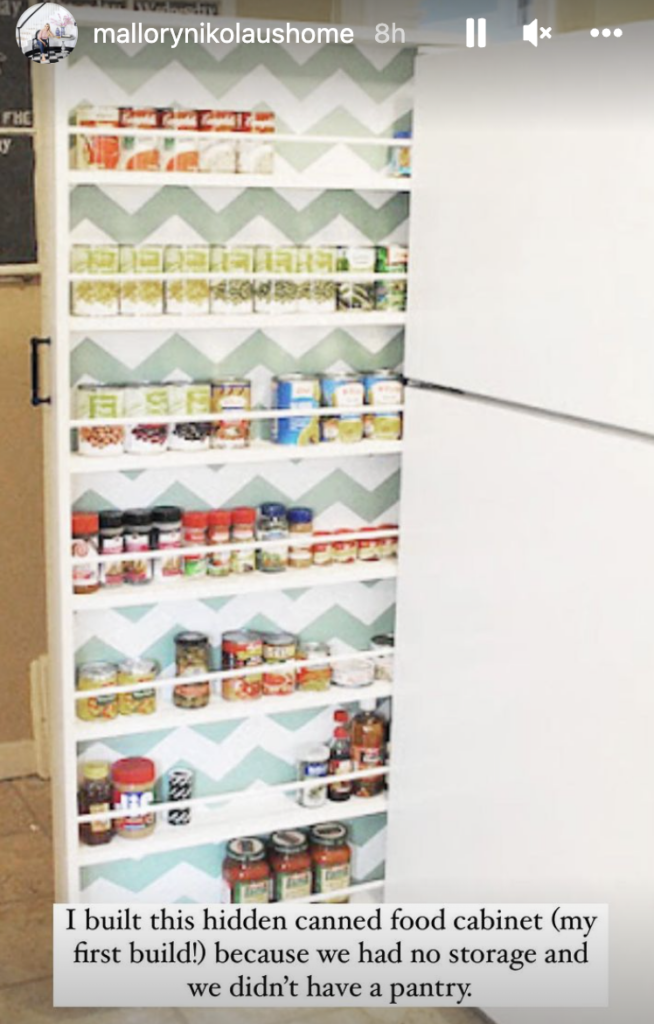
You guys, pantry organization is kind of my jam. I shared this on To All The Kitchen’s I’ve Loved Before, but my first my viral project was over 11 years ago in our makeshift pull out pantry space. I am just as proud of this space as my current pantry because they both solved my need food storage solution at the time. And let’s be real, chevron was cool at the time! haha
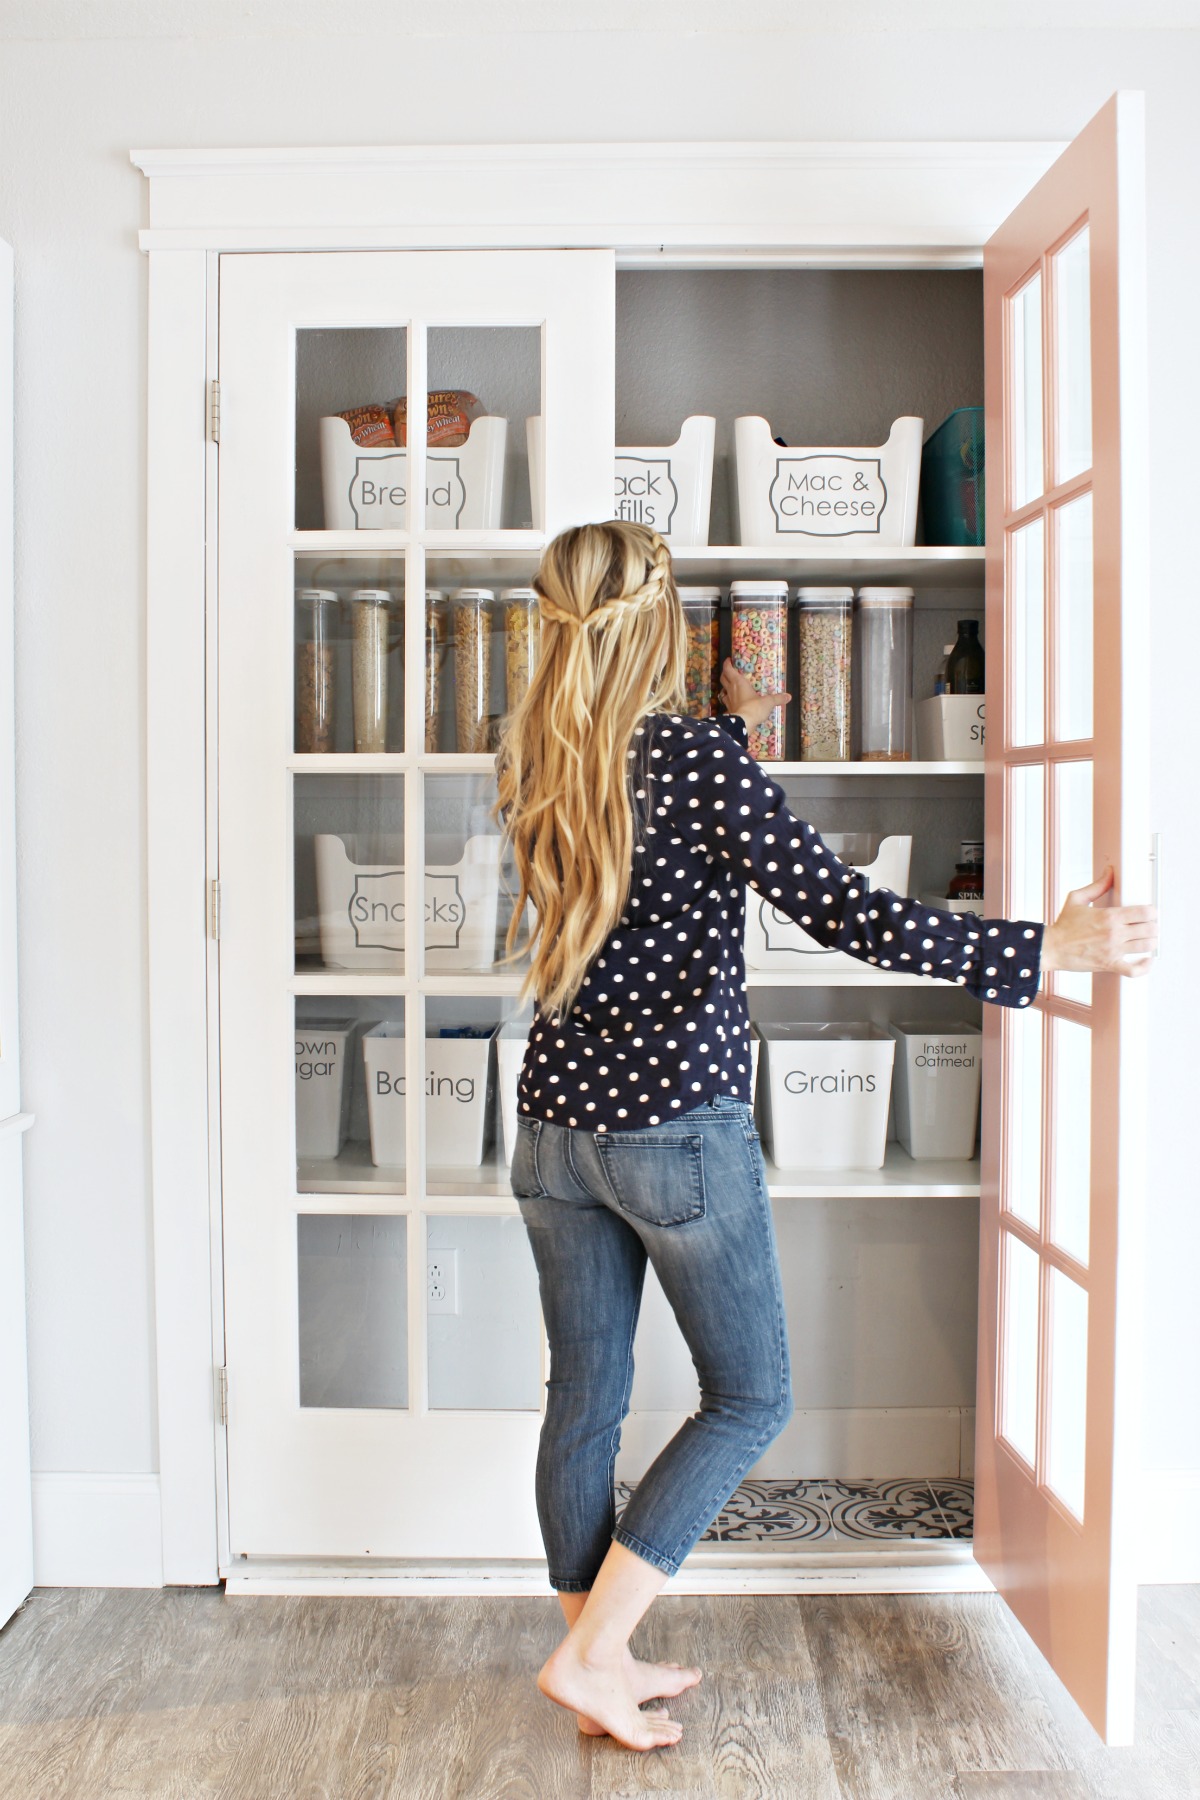
Here is another one we built a few years later in our home in Prescott, AZ.

In case this gives you the itch to organize your own pantry, I’m going to share a few of my tips to create a pantry that looks organized and beautiful to the eye, but functions no matter how big or small your family is!
Time needed: 3 hours
How To Organize Your Pantry
- Purge everything!
The easy part of cleaning out your pantry is purging because everything has an expiration date! Be truthful to yourself about what your family will actually consume, then donate (or toss if necessary) the rest.
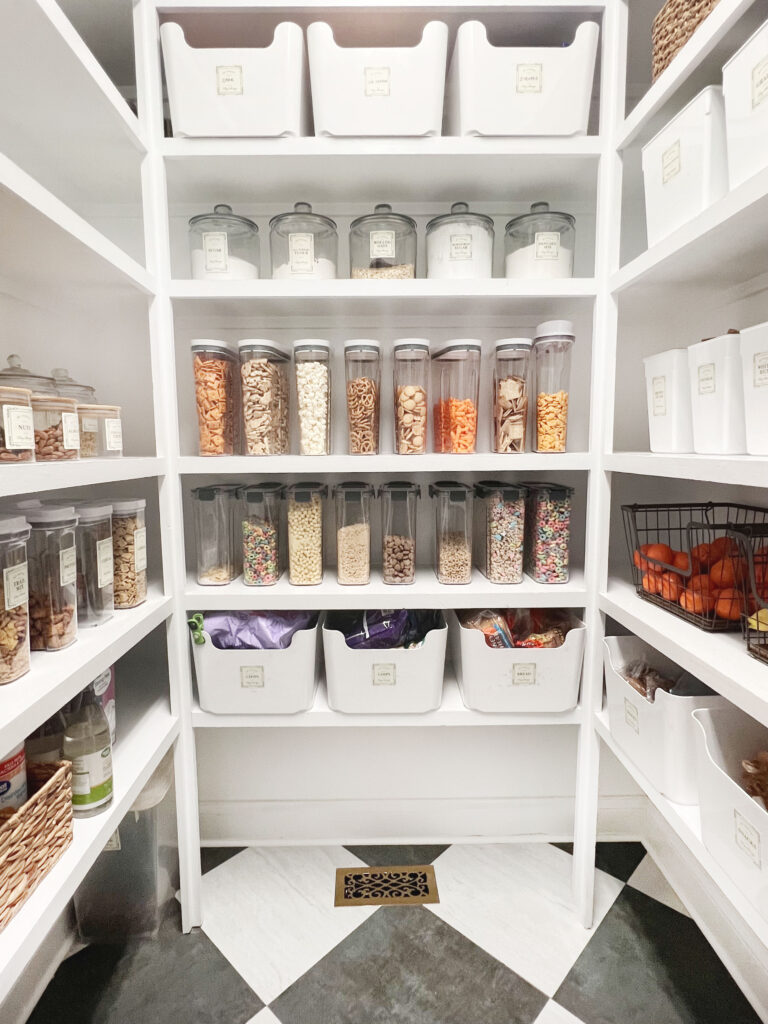
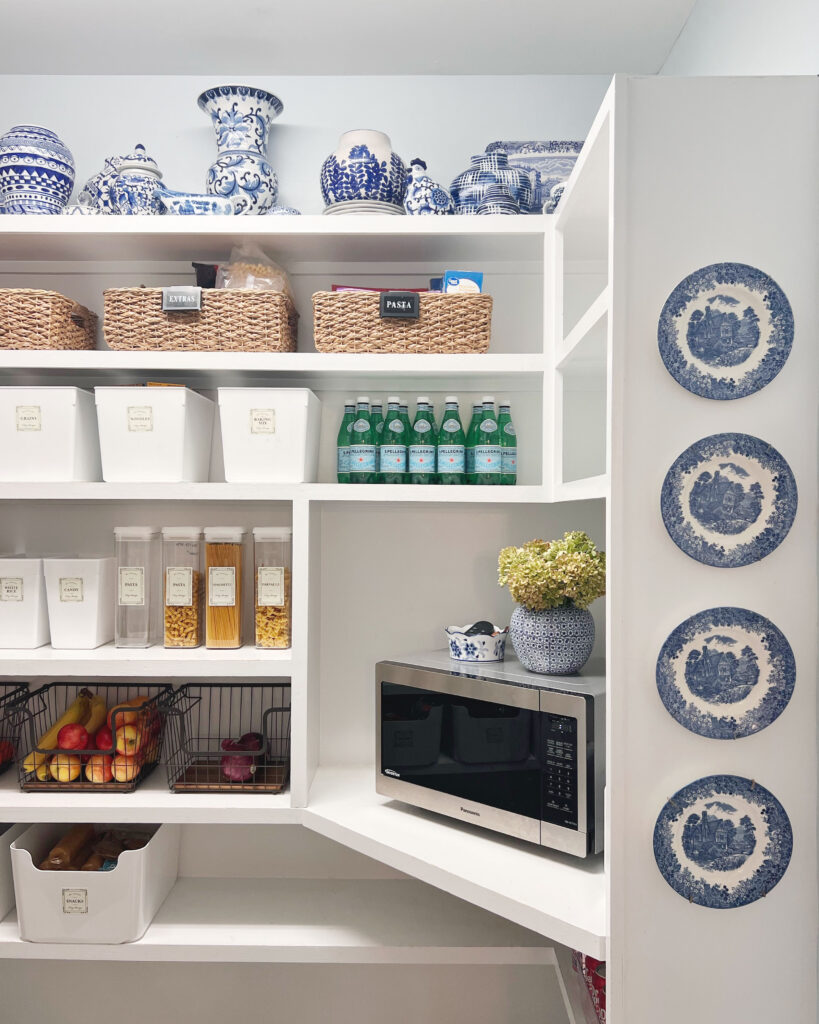
- Collect or purchase identical bins in varying sizes.
To keep the space LOOKING organized, use the same bins in the same sizes. If you use one plastic bin and one woven bin right next to each other, it doesn’t give the same effect. Of course, both bins serve the same purpose, so either one will work just fine.
Don’t forget to measure your shelves before ordering so you’re not grabbing bins that are too small or too tall!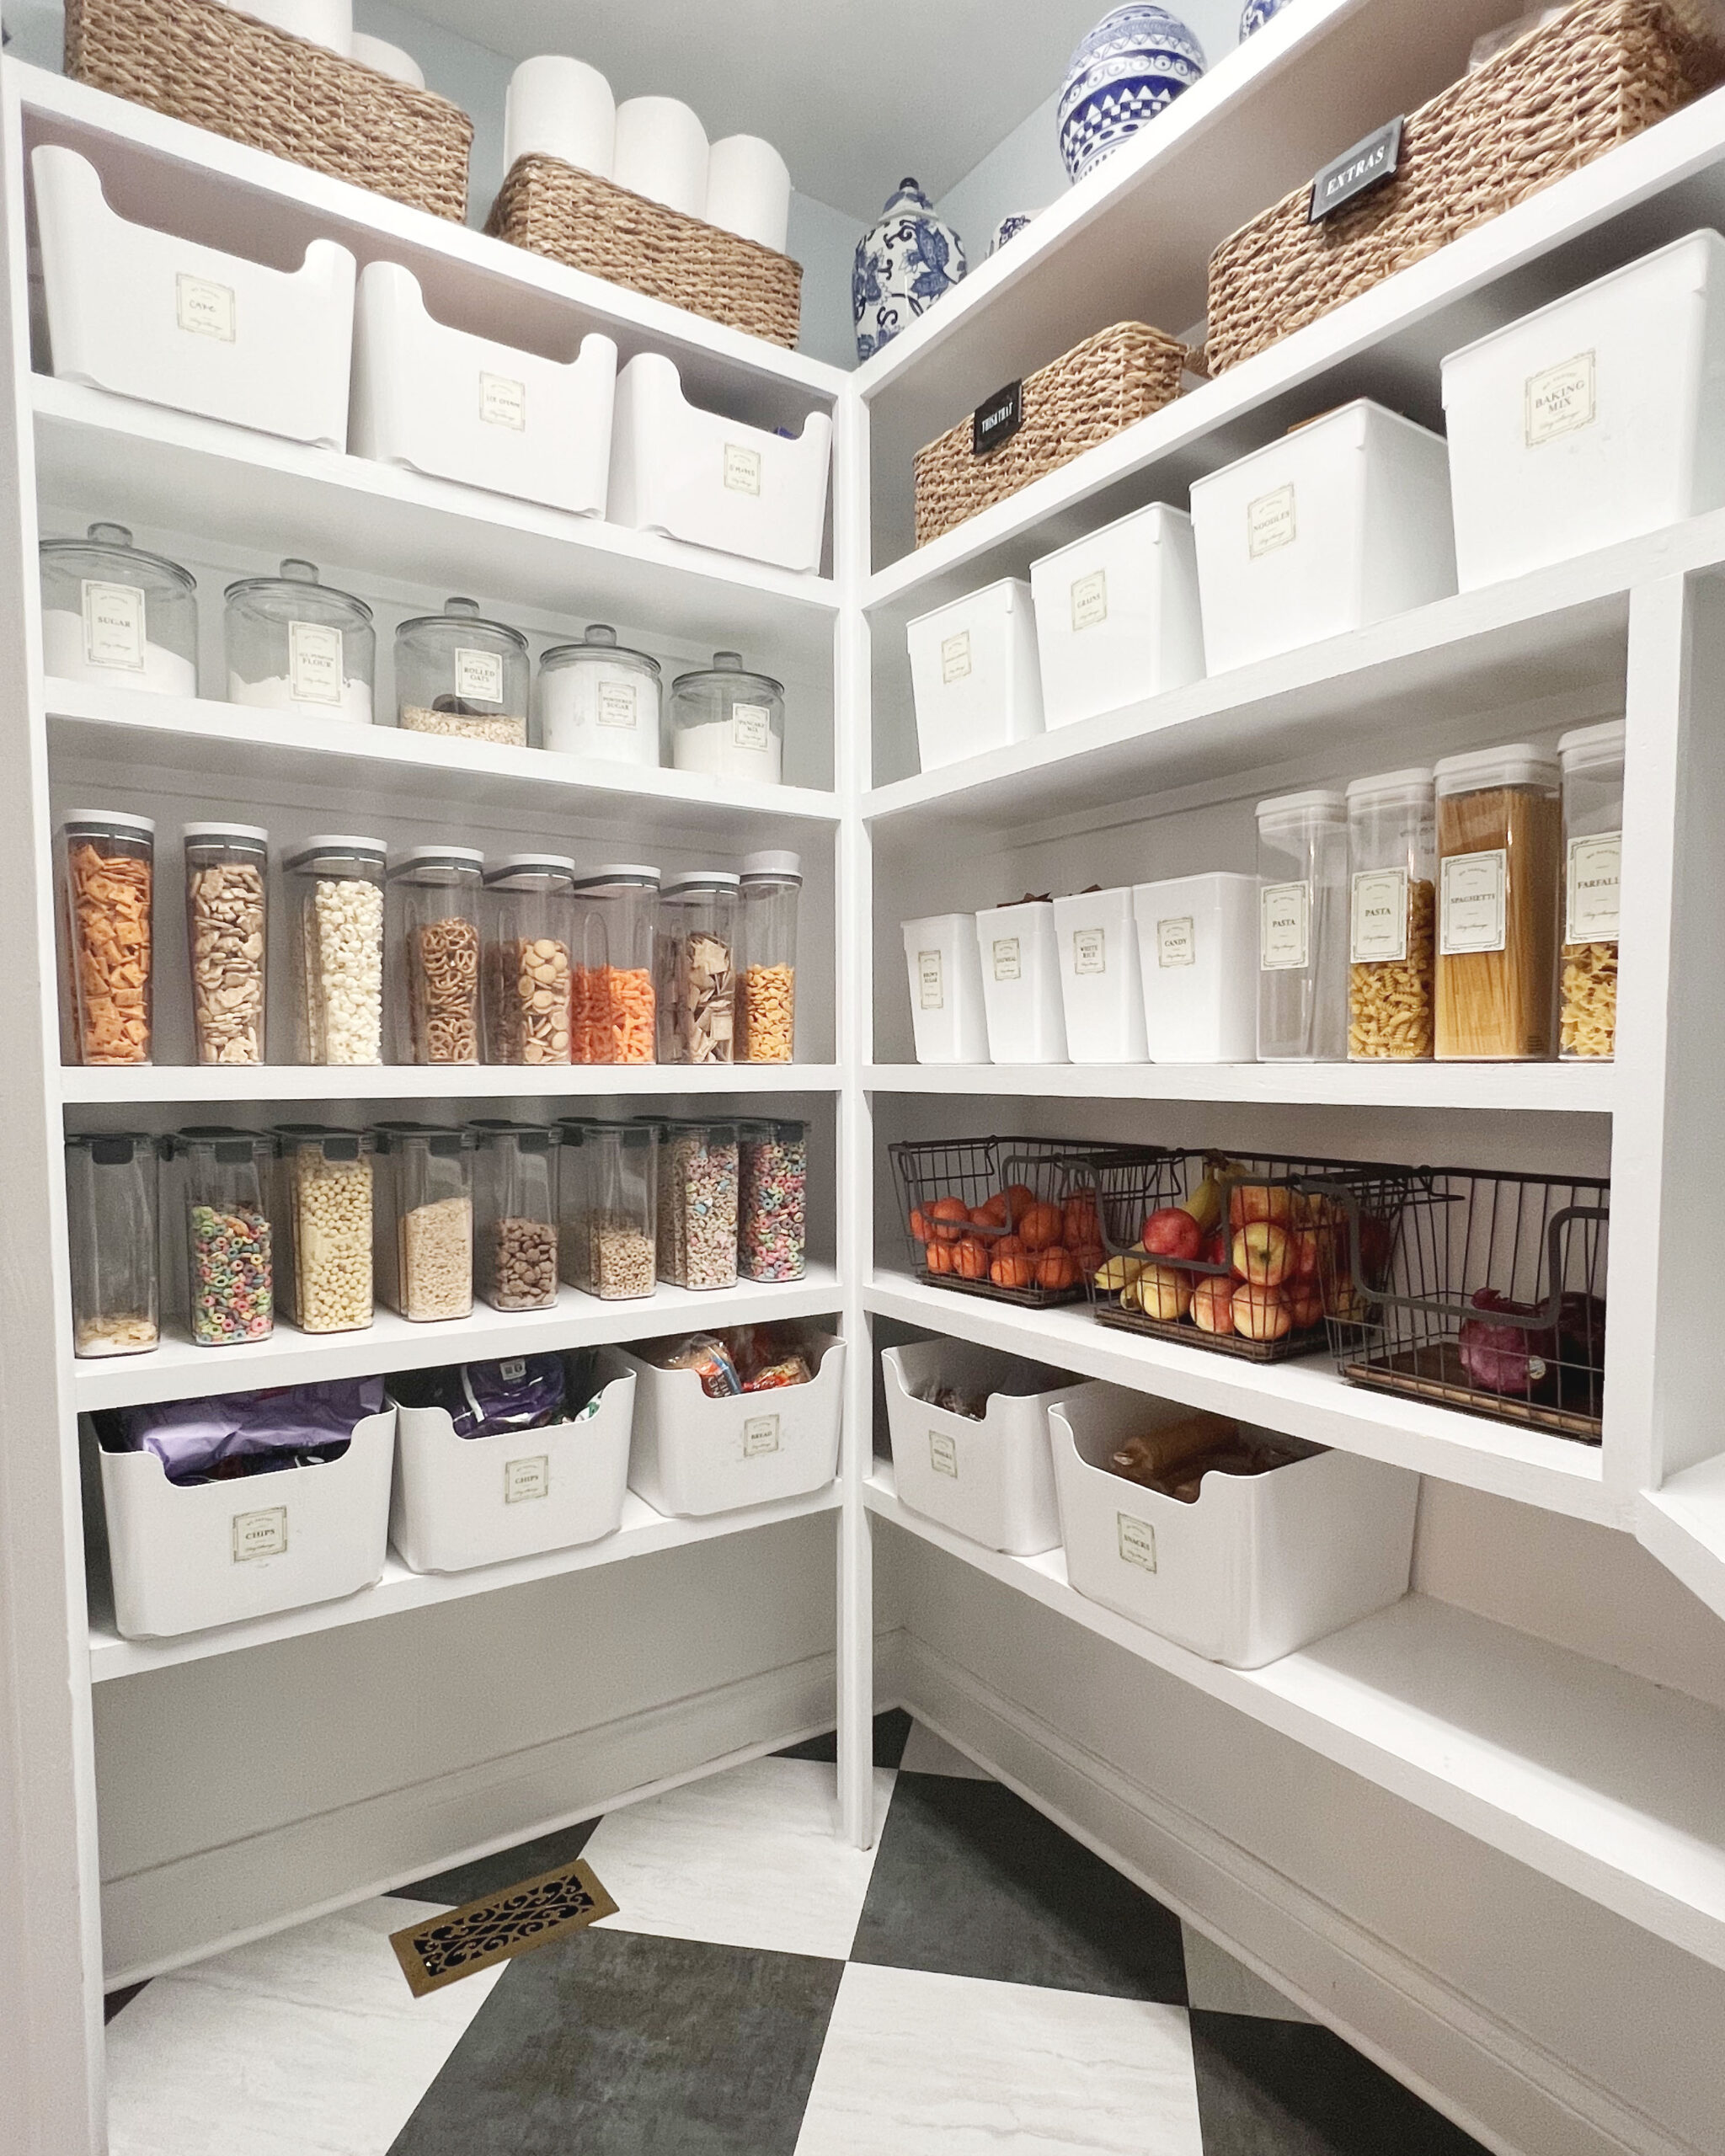
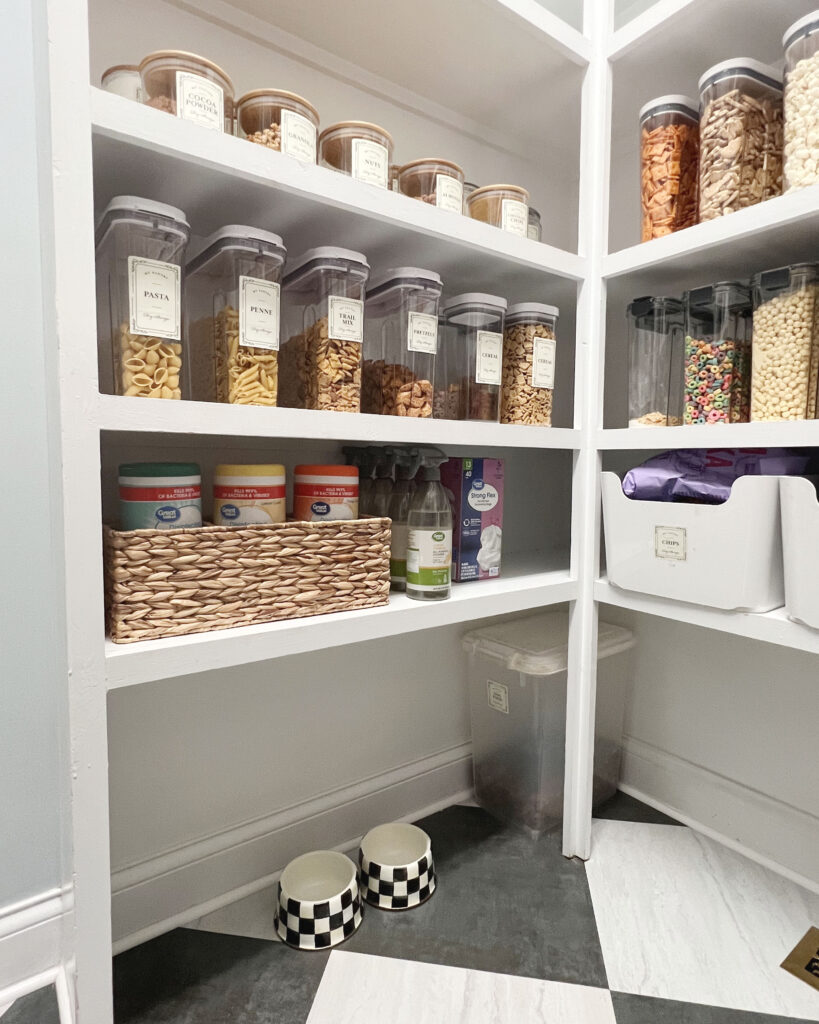
- Transfer boxed goods to clear containers (glass or plastic).
This is amazing for access, storage AND aesthetics. Don’t forget to write the expiration date and instructions for use on the back. I love that it’s easy to see when we are running low.
- Store your most used items on the bottom.
Consider what your kids need to access most, and make sure they are able to find what they need.
- Don’t overstuff!
A pantry that is packed to brim is much harder or organize unless you have the space. This isn’t a requirement as I know food storage is super important, but something to consider if you’re trying to achieve this look.
- Label everything.
If you’re using bins and containers, labeling becomes necessary so you’re not pulling down every bin each time you need to find something.
PANTRY Flooring Details:
I am eventually going to replace the floors in this room but I still need some time for that project. In the meantime, I installed this peel and stick flooring from Lowe’s in a diamond pattern and I’m obsessed! They look and feel so great. It’s a perfect temporary solution that can last us a few years, if needed!

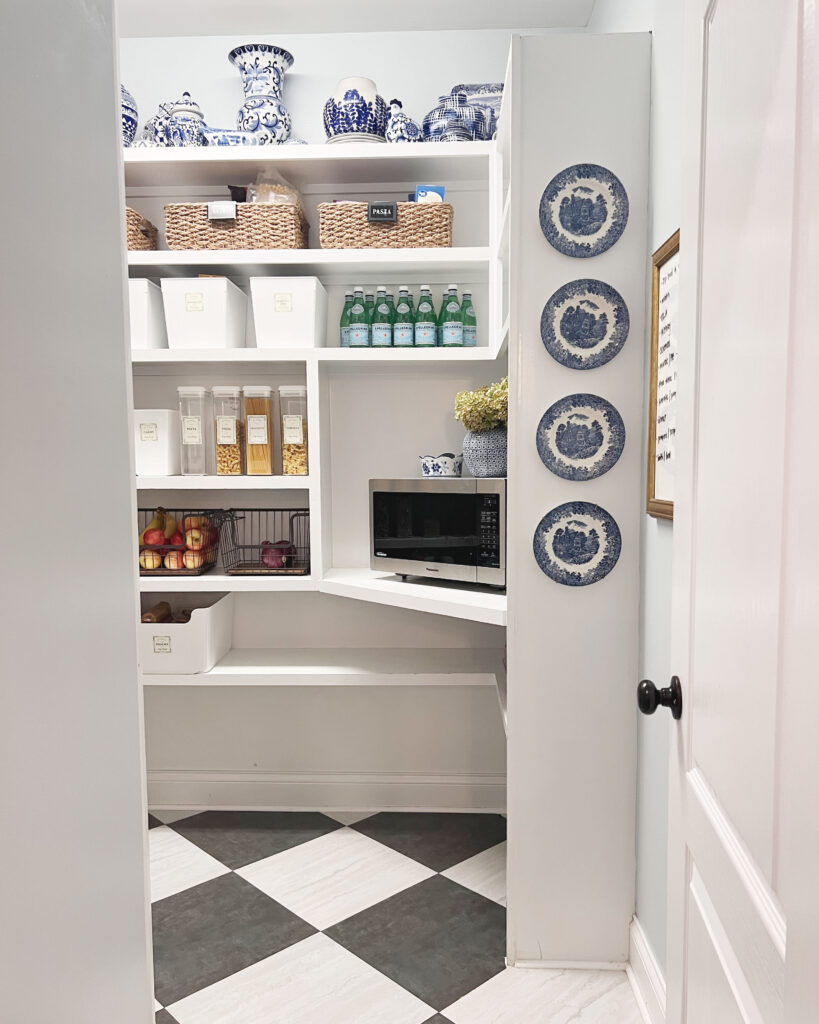
I just finished this space yesterday so we haven’t had too much time with it yet, but I know this space is going to be the perfect addition to our kitchen! Thank you all for being here and loving organization as much as me!
Leave a Reply