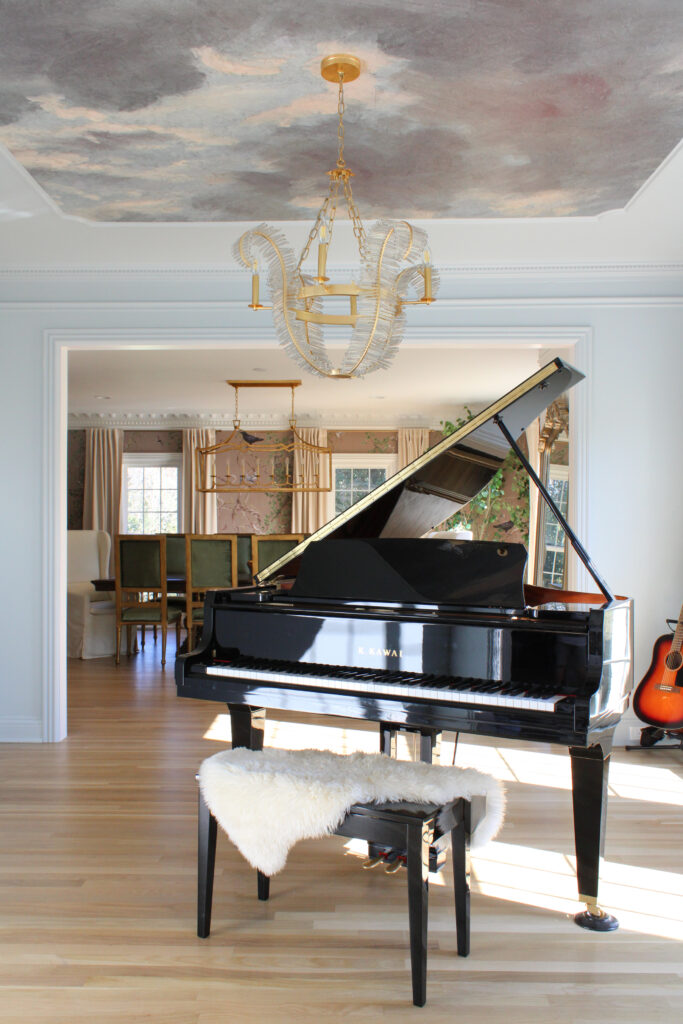
Installing crown moulding is one of the most transformative—and surprisingly simple—DIY projects you can take on. It’s also one of my signature touches in every home I’ve lived in. As someone who leans into grandmillennial style, crown moulding brings that sense of charm and detail that makes a space feel complete. Simply put: I just love it. It’s not for everyone—especially if your style leans more modern—but for me, it adds character, elegance, and a finished feel that ties the whole room together.
Today on the blog, I’ll walk you through how to install crown moulding the easy way—even if you’re a beginner. With a few basic tools and a little bit of patience, you’ll have beautifully finished corners in no time. You might be surprised at how manageable the process actually is!
Why Install Crown Moulding?
Adding crown moulding to your home has several benefits. Besides being visually appealing, it also serves as a beautiful finishing touch that can transform the look and feel of any room. Whether your style is modern, traditional, or somewhere in between, crown moulding can complement your decor seamlessly.

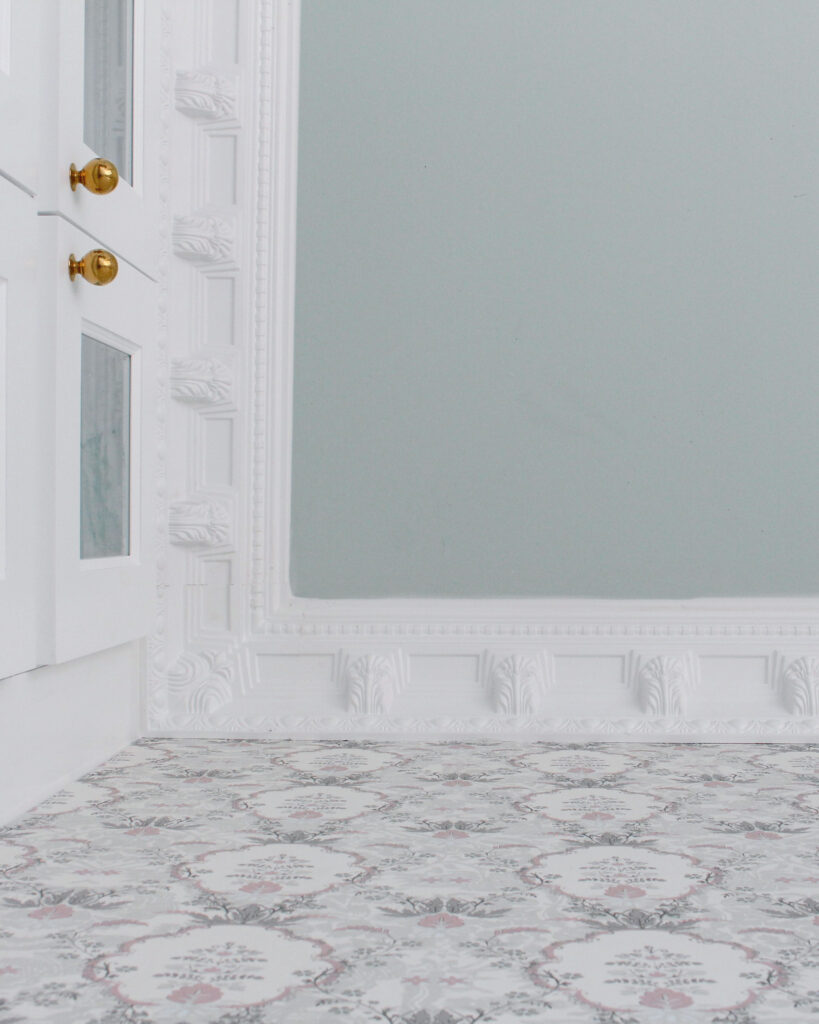
- Visual Appeal: It creates a sophisticated transition between walls and ceilings. It’s a detail that draws the eye upward and adds a touch of luxury.
- Increased Home Value: Well-done crown moulding can increase your home’s resale value. It shows attention to detail and craftsmanship that potential buyers appreciate.
- Customization: Choose from a wide range of styles and sizes to suit your space. Whether you prefer simple, clean lines or intricate patterns, there’s a style that will fit your vision.
- DIY Satisfaction: Installing it yourself means saving on labor costs while adding a personal touch. Plus, it’s a great way to build your DIY skills and gain confidence in home improvement.
How To Install Crown Moulding: Tools and Materials You’ll Need
Before you start, gather these essential items for how to install crown moulding. Being prepared helps the installation go smoothly, without unnecessary trips to the store.
- Measuring tape
- Miter shears
- Crown moulding pieces (I linked my favorites here!)
- Caulk
- Sandpaper
- Wood filler
- Nail gun
- Coping saw
- Paint or finish
How To Install Crown Moulding In 5 Easy Steps
- Measure and plan
- Cut your moulding
- Cope the joints
- Attach the moulding
- Fill, sand, and paint
Step 1: Measure and Plan
Accurate measurements are crucial when learning how to install crown moulding. Measure each wall and plan your cuts carefully to minimize waste. If you’re new to this, take your time—double-checking measurements helps avoid mistakes that can be costly and time-consuming. Mark each piece with its corresponding wall to keep everything organized.
Step 2: Cut Your Moulding
Using a miter saw, cut the moulding at a 45-degree angle for inside and outside corners. Practice on scrap pieces if you’re new to angled cuts. Make sure the joints fit snugly to avoid gaps. It might take a few tries to get the hang of it, but once you do, the pieces will start coming together nicely.
Step 3: Cope the Joints
For inside corners, coping the joints creates a cleaner fit. Use a coping saw to carefully trim the back of the moulding, allowing one piece to snugly overlap the other. While coping might seem tricky at first, it really makes a difference in achieving professional-looking corners. Take it slow and steady, especially if it’s your first time.
Step 4: Attach the Moulding
Start at a corner and nail the moulding to the wall, ensuring it stays level and flush with the ceiling. Use a nail gun for precision or a hammer if you prefer. Secure the moulding at studs to keep it firmly in place. As you move along the wall, keep checking that the moulding is straight—small adjustments make a big difference.
Step 5: Fill, Sand, and Paint
Once installed, fill any gaps or nail holes with wood filler. Sand down the spots for a smooth finish. Apply caulk along the seams to give it a professional look. Once dry, paint or stain your moulding to match your decor. This final step is where it all comes together—your room will instantly look more refined and complete.
How To Install Crown Moulding: Common QueSTIONS
Can I install crown moulding on uneven walls or ceilings?
Yes, you can! Use caulk to fill small gaps where the moulding meets the ceiling or wall. For larger gaps, consider shimming the moulding before securing it. Take your time with this step to ensure the moulding appears level and seamless.
What type of paint should I use for crown moulding?
Use a semi-gloss or high-gloss paint for durability and easy cleaning. These finishes highlight the moulding’s profile and add a polished touch. Plus, they make wiping down dust and scuffs much easier.
How do I avoid gaps at the corners?
Ensure accurate miter cuts and consider coping inside corners for a tight fit. Practice on scrap wood if needed! Sometimes, even a small gap can be noticeable, so precision here really pays off.
When should I not add crown moulding?
If you have very low ceilings, crown moulding can sometimes make the room feel smaller. You can still install it—especially with thinner profiles—but it’s something to be mindful of if you’re trying to make a space feel more open or airy.
Where can I buy crown moulding?
I find mine at Wayfair or Architectural Depot when I want something more detailed or intricate (and I always do! haha). I’ve also picked up plenty of trim from Home Depot, especially for baseboards or box trim (I have a full tutorial on that, too!). Both places have great options depending on your style and project needs.
How To Install Crown Moulding Takes Time, But Is Worth The Effort!
Don’t let the idea of installing crown moulding intimidate you. With the right tools, a bit of patience, and careful planning, you’ll achieve a polished, professional look. Whether you’re updating one room or your entire home, crown moulding is a small change that makes a big difference. Plus, the satisfaction of completing this DIY project on your own is well worth the effort.
Have you installed crown moulding in your home? Please share your tips in the comments! For more DIY inspiration, check out my latest posts on the blog:
Leave a Reply