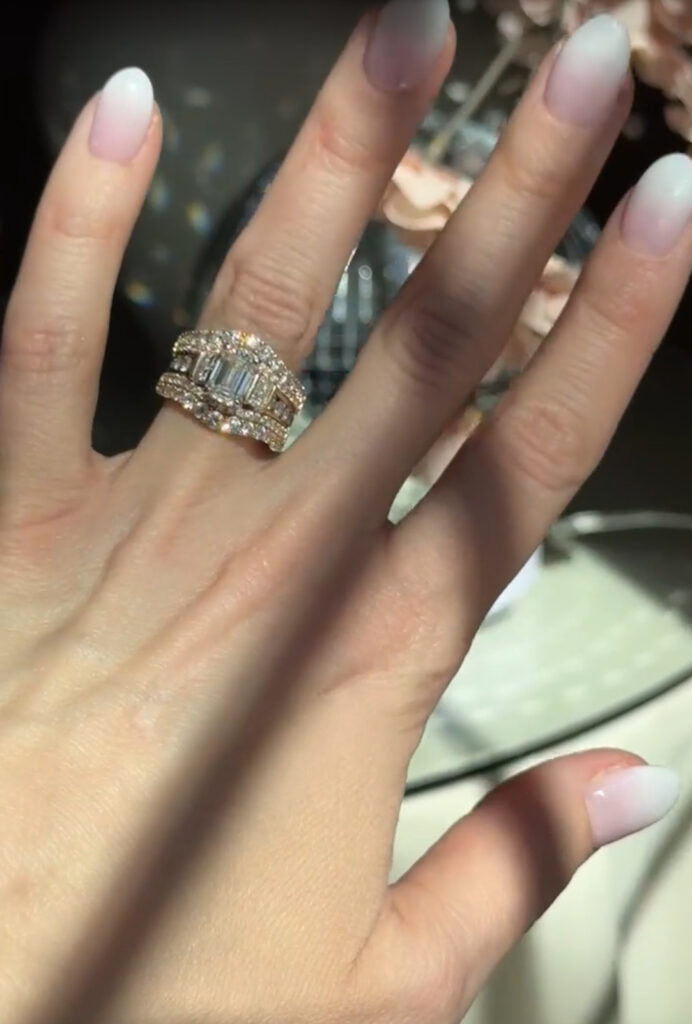
Jewelry is something we wear every day, but let’s be honest—it’s easy to forget how much exposure it gets to dirt, oils, and moisture. Over time, even your most-loved pieces can lose their shine if they aren’t cleaned regularly. Whether it’s a sentimental heirloom or a trendy Amazon find, keeping your jewelry clean helps preserve its beauty and ensures it lasts for years to come.
The good news? Jewelry cleaning doesn’t have to be complicated. In fact, I’ve found a tool that makes it easier than ever to keep my collection looking as brilliant as the day I got it.
Today on the blog, I’m sharing my go-to jewelry cleaning hack that has completely changed the game for me—and how you can use it too!
Why Cleaning Your Jewelry Is So Important
Your jewelry goes through a lot more than you might realize. Rings are exposed to hand creams, soaps, and everyday grime. Necklaces and earrings pick up oils from your skin. Even environmental factors like humidity or pollution can dull metals and gemstones over time.

Without regular cleaning, this buildup doesn’t just make your jewelry look dull—it can also weaken settings or damage delicate materials like pearls or opals. Cleaning your pieces regularly keeps metals from tarnishing, gemstones sparkling, and gives you a chance to check for loose stones or wear before bigger issues arise.
The Traditional Methods (And Why They’re Not Always Enough)
For years, I stuck to the usual at-home methods:
- Soaking jewelry in warm water with a little mild dish soap.
- Gently scrubbing with a soft toothbrush to get into crevices.
- Rinsing under cool water and drying with a lint-free cloth.
These methods work well for everyday maintenance—especially for simpler pieces—but they don’t always cut it for intricate designs or heavily worn items. And let’s be real, who has time to scrub every little crevice of their jewelry by hand?
That’s when I discovered the ultrasonic cleaner, and let me tell you—it was a total game-changer.
How To Clean Jewelry At Home
Cleaning your jewelry at home is simple and effective, especially with the right tools. Here’s a quick step-by-step guide:

Fill The Ultrasonic Cleaner: Add warm water to the tank, staying within the fill lines. For extra cleaning power, mix in a few drops of ultrasonic cleaning solution or cleaning tablets.
Place Your Jewelry Inside: Arrange pieces in the basket without overlapping to prevent scratches. Ensure all items are fully submerged.
Run The Cycle: Set the timer (typically 3–5 minutes) and let the ultrasonic waves work their magic to dislodge dirt and grime.
Rinse + Dry: Remove jewelry, rinse under cool water, and pat dry with a lint-free cloth to prevent tarnish.
Here’s why I love it:
- It’s Fast: In just 3–5 minutes, my jewelry looks like it’s been professionally cleaned.
- It’s Gentle: The ultrasonic waves clean without damaging delicate materials like gold or diamonds.
- It Works On Everything: From rings and bracelets to earrings with intricate details, this thing handles it all.
How I Use It:
- Fill the cleaner with water (I like to add an ultrasonic cleaning solution or an enzymatic tablet for tougher grime).
- Place your jewelry in the basket—don’t overcrowd it!
- Run the cleaner for 3–5 minutes (or longer if needed).
- Rinse under cool water and dry with a soft cloth. That’s it! No scrubbing, no hassle—just sparkling clean jewelry in minutes.
When Is Professional Jewelry Cleaning Necessary?
While my ultrasonic cleaner handles 99% of my needs, there are times when professional cleaning is worth considering:
- Antique or Heirloom Pieces: Older jewelry often has fragile settings that require specialized care.
- Valuable Gemstones: Diamonds, rubies, emeralds, and other precious stones benefit from professional polishing to restore their brilliance without risking damage.
- Severe Tarnish or Grime: If your jewelry hasn’t been cleaned in years or has stubborn buildup that won’t budge at home, jewelers have tools that can restore its shine.
- Loose Stones or Damage: During professional cleanings, jewelers can inspect for loose prongs or worn clasps that might need repair.
For valuable pieces, I recommend visiting a jeweler once a year for cleaning and inspection—it’s worth the peace of mind!
How To Keep Your Jewelry Cleaner For Longer
While regular jewelry cleaning is essential, good habits can help keep your pieces looking their best between cleanings:

Remove Before Applying Products! Lotions, perfumes, and hair products can leave a residue that dulls shine over time.
Avoid Harsh Environments. Take off jewelry before swimming (chlorine is especially harsh), exercising, or doing household chores where chemicals might come into contact with your pieces.
Wipe Down After Wearing. A quick wipe with a lint-free cloth removes oils and moisture that can lead to tarnish or buildup.
Store It Carefully. How you store your jewelry matters just as much as how you clean it! I use stackable velvet jewelry organizers in my closet to keep everything neat and protected. The soft velvet lining prevents scratches and tarnishing caused by exposure to air or moisture while keeping each piece in its place (no more tangled necklaces!).
The Bottom Line When It Comes To Jewelry Cleaning
Jewelry cleaning doesn’t have to be complicated—it’s all about finding what works for you! While traditional methods are great for everyday upkeep, investing in an ultrasonic cleaner has been a total game-changer for me. It saves time, effort, and keeps my favorite pieces sparkling like new.
Have you tried an ultrasonic cleaner before? Or do you have another go-to tip for keeping your jewelry clean? Let me know in the comments—I’d love to hear what works for you! And don’t forget to keep up with all the latest on the blog by checking out my latest posts:
Leave a Reply