As I’m knee-deep in the Monarch Colonial Renovation and still don’t have a functional kitchen (fingers crossed it’s coming soon), I’m taking the time today to talk about one of my all-time favorite projects to do in the home: kitchen tiling backsplash.
Few projects provide that instant statement like a backsplash does. While I am nowhere near finishing touches like this in the kitchen, I want to walk through all the steps so I can vicariously dream about the day I get to do it in our home. I promise – this project is nowhere near as difficult as you think it is.
Today on the blog, I’ll be sharing my complete kitchen tiling backsplash guide! With time and patience, you can create a beautiful kitchen backsplash that really adds a statement to the heart of your home.
Why Add A Kitchen Tiling Backsplash?
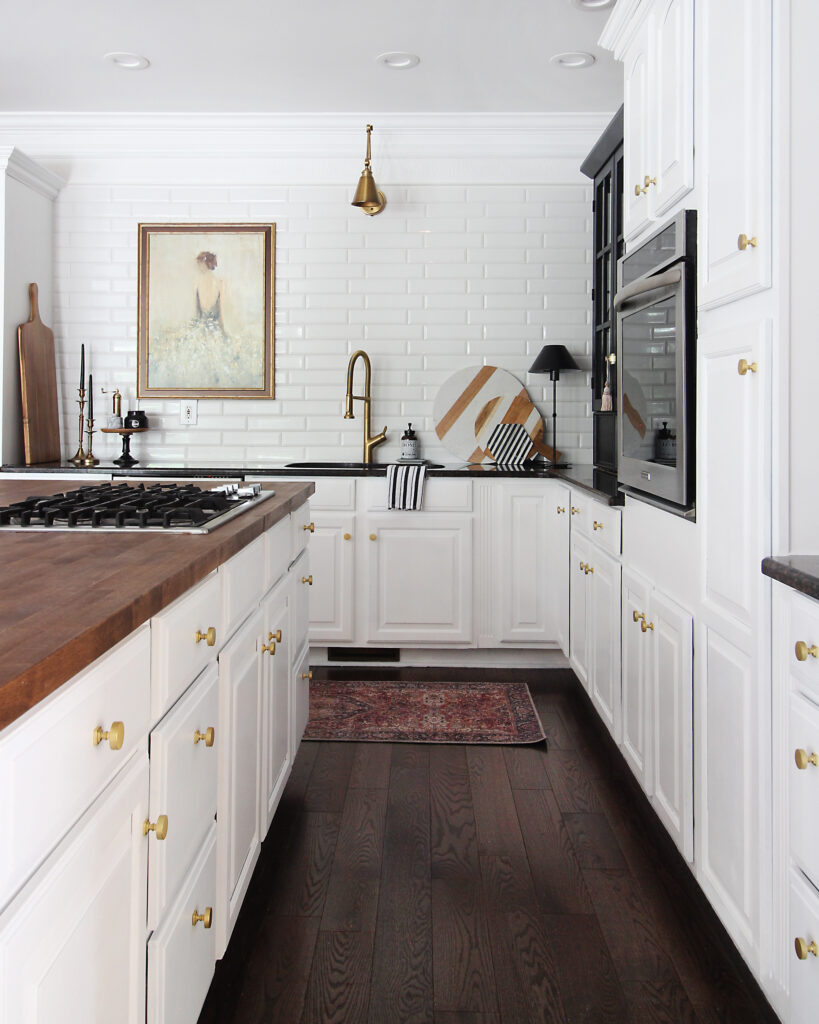
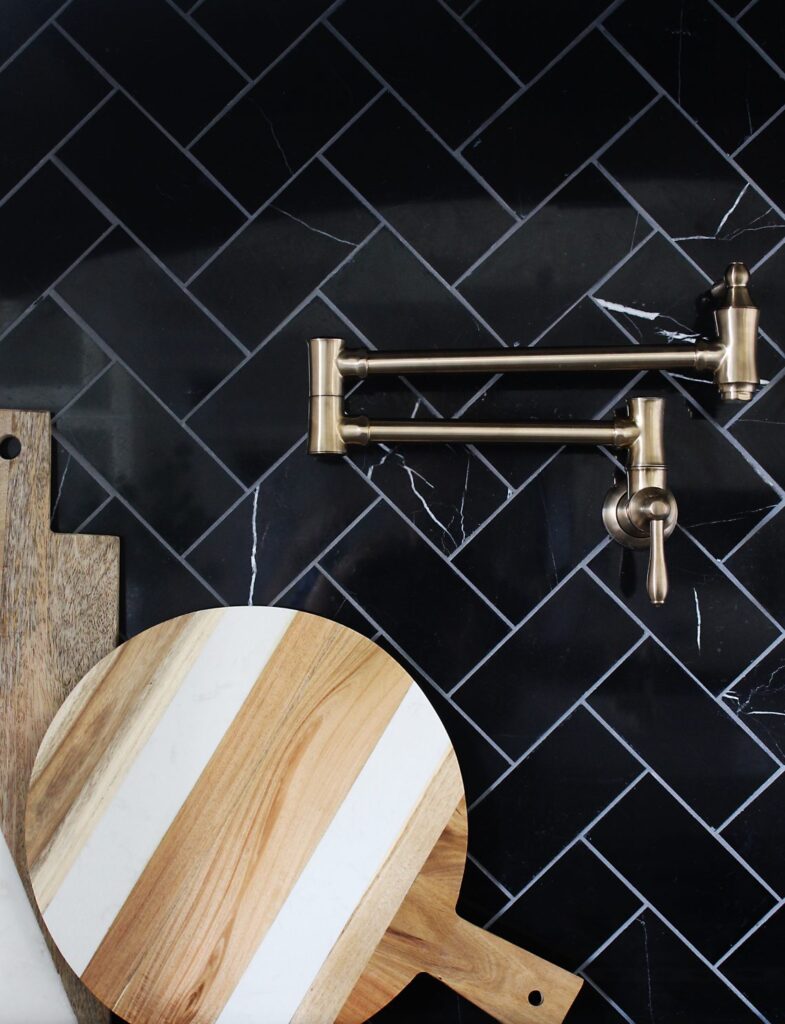
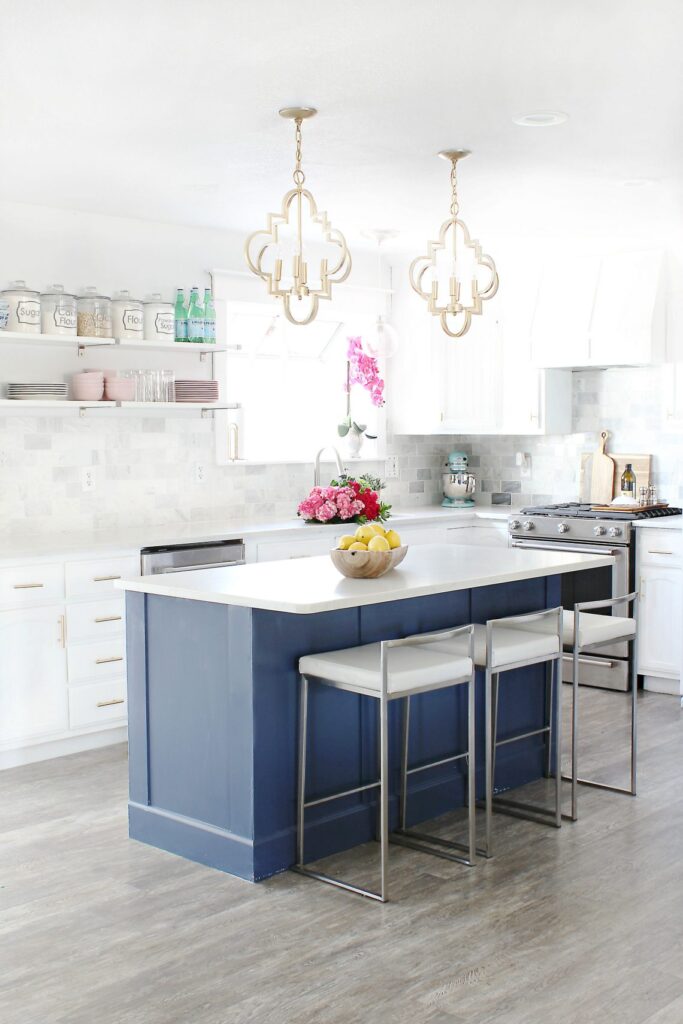
A kitchen backsplash isn’t just for show – it can truly transform your space! It’s a great way to add a pop of style while protecting your walls from the splashes and spills that come with cooking. Plus, tiles are easy to wipe clean, making kitchen maintenance simpler.
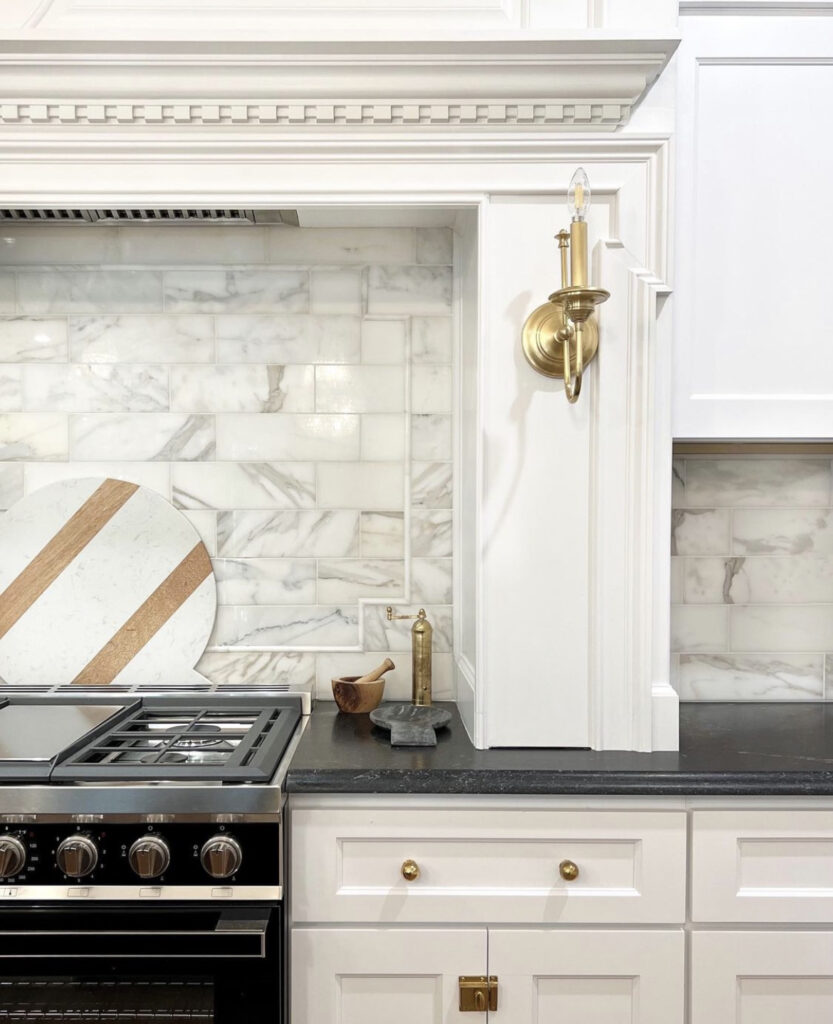
With so many colors and styles to choose from, a backsplash lets you add personality to your kitchen. Best of all, with the right tools and tips, you can install it yourself and achieve a professional look.
Which Adhesive Is Best To Use?
One of the most common adhesives to use for installing kitchen tiling backsplash is mortar. Think of it like a paste that hardens, almost like concrete. While I’ve used this several times and had a great end result, I HIGHLY recommend using MusselBound instead.
Here are a few of the reasons why I believe MuscleBound is better than Mortar:
- The installation process is so simple! Just measure out the amount needed and stick it to the wall.
- There is no mess. You won’t have to worry about traces of mortar on literally everything you own for weeks to come! haha.
- Your tile will actually stick to the wall. I know it seems silly to say a product does what it’s intended to, but I’ve tried another brand of tile adhesive that didn’t work nearly as well.
- It will last the test of time. When I say MusselBound is heavy-duty, I mean it. This tile isn’t going anywhere.
If you’re curious to learn more about MuscleBound to decide if it’s the right adhesive to use for your kitchen tiling project, check out my post: MusselBound Product Review: Is It The New Replacement To Mortar?
Kitchen Tiling Backsplash: A Step-By-Step Guide

Tools You’ll Need:
- Tiles of choice
- Adhesive (I recommend MuscleBound for its ease and durability)
- Tile spacers
- Tile cutter (manual or electric, depending on your tiles)
- Grout
- Grout float
- Sponge
- Level
- Measuring tape
How To Install:
While all the steps to get to a finished kitchen tiling backsplash are essential, what I recommend most of all is patience. Tiles can lay funny and sometimes it takes a while for everything to set, but staying calm makes a world of difference. This is what I can attest makes my backsplash look professionally done.
Prep Your Wall
Start by making sure your wall is smooth, dry, and clean. Remove any old paint flakes or debris, as these can prevent your tiles from sticking well. If your wall has any rough spots or bumps, sand them down for a smooth finish. Once you’re done sanding, wipe away any dust or dirt with a damp cloth and let it dry.
Measure and Plan Your Layout
Use a measuring tape to measure the area where your backsplash will go. It’s helpful to draw a few light guidelines on the wall with a level to ensure your rows stay straight as you place the tiles. Decide if you want your tiles centered or offset and where you’ll need to make cuts, especially around outlets and edges. This planning step can save you time and make the installation easier and more precise!
Apply Your Adhesive
If you’re using MuscleBound, cut it to fit the area you’ll be tiling, then peel off the backing and press it firmly onto the wall. It’s important to press it down smoothly and make sure there are no air bubbles underneath, as these can cause issues with tile placement. This adhesive lets you avoid the mess of mortar, and it sticks instantly, so you’re ready to tile right away!
Start Tiling
Begin placing your tiles, starting at the bottom center and working your way outward. Press each tile into the adhesive, adding tile spacers between them to keep the spacing even. If you’re using larger tiles, double-check with a level every few rows to make sure everything stays straight.
Cut Tiles as Needed
For edges, corners, or spaces around outlets, use a tile cutter to trim the tiles to fit. If you’re new to tile cutting, practice on a scrap piece first. It takes a few times to get comfortable, but the process is straightforward. Once cut, place the trimmed tiles along the edges to create a clean, finished look.
Let Everything Set
Give your adhesive some time to set and hold the tiles firmly. MuscleBound usually requires less setting time than mortar, so check the instructions on your adhesive, but generally, you’ll only need a few hours before moving on to the grout.
Apply Grout
Spread grout over the tiles using a grout float, pressing it into the spaces between each tile. Wipe away excess grout with a damp sponge, and be sure to keep the sponge clean as you go to avoid leaving grout residue on your tiles. This step gives the backsplash a clean, finished look and keeps everything securely in place.
Final Cleanup and Touch-Ups
Once the grout has dried, wipe down the tiles one last time to remove any leftover haze. Stand back and take a look at the stunning kitchen tiling backsplash that instantly elevates the heart of your home.
Common Questions About Installing a Kitchen Tile Backsplash
How Do I Tile Around Outlets and Switches?
Tiling around outlets and switches can be a bit tricky, but it’s totally doable with the right prep. Start by turning off the power to your kitchen outlets and removing the outlet covers. This gives you more space to work and ensures you get a clean edge around each outlet.
Measure the tile areas around the outlets carefully, and use a tile cutter to trim tiles to fit. When the tile is set, replace the outlet covers, and you’ll have a seamless look around each switch and outlet.
Do I Need Special Tiles for the Edges?
Yes, edge tiles can make your backsplash look polished and professional. Many tile stores offer rounded or smoothed edge tiles specifically for finishing edges, corners, or open ends of your backsplash. These edge tiles can make the transition to your wall look smooth and intentional, so consider picking up a few to complete your project.
Should I Seal the Tiles or Grout?
Sealing your tiles and grout is a great way to keep your backsplash looking fresh and protect it from stains and moisture, but it isn’t necessary. Grout is porous, which means it can absorb moisture and stains over time if left unsealed, especially in a kitchen. A high-quality grout sealer can make it water-resistant and easier to clean.
Depending on the type of tile you choose, some tiles may also benefit from sealing, so check with the tile manufacturer’s recommendations.
How Long Should I Wait Before Using My Kitchen Again?
After placing the tiles, allow the adhesive to set for at least 24 hours before exposing it to moisture or kitchen activities. If you’ve used grout, give it an additional day to fully dry before cooking or cleaning the area to make sure everything is solid and secure.
Do you have any questions on how to install kitchen tiling backsplash in your home? Let me know in the comments! And to keep up with all the latest on the blog, check out my recent posts:
Leave a Reply